Do I Need Grow Lights for my Plants and Which Ones Should I Use?

December 22, 2023

Thinking About Using Grow Lights?

Answers to a Few Basic Grow Light Questions

I get asked about grow lights A LOT.

Problem is, most questions about grow lights required very detailed LONG answers. It's just not a super simple subject. That is why I wrote an entire book on the subject!

But since I'm still getting asked this particular question, I thought I'd summarize some basic thoughts on the topic before you dive deeply into grow lights.

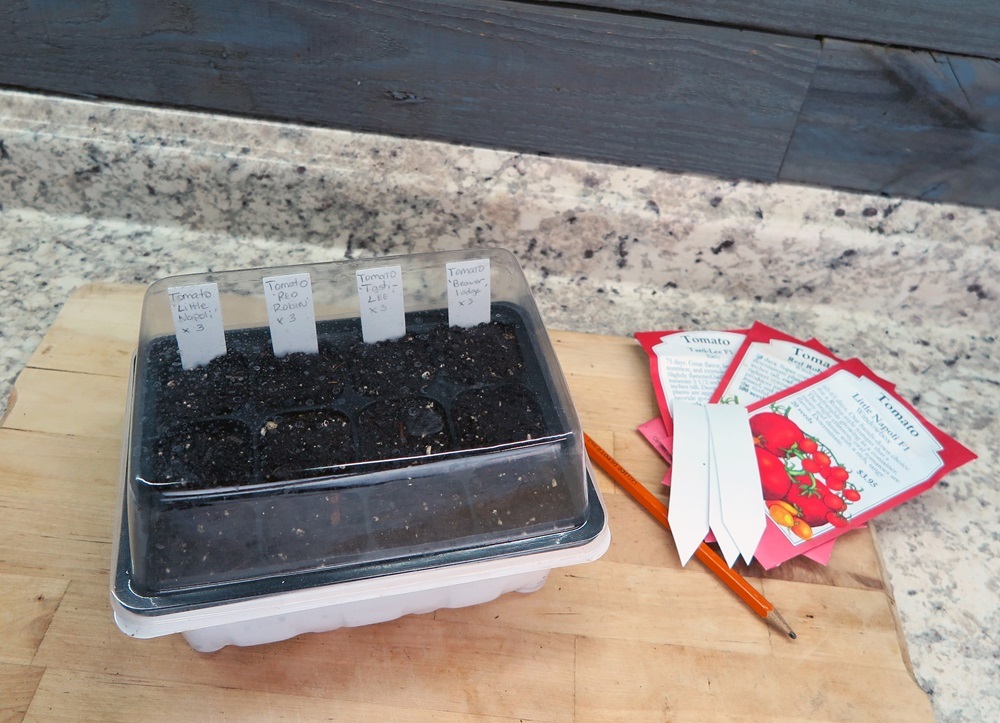
With the resurgence of indoor plant popularity, many plant enthusiasts have discovered their favorite plants may not thrive in their low-light conditions. Or, they want to grow seedlings and edibles indoors, which pretty much always requires grow lighting.

We know from research that keeping indoor plants has many benefits, such as reduced anxiety and stress, improved productivity and focus, and even improved healing. So in terms of wellness, bringing some nature indoors can have a very positive impact on our lives. Beyond the mental benefits, plants bring so much dimension, aesthetically, to our homes and offices. Plants literally bring our indoor spaces to life.

Succulents are a great example of plants that typically need much more light that we typically have to offer them indoors. That's why so many beginners kill succulents from "overwatering". The plants actually need greater light intensity to use the water quickly enough. Otherwise, the root zone simply stays too wet for many succulent and cactus species. However, if you add a grow light, you can significantly improve plant health and vigor.

PC: Leslie F. Halleck

You don't need a green thumb to start gardening indoors with grow lights. You just need a desire to learn and make a few mistakes. Green thumbs are, after all, earned not born! That said, it's beneficial to at least dip your toes into learning a bit more about light science, how plants use lights, and how measuring light indoors can significantly change your understanding of how to use grow lights successfully. Also, indoor environmental conditions are very different from your outdoor environment, so you may experience different challenges with certain plants than you do outdoors.

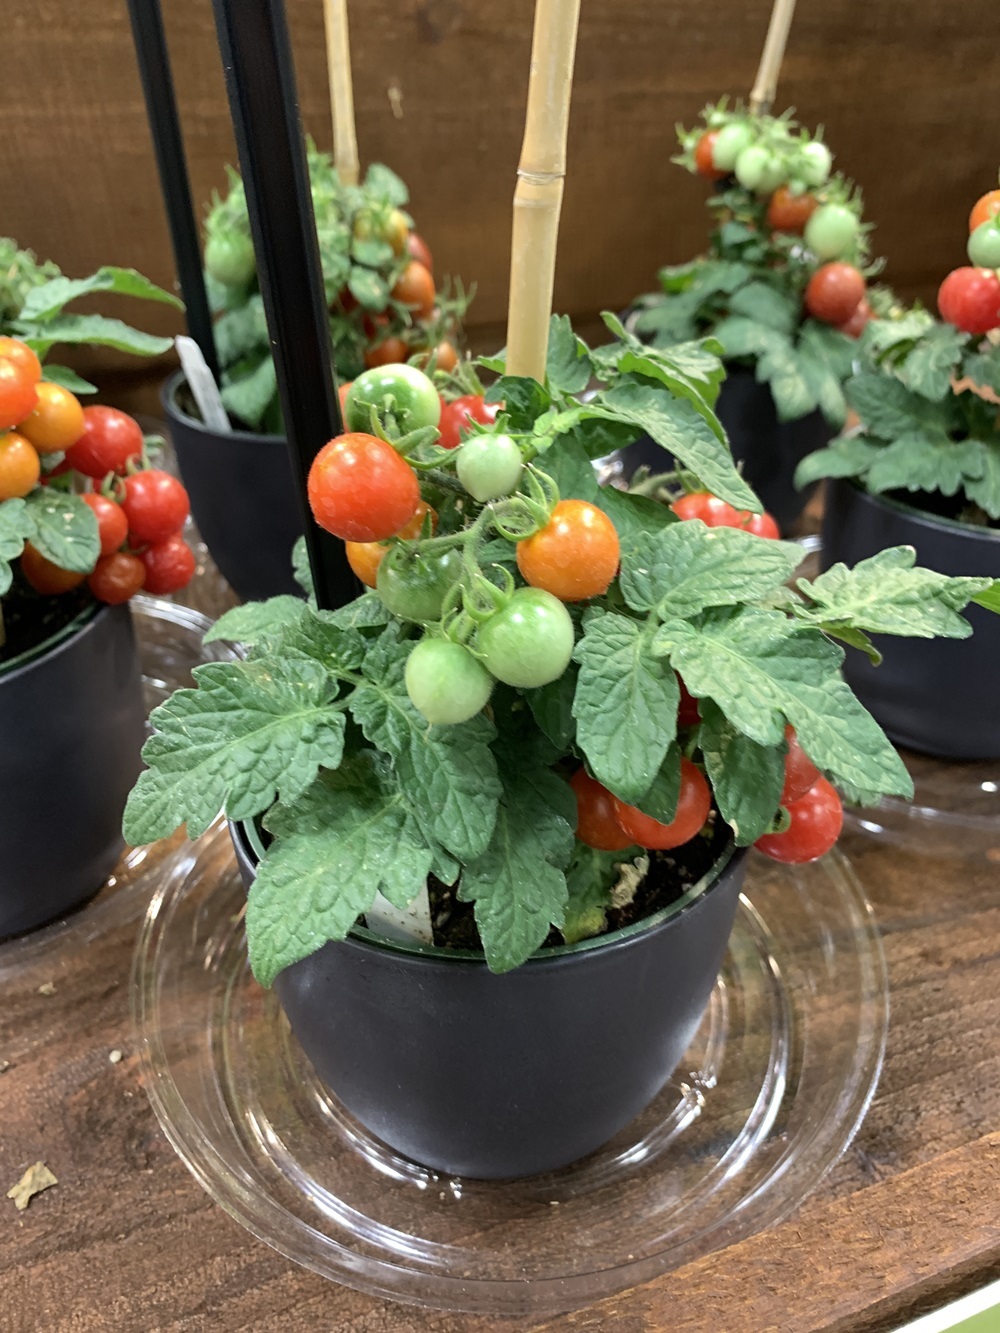
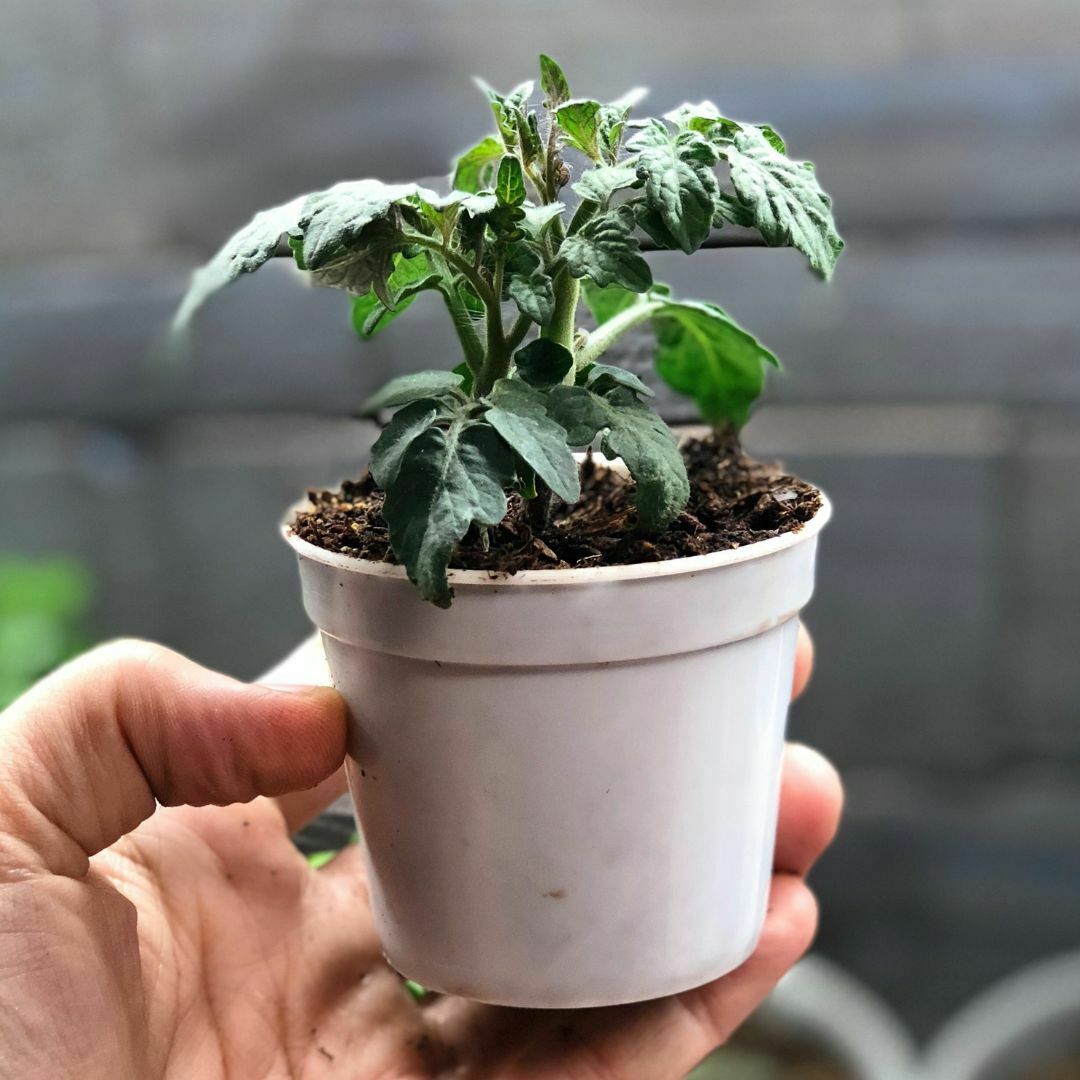
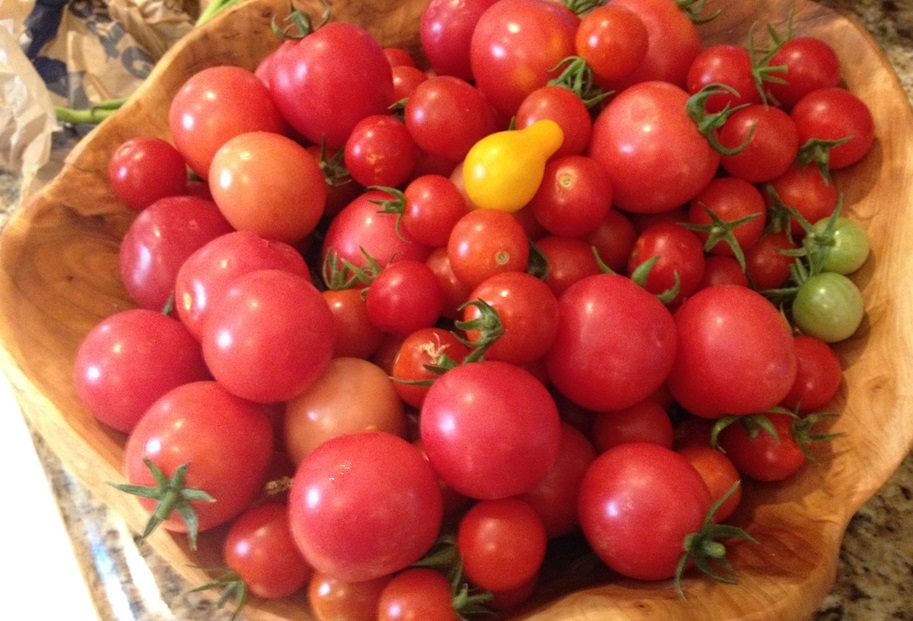
The best way to be successful with a grow light is to first learn more about the species of plant or crop you are growing. The bottom line is, you aren't going to be able to grow big slicing tomatoes indoors with a small LED grow light. When you acquire a deeper understanding of how tomato plants grow and the amount of light they actually need to thrive, it will completely change your perspective on the type of indoor grow light setup you'll need to achieve those results.

Choosing which LED grow light to use goes back to what you're growing and does your grow light have enough power to emit enough usable light PAR (Photosynthetically Active Radiation) for that plant species or crop. Energy in is energy out and small low-power LEDs won't sustain high-light plants such as citrus or tomatoes. They'll be fine for foliage houseplants or small succulents.

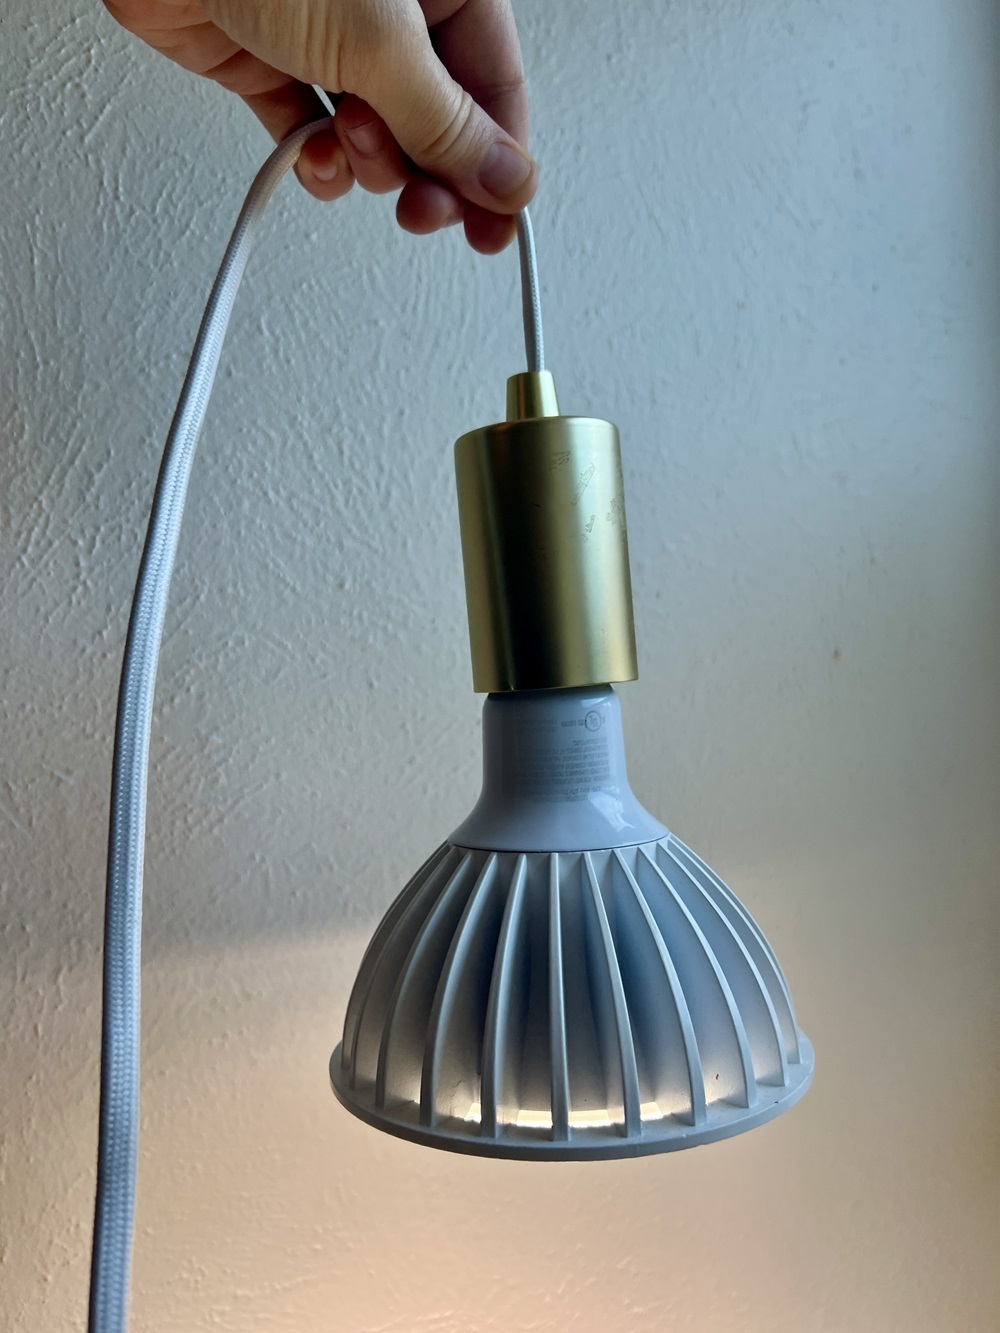
There is a wide range of grow lights to choose from, depending on your plants and goals. If you're growing smaller foliage or blooming houseplants or succulents, then some of the smaller 20-40 Watt full/broad spectrum LEDs will work just fine. Know that dual-multi band LEDs may put off a pink or purple colored light you won't want in your living space. So look for a broad spectrum lamp that emits a "white" colored light. Generally speaking, "cooler" spectrum grow lights (> 5000K) better support vegetative leafy growth. "Warmer" spectrum lights (< 5000K) tend to encourage more flowering. However, most plants will grow just fine under a balanced broad spectrum grow light. HO T5 Fluorescent lamps can still be a good option for these types of plants (just be aware Fluorescents do contain some mercury and LEDs may be a more sustainable choice). If you are jumping to indoor citrus, edible crops, or larger floor houseplants, you'll want to look for more powerful LEDs or even HID (High Intensity Discharge) options.

Yes, there are a lot of cheaply made grow lights on the market these days so I typically recommend buying lamps made in the U.S. I find quality and longevity is better, as well as care of shipping and customer service.

There are no specific types of plants that respond better to grow lights - each species has a requirement for the intensity and duration of light it would normally get from the sun in order to thrive and reproduce. You can, for the most part, replicate these needs using quality grow lights. If you are growing low or very low light foliage plants indoors and you have good natural light from East, West, or Southern exposures then you may not need grow lights for these plants. But if your home is relatively dark, or you want to grow species or edible crops that require more light to thrive, then you may need to at least provide some supplemental light for your plants, or significant lighting for seeds, edibles, and other high-light plants.


Plant ABCs: Love in a Mist

December 21, 2023

It’s L for Love in a Mist!...In today's Plant ABC Series that introduces you to the wild world of plants.

Meet Nigella damascena, commonly called love-in-a-mist, or devil-in-the-bush by a cheekier crowd. This is one of my very favorite annual flowers that easily reseeds itself in your garden with no effort at all. You’ll find the flowers come in shades of blue, purple, pink and sometimes white. I find their flower form to be stunningly beautiful. N. damascena is a member of the buttercup family, Ranunculaceae and plants produce a profusion of lovely black seeds inside striking dry pods.

PC: Leslie F. Halleck

Depending on where you live, plants can bloom very early spring into early summer, as they do for me here in Texas, or may be a summer bloomer for you in cooler climates. Plants drop seed in summer and fall. In my area seedlings emerge in late summer and fall, then begin blooming in late winter early spring. These are easy wildflowers you can throw seed out into areas you don’t do any garden maintenance. Once you have an established population you can save plenty of your own seed.

PC: Leslie F. Halleck


Sometimes You Need to Get Lost in Peru

November 30, 2023

Getting Lost in the Forest

Sometimes you need to get lost…

To begin a new adventure. When there is always a clear (or what you think is clear) path in front of you, it’s easy to keep walking it. Even if it may not take you where you want to go. Sometimes you just need to get lost in the woods (literally and figuratively) to find your way.

PC: Leslie F. Halleck

I was hiking a supposed back side trail down from the mountaintop Tambomachay ruins in Cusco, Peru (if I recall correctly that’s the site I was at for this hike but it could be a different one). Instead of taking the normal public descent back to the town where I was to meet a friend who would pick me up, I decided for a longer more scenic route. The local guide posted at the ruins indicated with hand gestures that yes I could get where I was going by hiking down the mountain...that way...mind you he just pointed in a general direction.

I was like…ok cool! Why not, right? It was a beautiful hike and I have many photos of amazing plants I found. But about an hour in the tiny sort of foot path that looked like a foot path disappeared. No markers, no path, just lots of mountains and a tiny descending stream that would appear and disappear…then reappeared sometimes.

I just had to pick a direction, pointed myself downward, and hoped that in my descent I’d end up in the right village in time for my ride. No, no cell signal of course. No map. No path. I just had to trust my gut. I thought Huh, if it gets dark and I don’t show up…maybe my friend will send someone? Images of helicopter rescues ensued. Although something like a llama rescue would have probably been more in order.

I tromped may way along keeping my eye out for the little stream to follow, forced to switch back and forth from both mountainsides in order to find a walkable route. After a few hours, I got a view of a valley and hoped I would end up at the right destination in time. I did. Whew.

I’m not recommending you go get lost in a mountain forest in a foreign country in order to find your way. But I will say it was one of the most lovely and memorable hikes. I’m on another one of those hikes in life right now, and I can’t wait to see what new adventure awaits.

If you find yourself uncertain about your current path, it might be time to through caution to the wind and get lost for a while.


What are Chiltepin Peppers and How to Grow Them

November 18, 2023

What are you harvesting? 🌶️🌶️🌶️

Chiltepin Peppers; a Potential Perennial for the Vegetable Garden

UPDATED 2024

November is still summer fruit harvesting time in Texas when it comes to peppers! Chiltepin chile, a small but mighty variety of pequin pepper (Capsicum annuum var. glabriusculum) often ripen in the fall, even when light frosts start to hit. It’s one of my favorite edible ornamentals in my garden. The tiny peppers usually begin ripening later in the summer and continue producing until the first frost. This is what I call a "set it and forget it" plant, as there is little care or maintenance needed for plants to produce prolifically.

In my area (Dallas, TX) this is a tender perennial, meaning top growth will die down in the first hard frost (but often make through the first few light frosts, as this plant has), then reemerge from the roots in spring.

In fact, chiltepins are one of my most reliable perennial edible ornamentals and it's root systems have survived some intense periods of deep freeze on the north side of my home. And this clump is going on about 10+ years in my garden.

Chiltepin peppers in my garden

Chiltepin peppers in my garden
PC: Leslie F. Halleck

Chiltepin peppers are part shade tolerant

Did you know? This is one of the few fruiting edibles for your vegetable or ornamental garden that thrives in partial sun with a fair amount of shade. My plants get pretty shaded out from neighboring plants, but they still put on a bounty of pepper harvests.

Plants will also seed freely in the garden and I have some nice volunteers. But don't worry, the spread is not aggressive or invasive. Just a few extra plants here and there.

Tiny, berry-sized peppers mature from green to red, and then are typically sun dried, but you can use them fresh or pickle them green! (I’ll be pulling a bunch of green ones to pickle) They pack some serious heat (Scoville 50,000-100,00 unites) but they aren’t really great for eating alone - you usually just get a lot of heat without a lot of pepper flavor. Blend them with other types of peppers, salsas, or other recipients that call for chiles.

Chiltepin pepper fruit

Chiltepin pepper fruit
PC: Leslie F. Halleck

Chiltepin peppers make a lovely addition as an edible ornamental in any garden. Here it comingles with an adjacent Eupatorium wrightii, white mist flower or bonset, a Texas native fall bloomer.

Chiltepin peppers make a lovely addition as an edible ornamental in any garden. Here it comingles with an adjacent Eupatorium wrightii, white mist flower or bonset, a Texas native fall bloomer.
PC: Leslie F. Halleck


Plant Parenting: Houseplant First Aid Kit

October 17, 2023

Houseplant First Aid Kit

Over the last few months I've been joining Maria Failla on her "Growing Joy with Plants" podcast for a "Grow Better Series" to help you get a handle on all your more challenging houseplant growing needs. On the latest episode, which you can listen to HERE, I teach you how to put together your very own Houseplant First Aid Kit. Everything easily within reach and in one place to quickly take care of all your important houseplant care needs.

Here are the highlights from the show, and I've added in a few more of my own notes for you. If you want ALL the details then be sure to LISTEN to the episode!


A Houseplant First Aid Kit is a great gift to give yourself, but I also think it's a super thoughtful gift you can give to any houseplant parent in your life!


Caring for houseplants often means dealing with pests, diseases, or cultural issues at some point. Having a houseplant first aid kit prepared allows you to quickly treat problems and nurse your plants back to health. In this episode, our favorite horticulturist Leslie Halleck shares must-have items to include in your DIY houseplant first aid kit so you can effectively treat plant problems as soon as they pop up!

Products to Add to Your Houseplant First Aid Kit

Horticultural Oils

Horticultural oils work by “smothering” soft-bodied insects and preventing fungal diseases from spreading on leaf surfaces. That means you take away their ability to breathe! They can be made from various plant-based extracts like neem, peppermint, or thyme oil. Some also contain petroleum.

Note: Mineral oil-based horticultural oils can potentially cause leaf burn outdoors in warm temperatures or direct sunlight. Stick to plant-derived oils like neem, but keep in mind they may still need to be rinsed off in direct sunlight.

Neem Oil vs Azadirachtin

Neem oil itself does not contain insecticidal compounds. It smothers insects it comes in contact with. To get neem oil with direct insecticidal properties, look for products simply labeled "Neem" that include the chemical "azadirachtin" on the label. Azadirachtin is an organic compound in neem that acts as a growth regulator for insects.

Leslie mentioned that neem oil can be used as a leaf polish, but you should rinse it off after 1-2 hours before hot sunlight hits to prevent leaf scorch.

Fungicides

Copper-based fungicides can help prevent fungal spores from reproducing and spreading. Apply these to treat existing infections and prevent them from infecting healthy plant tissue. Newer biofungicides work by making leaves less hospitable environments for fungal growth.

Insecticidal Soaps

Insecticidal soaps work by dissolving the waxy cuticle layer that protects soft-bodied insects like aphids, mealybugs, and scales. Use these as a gentle treatment before moving to stronger chemicals.

Hydrogen Peroxide

A mild hydrogen peroxide solution has multiple uses:

● Water in as a soil drench to kill fungus gnat larvae in the root zone.

● Helps sterilize tools like pruners.

● Can be misted on leaves to increase oxygen and restrict fungal spore growth.

● Oxygenates root zones and encourages new root growth.

Systemic Pesticides

For difficult pests like scale, mealybugs, or spider mites, a systemic insecticide may be needed. Systemics are absorbed into plant tissue, distributing the pesticide within the plant. In simpler terms, the effect takes place when these pests digest the plant they are munching on and die as a result.

Note: Avoid use on edibles. These chemicals are harmful to human body.

Rooting Hormone

Rooting hormone contains compounds that stimulate root formation in cuttings and stressed plants. Use it when propagating plants or repotting a plant with root damage to encourage new root growth.

Gear and Tools to Add to Your Houseplant First Aid Kit

Sticky Traps

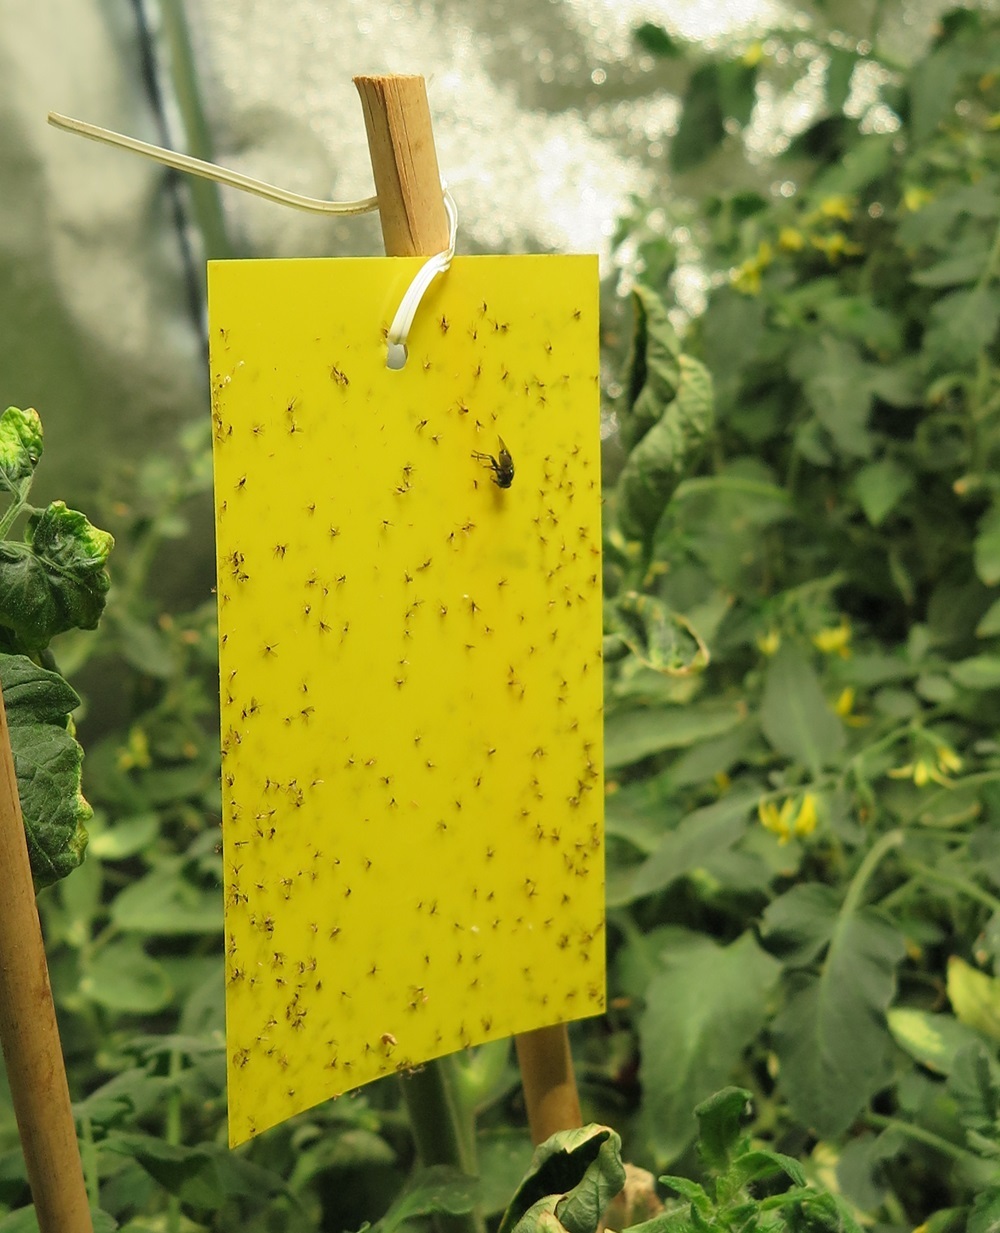
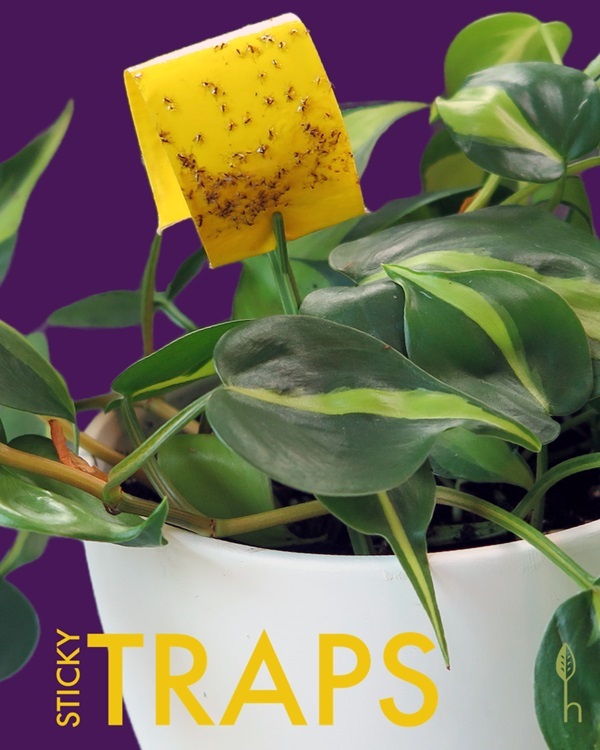
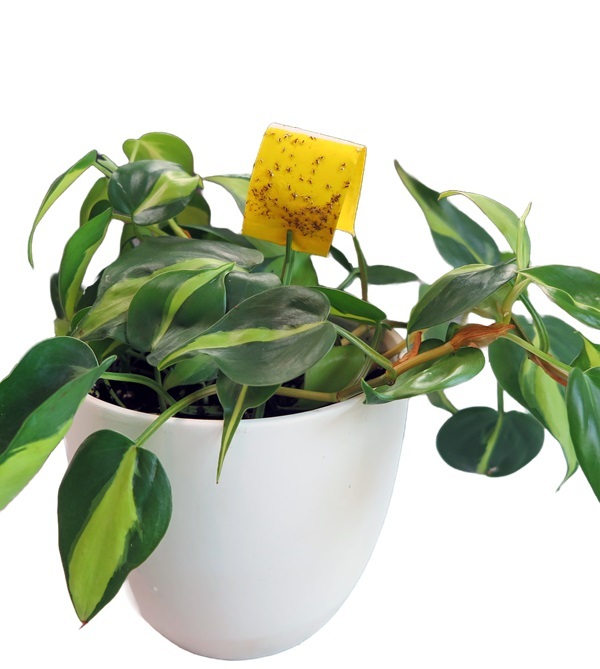
Yellow and blue sticky traps catch adult fungus gnats and also monitor for other flying insect pests on your plants. Use regularly as a monitoring tool even when you don't see pests because, remember, early detection allows quicker action.

Gloves

Leslie recommends these types of gloves when gardening:

● Nitrile gloves - protect hands and allow you to physically remove pests by squishing or rubbing them off of leaves.

● Cotton gloves - a softer option for gently cleaning leaves and polishing plants.

● Rubber/latex gloves - offer hand protection when working with oils and chemicals.

Pruners and Snips

Dedicate a good pair of plant pruners and snips for your houseplants. Sterilize them in bleach or other disinfectants after each cut to prevent disease transmission. Keep extra sharp snips or scissors specifically for plants—avoid using kitchen cutting tools!

Potting Mat

A foldable potting mat or tray contains soil mess on any surface when urgently repotting or treating a plant. Clean-up is also easy - just shake it off outdoors.

Humidity Dome

Slip a plastic bag or humidity dome over plants that need a humidity boost. This raises the humidity around the plant to help it recover from stress.

Hygrometer

Monitor humidity levels with a small digital hygrometer. This helps diagnose problems and determine if you need to increase humidity for certain plants.

Grow Lights

Compact LED grow lights provide therapeutic light when nursing plants back to health. Look for clip-on or low-wattage options that are easy to maneuver.

PAR Meter

If you’re willing to invest a lot more money, this specialized light meter measures photosynthetically active radiation (PAR) — the intensity of light useful for photosynthesis. It provides precise data on proper light levels for houseplants and indoor gardens.

Magnifying Glass

Being my favorite tool, a simple magnifying glass lets you inspect plants closely for small pests like spider mites, thrips, and more that can hide in plain sight. It also helps identify the onset of fungal spores or bacterial blotches, webbing, honeydew, or eggs.

Moisture Meter

A moisture meter can help newer plant parents determine when to water. Consider adding one to your kit if you struggle with:

● Understanding when plants need water

● Watering too frequently or infrequently

● Identifying dry vs. wet areas of the root ball

Houseplant Care Reference Books


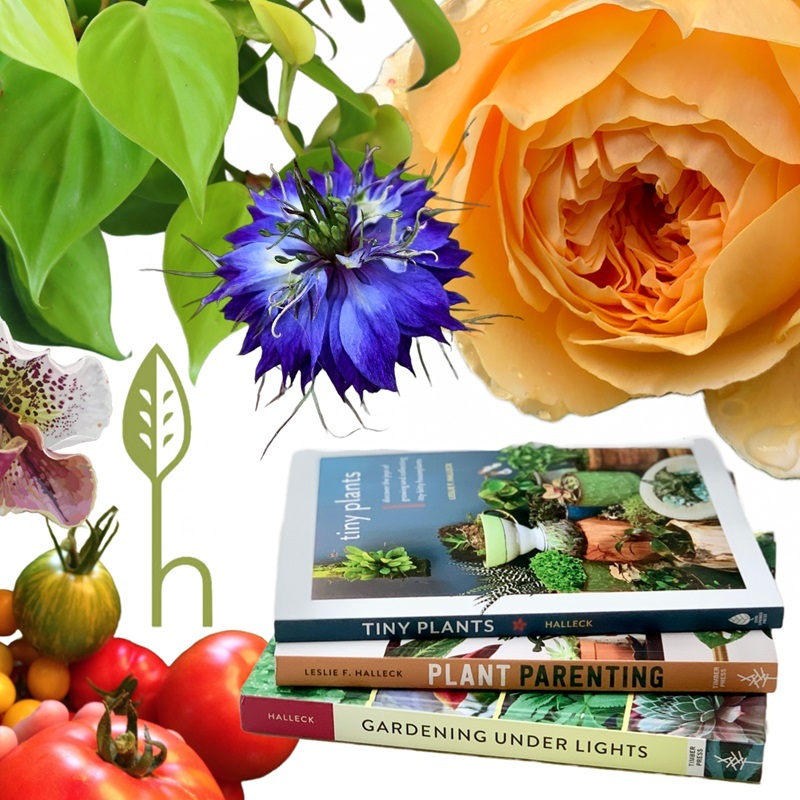
A couple go-to books like Leslie Halleck's "Plant Parenting", "Gardening Under Lights", and "Tiny Plants" provide diagnostics and treatment recommendations when you need quick guidance.

Assembling Your Own Houseplant First Aid Kit

Hopefully, this gives you a helpful overview of products and tools to include in a well-stocked houseplant first aid kit. Keep everything you need to treat your plants in one place so it's readily accessible for any horticultural emergency.

I recommend gathering small quantities and sizes of key items and organizing them in a storage bin or tackle box for easy transport.

Once you've assembled your kit, I'd love to see it! Share a photo on Instagram and be sure to tag me @lesliehalleck so I can share your DIY houseplant first aid kit with our community.

You can also listen to the other episodes in our Grow Better Series HERE


Plant Parenting: How to Identify Houseplant Diseases

September 19, 2023

Is your houseplant suddenly dropping leaves, getting spots, or just looking sick?

Plant diseases can strike fear into any plant parent's heart. One day your plant baby is thriving, and the next it's on the decline! Here are the highlights from my third episode in the "Grow Better with Leslie" Series on Maria Failla's "Growing Joy with Plants" Podcast.

Plant diseases happen to the best of us. Even expert growers deal with fungal, bacterial, and viral plant infections. The good news is that many common houseplant diseases are treatable if caught early. But plant friends, you need to first know how to accurately identify them.

In the third episode of the Grow Better series with my dear friend, Leslie Halleck, we explore how to spot symptoms, diagnose plant illnesses, build a first aid kit, and nurse your plants back to health.

What Factors Cause Diseases in Houseplants?

It’s important to understand what causes plant diseases in the first place. According to Leslie, there are three key elements required for a plant to contract an illness, known as the “disease triangle:”

  • A susceptible host plant

  • Pathogens such as fungi, viruses, or bacteria

  • Environmental conditions

The pathogens must come into contact with and enter the plant, then establish themselves and reproduce. Stressed plants are more prone to pathogens taking hold.

Common Plant Pathogens

There are different types of pathogens that can cause disease symptoms in plants. Here are the most common pathogens that can affect our plants:

Fungal diseases - These include issues like powdery mildew, leaf spot, and root rot. Fungi reproduce via spores and mycelium (threadlike growths).

Viral diseases - Viruses cause mosaic patterns, stunted growth, and deformed leaves/tissues. They are incurable and often fatal.

Bacterial diseases - Bacteria create water-soaked angular lesions on leaves and stems. They thrive in humid conditions.

Nematodes - Microscopic roundworms that infect plant roots. These are more common in outdoor plants than in houseplants.

Abiotic stresses - Environmental factors like improper light, water, etc. can also create “disease” symptoms.

Common Symptoms of Sick Plants

Indications that a plant might be sick include leaves turning yellow or a different color, spots or sores on leaves and stems, the plant looking floppy or droopy, losing its leaves, not growing as much as it should, and its leaves looking twisted or bent.

Note: Signs are physical evidence of the pathogen itself, such as fungal spores on leaves. On the other hand, symptoms are the plant's reactions, like wilting leaves or yellow spots.

While helpful, symptoms alone are unreliable for diagnosis. You need to consider the full picture:

  • What are the environmental conditions like? High humidity?

  • Does the species have known disease susceptibilities?

  • Can you see any signs like fungal spores under a magnifying glass?

When in doubt, Leslie encourages you to isolate the plant from others to prevent spreading. Scout all your plants frequently and address issues early.

General Disease Treatment Guidelines

Accurate diagnosis is key before treating plant diseases; otherwise, you may do more harm than good! Here are some basic guidelines:

Fungal diseases - Use fungicides specifically labeled for the plant/disease. Improve air circulation.

Viral diseases - Destroy infected plants to prevent spreading. Sterilize any tools used on sick plants.

Bacterial diseases - Apply bactericides suited to the plant. Reduce water on leaves.

Treating Specific Houseplant Diseases

Now let’s go over some of the most common houseplant diseases and how to treat them:

Powdery Mildew

Caused by overhead misting and high humidity. Signs are white powdery coating on leaves and stems. Treat with fungicides and remove affected parts.

Leaf Spot

Various fungal/bacterial species cause spots that grow/spread. Remove infected leaves promptly. Apply effective fungicide.

Root Rot

Multiple fungi cause brown, slimy roots. Repot in sterile soil and use a fungicide drench.

Molds

Molds show up as faint gray stuff on leaves or soil and grow in overly wet conditions. Wipe off, increase airflow, and treat with fungicides.

Viral Diseases

Viral Diseases make plants look strange with mosaic patterns and they don't grow well. Sadly, there's no medicine for this. The best thing to do is to get rid of the sick plants and clean your tools carefully to stop it from spreading.

When to Get Rid of a Sick Plant

Sometimes plant diseases can’t be cured, especially viruses and severe fungal infections. Other times, the infection has progressed too far to save the plant.

The hard truth is that you can’t save every plant. If a plant is too far gone, it’s better to remove it so the disease doesn’t spread! Consider taking healthy cuttings to propagate a new plant.

Rely on Research-Based Resources

With so much misinformation online, it’s important to get your plant care advice from science-backed sources. Here are some reliable educational resources:

  • Local university agricultural extension services - Many will diagnose diseases if you submit plant samples.

  • Horticulture books specifically about plant diseases - Look for titles by respected authors.

  • University studies - Search online using terms like “research” or “publication.”

When it comes to plant health, knowledge truly is power. Learning how to properly identify, treat, and prevent common houseplant diseases will give you the confidence to handle any issue. Pay close attention to your plants, act quickly when needed, and you’ll be rewarded with thriving plants!

You can listen to the podcast episode HERE for all the details from Leslie!


Plant Parenting: Overwatered vs Underwatered Plants and How Much Light do They Need?

August 18, 2023

Common Houseplant Problems

Is my plant over watered or underwatered? Are my plants getting enough light?

These questions are typically asked, and the answer is often hard to discern. Guest of the podcast Leslie Halleck likes to say "It depends." But this answer is more meaningful than you might think, which will be explained in today's episode of our new series, "Grow Better," featuring Leslie. As a certified horticulturist with extensive experience in plant care, Leslie is here to share her insights on the subject of overwatering and underwatering, offer valuable insights into the optimal light requirements for plants, and explore the common challenges plants encounter.


Overwatered vs. Underwatered Plants

Nailing the watering game with indoor plants can be tough. Overwatering can make your plants super unhappy, causing root suffocation and fungal diseases. Underwatering, on the other hand, can cause wilting and yellow leaves, because the plants roots dry up and die. So here are some tips to see if your plant is getting too much or too little water.

Signs of Overwatering

  • Yellowing, dropping leaves: If your plant's leaves are looking yellow and falling off, it might be drowning due to overwatering! Too much water in the soil can suffocate the roots!

  • Soft and mushy leaves: Overwatering leaves your plants with soft, mushy foliage that rots.

  • Root suffocation and necrosis: Wet soil suffocates plant roots, which leads to necrosis (brown or black dead tissue), along with pathogens and nutrient problems.

Note: You can avoid overwatering by using a moisture meter.

Signs of Underwatering

  • Yellowing and crispy leaves: Soil that's too dry and doesn't provide enough water will result in yellow dryer leaves, at times brittle and crispy

  • Wilting and loss of rigidity: Underwatered plants may start to wilt and lose their rigidity as they become dehydrated.

Note: If your plant looks dry and brittle, check the roots to see if you need to repot it or adjust your watering schedule.

Understanding Light Requirements for Indoor Plants

Without light, we'd be stuck in the dark, as would our plants! Every plant has unique light preferences, so understanding light intensity, duration, distance from the source, and the light spectrum is key. Here’s what you need to know about low light and high light.

Importance of Light for Plant Growth

  • Photosynthesis: Photosynthesis is how plants make energy, which is necessary for growth.

  • Light wavelengths: Different wavelengths of light have different effects on plant growth and development, with red and blue light being the most important.

Understanding Light Levels for Your Houseplants

  • Plant responses to light: Keep an eye on your plants' reactions to light. If they're turning yellow or stretching towards the window, they may need more light. If they are trying brown, that might be sunburn (yes plants get that too!)

  • Things that affect indoor light: The direction the window faces, how much shade there is, and how far the plant is from the light source can all affect light.

  • What too little or too much light looks like on a plant: Slow growth, pale leaves, and stretching towards the light are some low light symptoms. Burnt leaves, wilting, and stunted growth are some high light symptoms.

Common Houseplant Problems and Solutions

Nutrient deficiencies, pest infestations, and diseases can affect indoor plants in addition to watering and light. Here are some tips for addressing these problems:

Nutrient Deficiencies

Nutrient deficiencies can show up in different ways. The usual suspects are nitrogen, phosphorus, and potassium. If you spot things like yellow leaves, slow growth, and leaf curling, your plant might be missing some nutrients. Your plant can get back on track with some fertilizer or soil changes.

Variegated Plants and Color Changes

Plants with variegated leaves have leaves that change color or pattern depending on the light and other factors. If they aren't getting enough light, they might lose their cool color patterns and turn green. To get more intense colors, give the plant higher light levels.

Tips for Successful Plant Care

Keeping your plants happy involves getting your watering routine down, making sure they're getting enough light, and keeping a close eye on them. Here are some tips:

Proper Watering Routine

  • Different plants like different amounts of water. So do a bit of homework to find out what your plant likes.

  • A moisture meter can help you figure out when to water your plants and make sure the soil is just right—moist but not soggy.

  • Things like temperature, humidity, and light levels can affect how much water your plant needs.

Adequate Lighting

  • Research what kind of light your plant likes and try to provide that.

  • Place your plant near a window where it gets the right amount of light, or use grow lights if your natural light isn't cutting it.

  • Too much or too little light can stress your plants out, so avoid the extremes.

Regular Plant Check-ups and Care

  • Trim off dead or damaged leaves to help your plant grow well (aka pruning).

  • Monitor plants for signs of stress or pests

  • Make sure your plants have the right temperature, humidity, and airflow to promote growth.

When to Let Go: Composting Sickly or Unmanageable Plants

Gardening is supposed to be a source of your joy, not stress. If a plant is severely diseased, infested with pests, or damaged beyond recovery, sometimes the best course of action is to compost it or “let it go.” This may be hard to accept for many plant parents due to "green guilt," but remember, the goal is healthy, thriving plants, not a collection of struggling ones.

At the end of the day, plant care requires continual learning and adapting. If you understand how your plants need water and light, and if you address any problems immediately, you can create a thriving garden. Don't be afraid to make mistakes and remember - every plant has its own unique set of needs!

You can listen to ALL the details from Leslie in this podcast episode HERE


Plant Parenting: 7 Common Houseplant Pests and How to Get Rid of Them

August 16, 2023

Destructive Houseplant Pests and How to Get Rid of Them

As houseplant parents, most of us will inevitably encounter some type of pest infestation at some point. Seemingly overnight, our beautiful, thriving plants can become under attack by bugs we didn't even know existed! Pests can quickly damage and even kill our treasured plants if left unchecked. In Episode 2 of the Grow Better Series with Leslie on Maria Failla's "Growing Joy with Plants" Podcast, Leslie teaches you how to identify the most common houseplant pests and take action to get rid of them fast. Here are the highlights from the episode.

Why Plants Get Pests

There are a few key reasons even the best cared-for houseplants can become susceptible to pests:

Hitchhikers - Eggs or larvae can travel in on new plants, in soil, or on leaves. Carefully inspect new plants before bringing them home.

Stress - When plants are struggling from underwatering, overwatering, or improper lighting, they become more vulnerable to attack.

Environment - Certain temperatures, humidity levels, or stagnant air can create an ideal environment for bugs to multiply. Know which pests are attracted to which conditions.

How to get rid of fungus gnats in my plants  

How to identify fungus gnats

You’ll quickly notice the adults of this fly species by their erratic flying around plants! But the real culprits are the larvae in the soil, which feed on roots and cause stunted growth.

Signs to look for with a fungus gnat infestation: Adults flying around, overall decline in plant health

Getting rid of fungus gnats in houseplants:

  • Use yellow sticky traps around plants to catch adults. This controls the population.

  • Do a soil drench with a diluted hydrogen peroxide solution (1 part hydrogen peroxide to 10 parts water) to kill larvae.

  • Allow soil to dry out more between waterings to deter larvae.

  • Use BT or Mosquito Bits when you water your plants

How to get rid of spider mites

How to identify spider mites

These tiny arachnids look like moving dots to the naked eye. Left unchecked, they form colonies and lay webbing on plants, sucking nutrients via needle-like mouths. They thrive in hot, dry environments.

Signs to look for with a spider mite infestation: Webbing on stems, yellow stippling on leaves

Getting rid of them:

  • Mist plants often (moisture deters spider mites)

  • Apply insecticidal soap or horticultural oil, be sure it’s labeled for mites

  • Reapply the insecticidal soap or horticultural oil every 7-10 days until all the mites are gone

How to get rid of scale on houseplants

How to identify scale on houseplants

Scale insects encase themselves in a waxy, armored coating that makes them very hard to get rid of. They attach themselves to stems, leaves, and branches to feed and leave sticky honeydew in their trail.

Signs to look for with a scale infestation: Honeydew and sooty mold on leaves, leaf drop, brown “scabs” on leaves (those are the bugs)

How to control scale

  • Rub off scales with gloves and a cotton swab dipped in alcohol

  • Use neem oil or horticultural oil to smother scales

  • For severe infestations, apply a systemic insecticide that targets scale

How to get rid of mealybugs on houseplants

How to identify mealybugs

Mealybugs are soft-bodied pests that look like little cotton swabs crawling on stems and leaves. Maria called them “roly polys’. They produce a fuzzy white wax coating for protection. They thrive in greenhouse conditions.

Signs to look for with a mealybug infestation: White cottony tufts in leaf axils, yellowing/curling leaves, white little cotton like specs on your leaves

How to control mealybugs

  • Remove bugs with a cotton swab dipped in alcohol

  • Apply horticultural oils or insecticidal soaps

  • Remove heavily infested leaves and dispose of properly

How to get rid of aphids

How to identify aphids

Aphids are soft-bodied insects that come in a variety of colors like green, yellow, black, or white. They feed in dense groups on stems and leaf undersides.

Signs to look for with an aphid infestation: Curled, stunted leaves, honeydew residue, swarms of the bugs on your plants - they are easy to spot

Getting rid of them:

  • Blast plants with water to knock off adults

  • Apply insecticidal soap to suffocate them

  • Remove badly infested leaves and isolate plant

  • Use neem oil or horticultural oils

How to get rid of thrips indoors

How to identify thrips:

Thrips are tiny, slender insects that love feeding on leaves. They move quickly and hide in tight spots.

Signs to look for with a thrip infestation: Discolored, curled leaves. Buds failing to open.

How to control thrips:

  • Remove heavily damaged leaves

  • Apply insecticidal soap or horticultural oil

  • Use sticky traps to catch adults

  • Try beneficial nematodes or predatory mites

  • Some biopesticides are effective

How to get rid of whiteflies on plants

How to identify whiteflies

As their name suggests, these flying pests are small and white. They gather on leaf undersides and quickly reproduce.

Signs to look for with a whitefly infestation: Clouds of white flies flying around your plants when disturbed, honeydew, yellow stippling

How to control whiteflies

  • Use yellow sticky traps for monitoring and trapping

  • Knock adults off with a strong water spray

  • Apply insecticidal soap or horticultural oil for suffocation

  • Hang up yellow plastic sheets as traps

When to Throw Away a Plant

Don’t feel guilty if a plant is beyond saving. An infestation allowed to persist can quickly take over a collection. When damage is too extensive or a plant no longer brings you joy, it’s okay to compost it and start fresh.

Building a Plant First Aid Kit (next episode and blog post!)

To be proactive in managing pest outbreaks, Leslie recommends assembling a plant first aid kit. The must-have items include sticky traps for early pest detection, a magnifying glass for precise pest identification, commercial or homemade insecticidal soap, and horticultural oil for effective pest control.

With some knowledge of their signs, habits, and solutions, you can catch most infestations early and get rid of houseplant pests for good. Your plant babies will thank you!

Prepare yourself for any type of pest outbreak and listen to the full interview HERE.


Back to top

Tips in your inbox

E-Newsletter

Sign up for my monthly E-Newsletter for botanical business news, horticulture courses, and tidbits for plant and gardening lovers!