The POOP Garden
If you've never owned a property that relies on a septic system to remove your household waste and grey water, the entire prospect can be quite daunting. Add a well to the property as your water source and you have all sorts of additional considerations. This was certainly the case for me when going through the process of purchasing my current new home and acreage in Oregon.
I've never owned a septic system before, and they can take a lot of care and thought to manage properly. When considering purchasing my current property, I had to get up to speed quickly on exactly how septic systems work from engineering and biological perspectives, all the possible repairs (which we had to do, including an entire upcoming tank replacement project), how to properly care for them, what can and can't go into the system, and very importantly what are the environmental impacts of what the system puts back out into your land. In the context of gardening and growing food, there are also some pretty important considerations you must take into account.
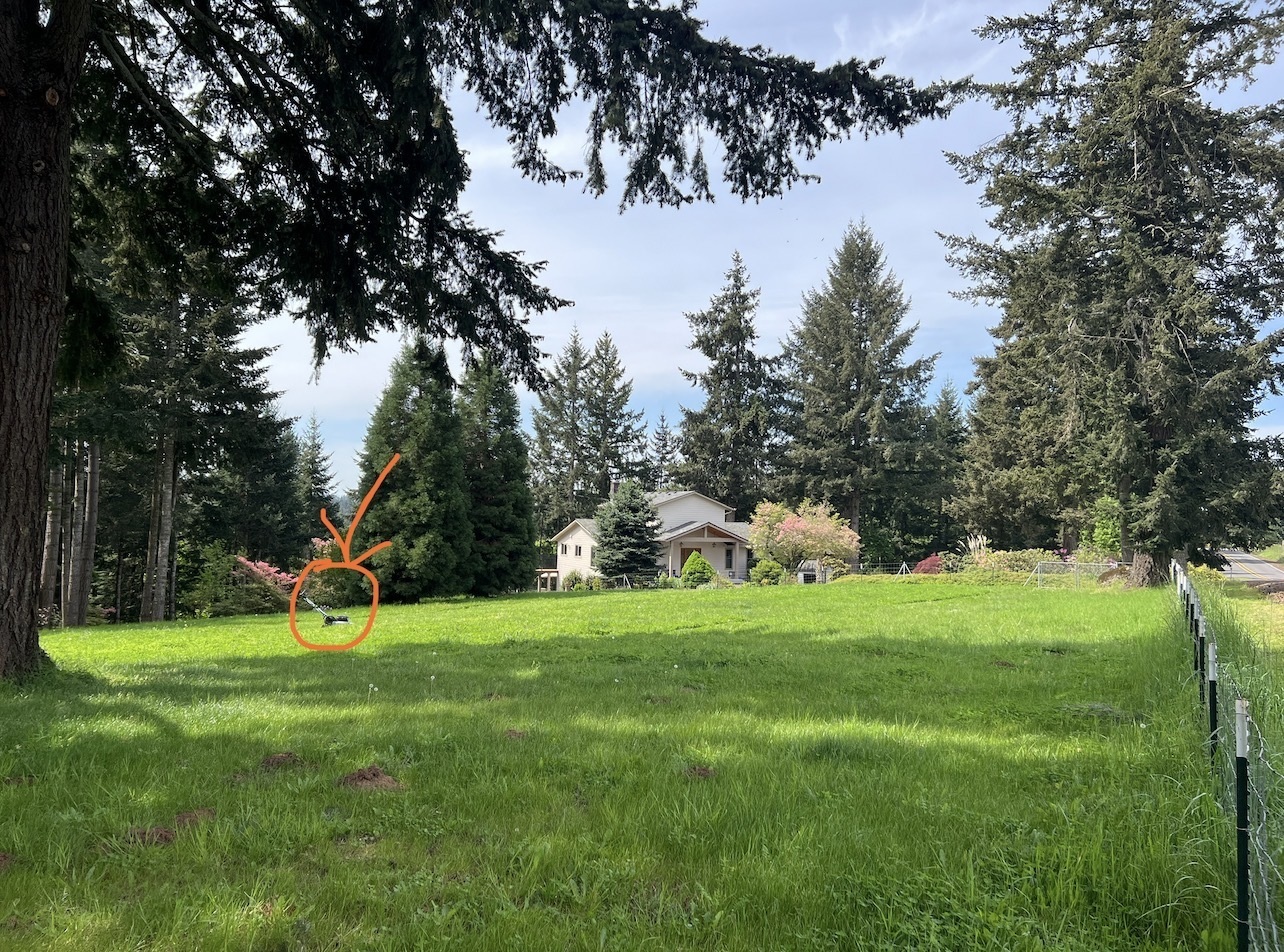
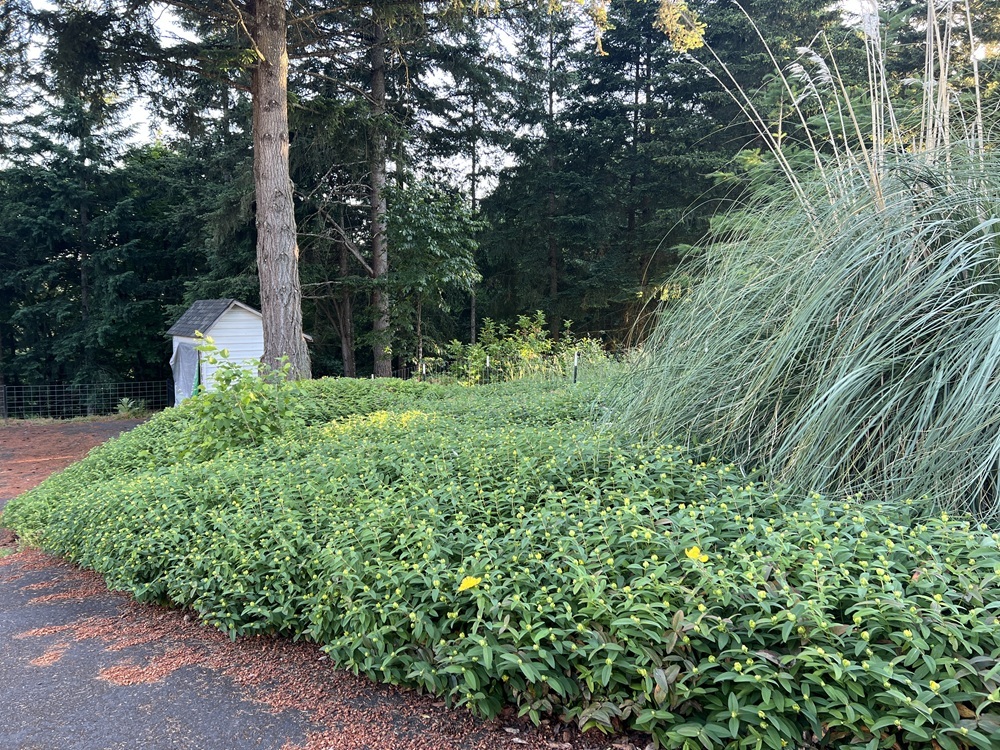
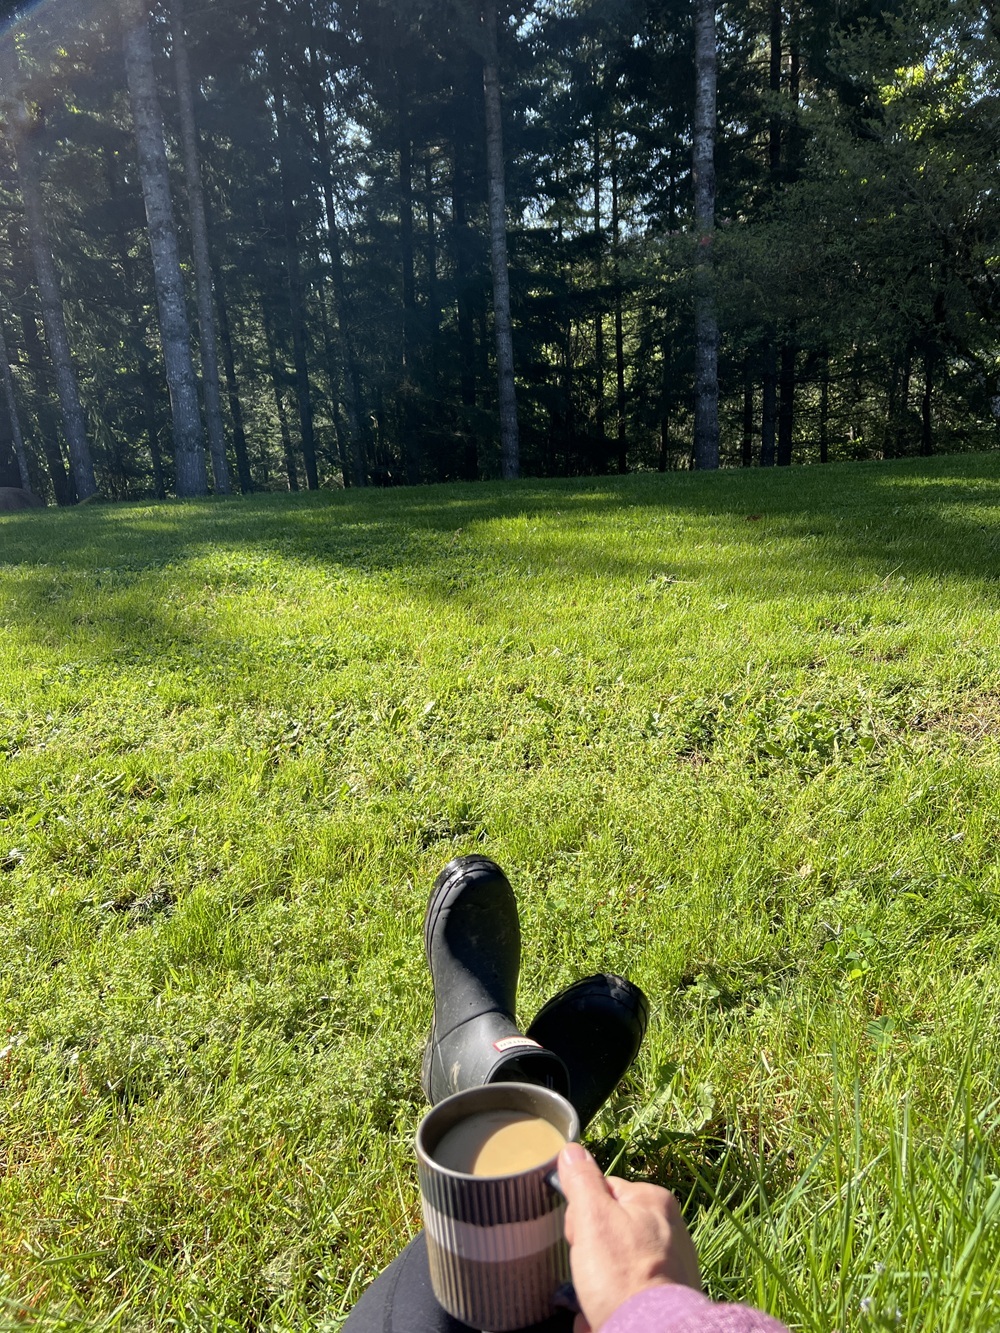
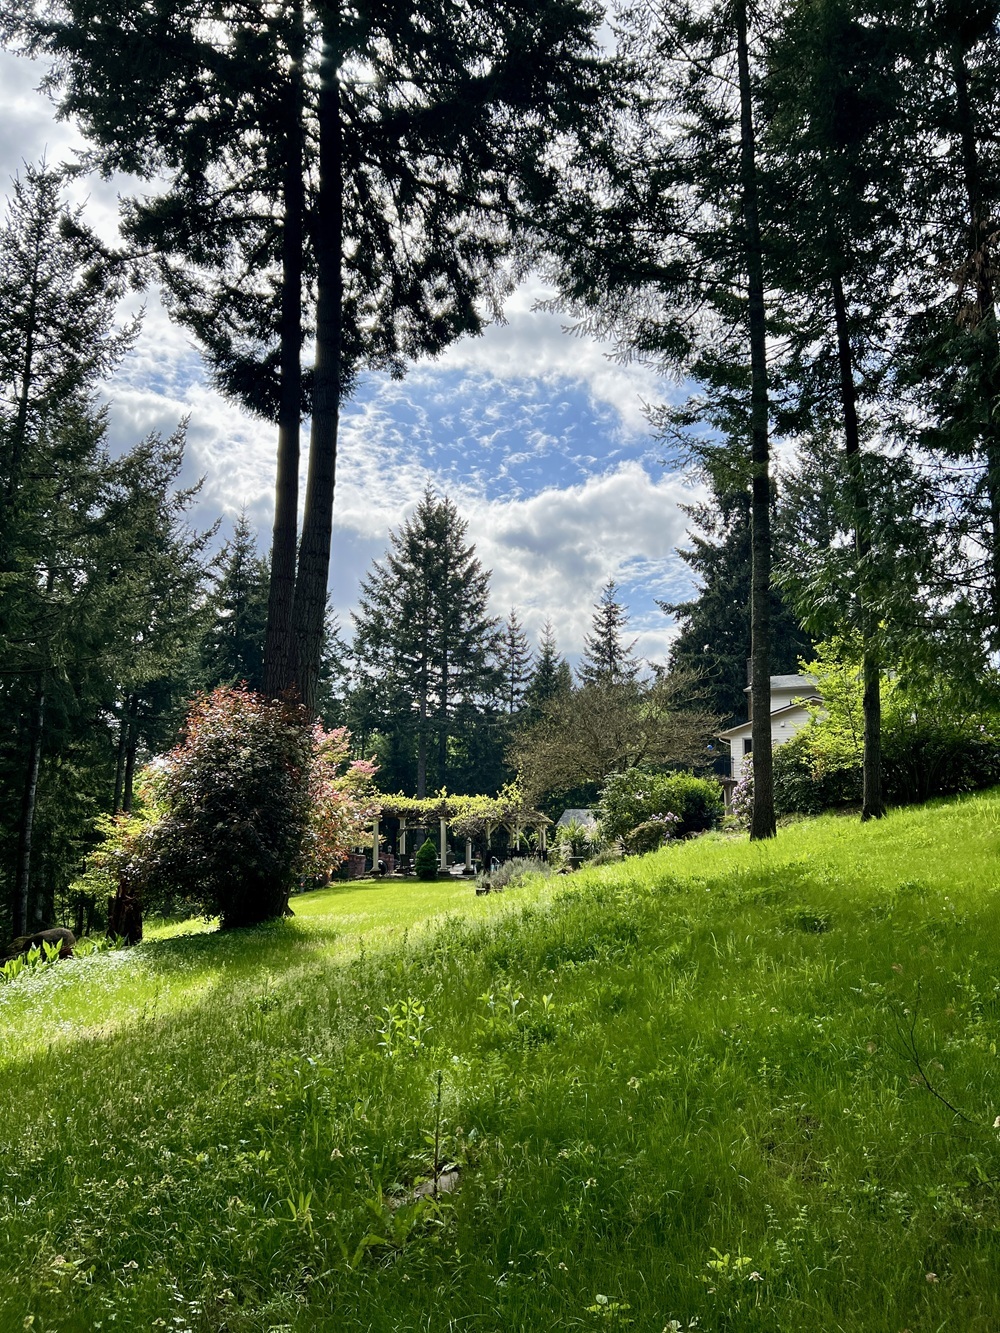
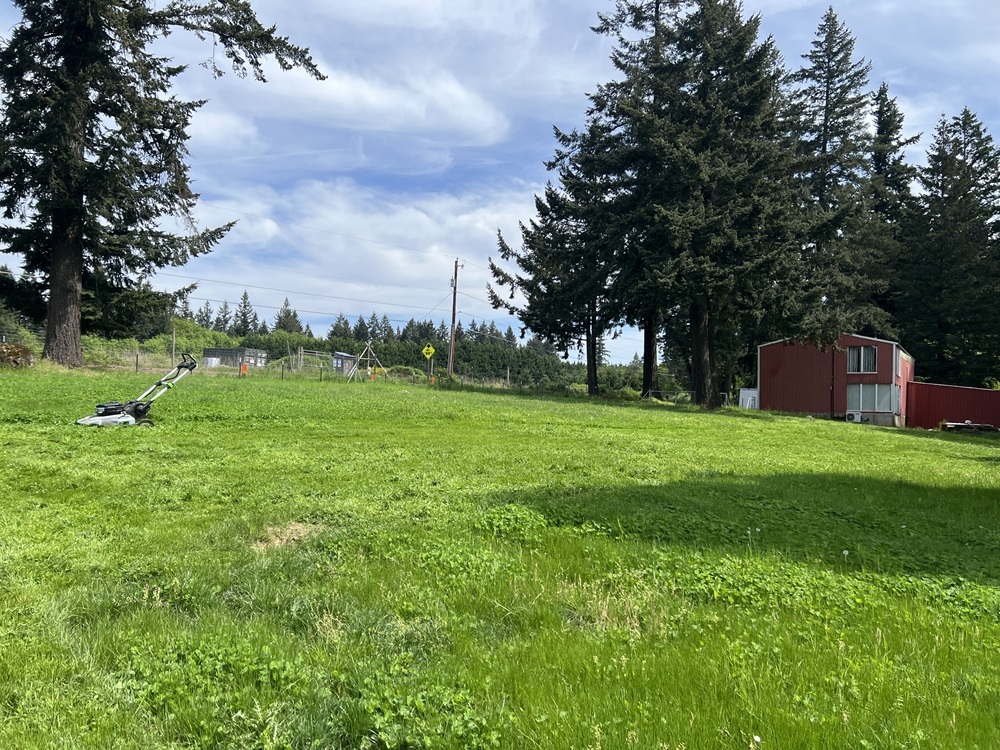
That's my little push mower I'm using to cut down the drain field, which was very overgrown.
PC: Leslie F. Halleck
What Goes Down the Drain?
An interesting thing (and potential benefit) of living with a septic system is how environmentally sensitive it makes you - or should make you. Everything that goes down your drains and toilets goes into the septic tank, and much of that subsequently in liquid form (called effluent) gets either drained (via gravity) or pumped mechanically out to your drain field (also called a leach field). The porous pipes (drain tiles) leach the effluent out into surrounding soil, which should detoxify it to a degree, IF the drain field is functional. Drain fields typically take up a large flat section of your property, so when you're looking at purchasing a rural property, don't be fooled that that big open field near the house is the perfect spot for a fruit orchard. It just might be the septic drain field! While I won't get into all the issues of putting fats or other foods down your drain and how that can be problematic for the tank, I will focus on all the other chemicals and salts you may wash down or flush, and how that can then impact your landscape and potentially ground water.
There are often a lot of limitations of what you can put down your drains on a septic system when it comes to chemicals. Think about it: bacteria are relied upon to break down waste in the septic tank. If you are using anti-bacterial soaps or other products, chlorine bleach, bathroom cleaners, plant fertilizers, chemical shampoos, paints, solvents, microplastics, or any other type of harsh chemical that are harmful to bacteria, then you're essentially going to shut down proper function of your tank.
Not to mention, those chemicals (many of which are not biodegradable) will then be put out into your drain field, and subsequently the rest of your landscape or any gardens planted nearby that would receive drainage from the drain field.
This also means these chemicals could leach into ground water or nearby streams or rivers creating environmental contamination. If you have a well on your property, which you likely do if you're on septic, then you also need to make sure there is proper clearance between the well and drain field and consider that any chemicals you put into your drain field or landscape could potentially contaminate your well water.
ZOIKS!
All of a sudden that cavalier city-dweller attitude about flushing or rinsing anything you want down your home drains needs to get flushed! Because literally everything you put down your drains is going to end up, in some form or another, out in your surrounding soil and potentially water. Suddenly, you start to think very carefully about exactly which cleaning products you're using for your home and body, as well as any other toxic or non-biodegradable products you use to use and wash down the drain with abandon.
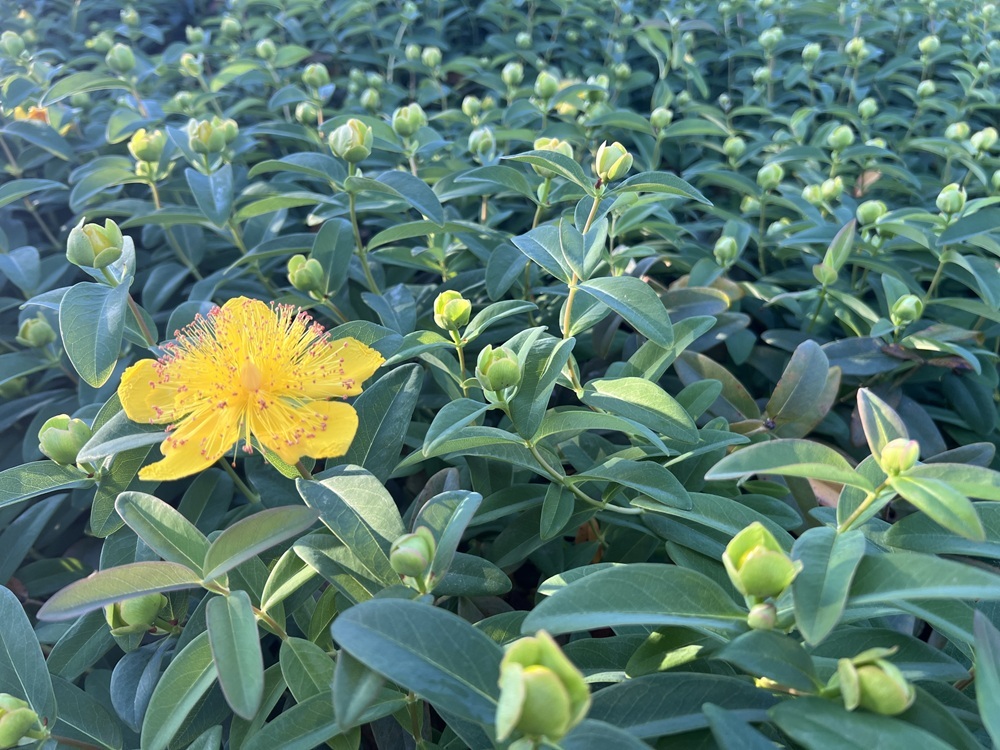
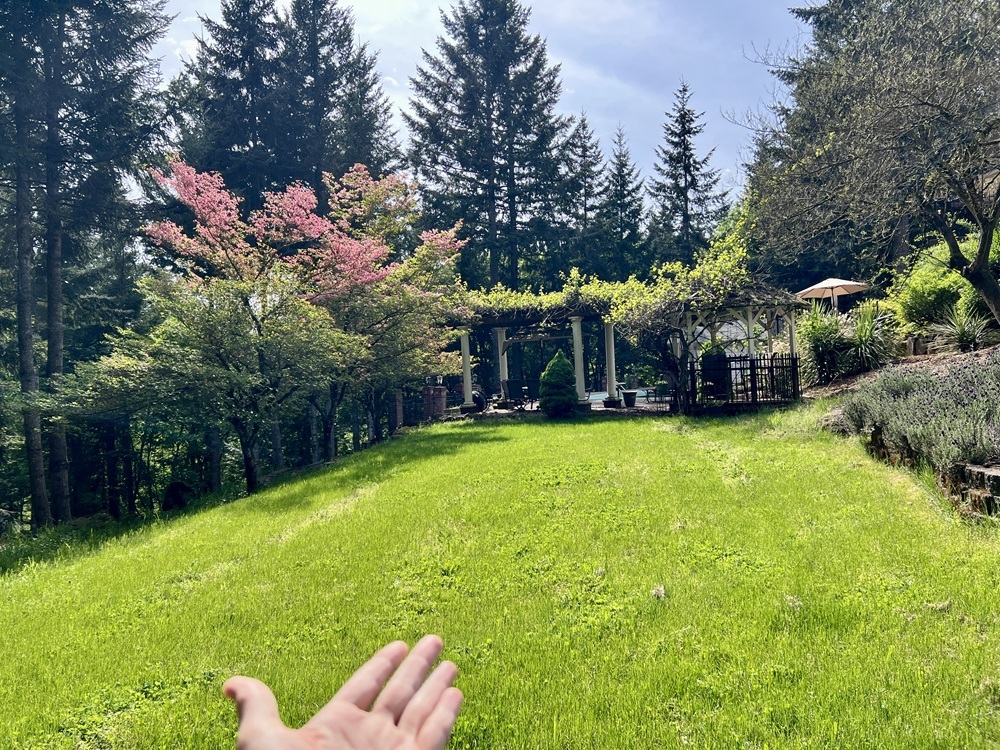
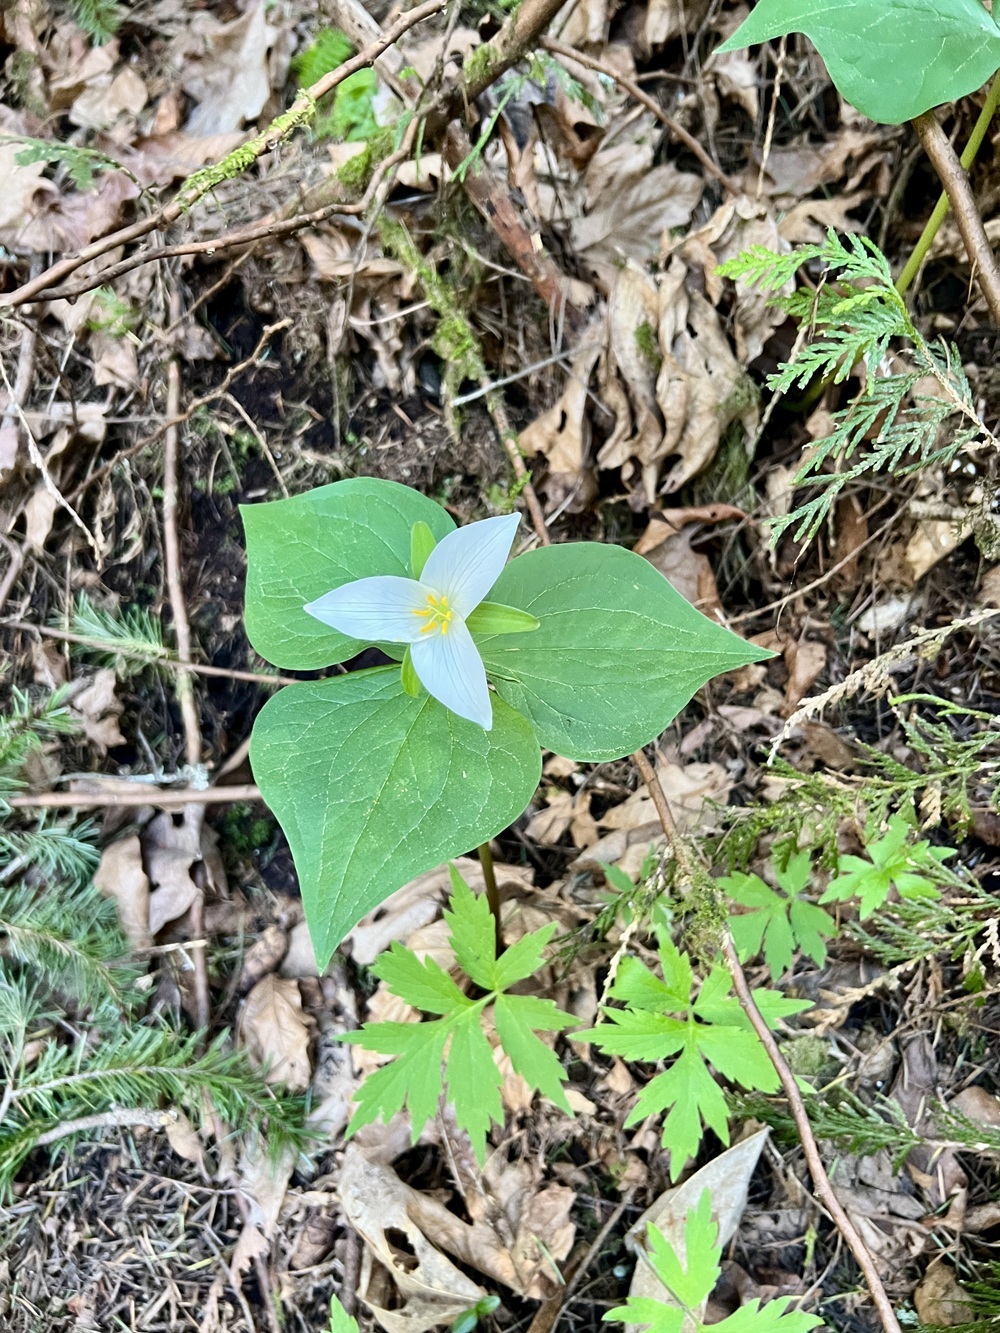
Whatever you put down your drains can end up right out in your soils.
PC: Leslie F. Halleck
What About Septic Field Gardening?
So what does this have to do with gardening? Well, just about everything if you're growing any plants or doing any gardening or food production in your landscape that surrounds a septic drain field. Septic effluent tends to be somewhat neutral in pH but often alkaline and can get up above 9 on the pH scale. Salts from water softener will also impact your soils and plant health.
More importantly, there can be bacteria from the effluent in the soils of your drain field that you do NOT want to eat. And by eat I mean plants can not only have bad bacteria splashed onto them from surrounding moisture, but plants can actually take up bacteria - especially human enteric pathogens - from the soils into their tissues. So if you don't want what's coming out of you to make it's way into those apples you're growing near your septic field, maybe skip the apples!
It's just not a good idea to plant edibles on or around your septic drain field due to potential for contamination. Now, I've had septic company employees tell me "nah you can plant your orchard on top of it!". Um...NOPE, no thanks!
Generally for edibles or any plants with larger tougher root systems, you're looking for decent clearance from the drain field and the buried system, and that will also depend on where water tends to move from your drain field through your property. I have an unusual situation where my drain field is actually at the highest elevation on my property and the septic tank sits below it. That means I have a pump that pushes water uphill to my drain field, instead of relying on gravity.
BUT, that also means that a lot of my planting area on that section of the property sits below my drain field, meaning water can move downhill towards my plantings...so I don't want to plant edibles to close to that downhill side, but I'd probably be OK planting 10-20 feet away uphill from the field. It really just depends on how large of root system the plants you want to grow have.
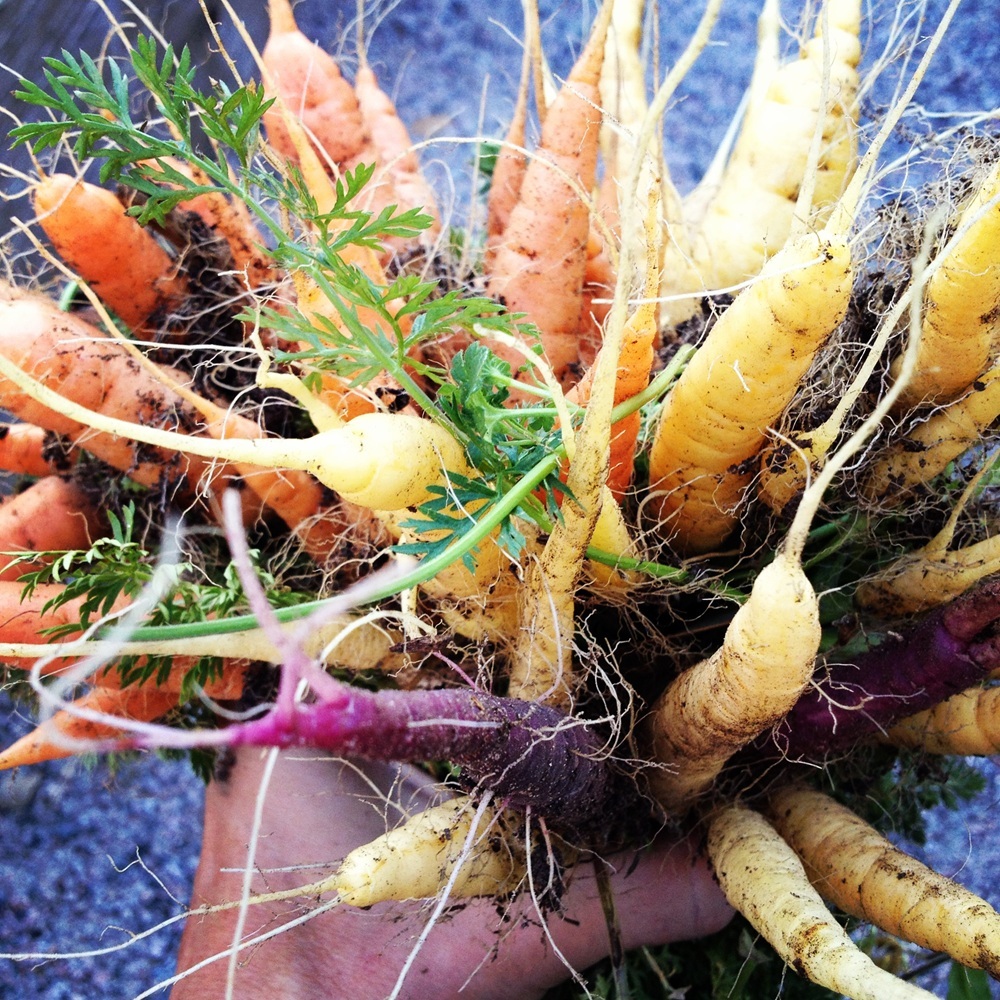
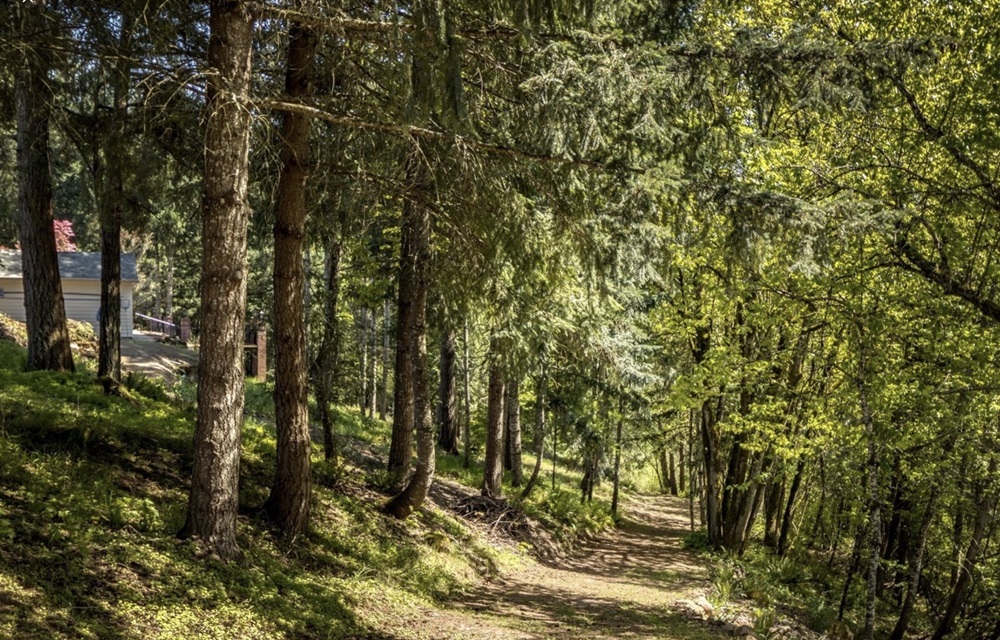
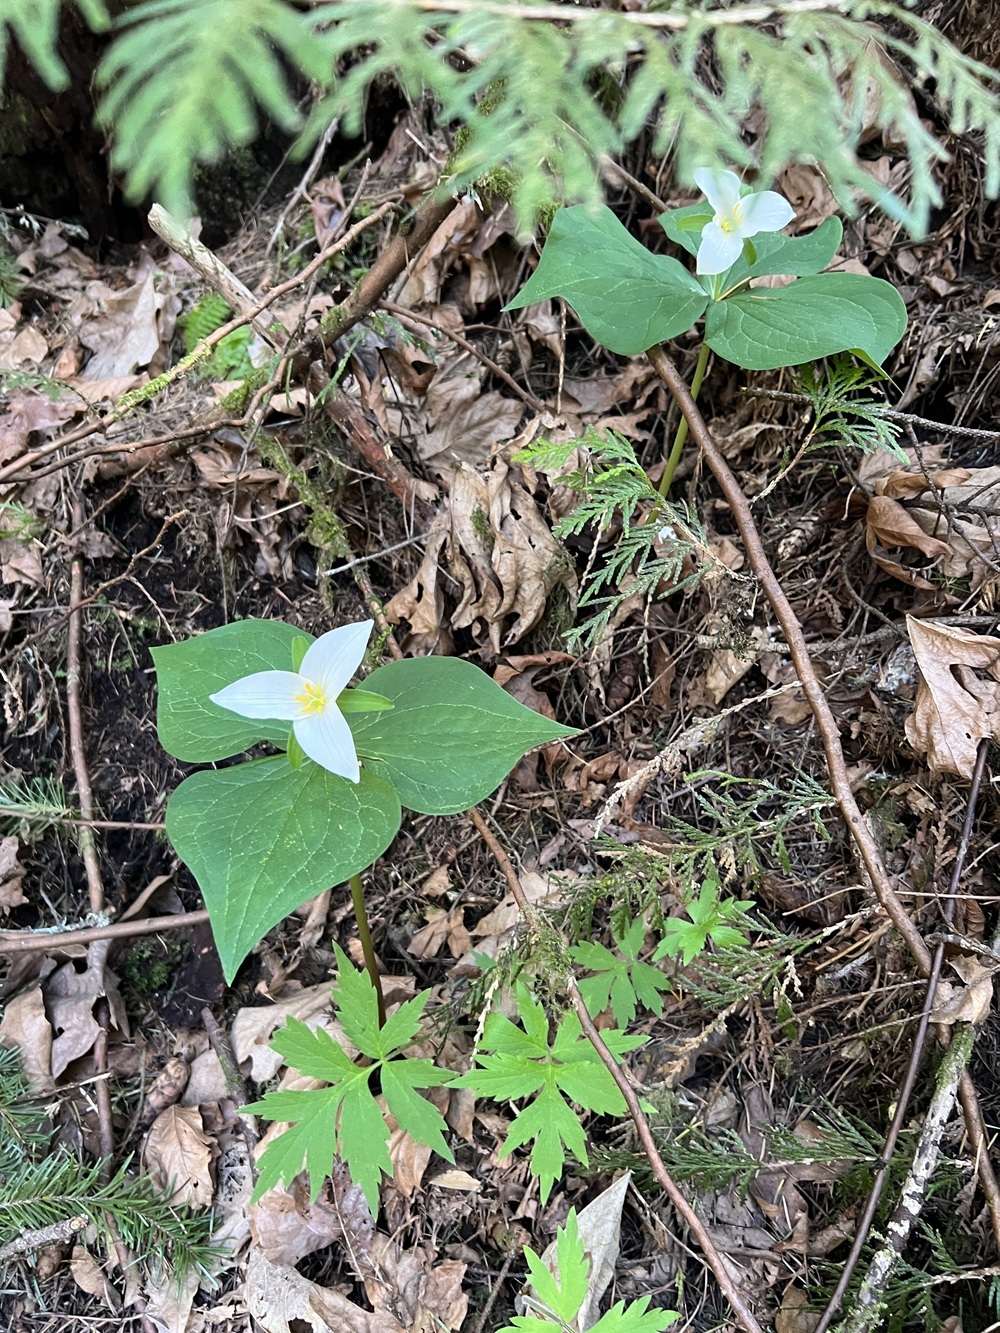
Edible crops, especially root and fruit crops, can absorb pathogens from your septic drain field, making them unsafe to harvest and eat.
PC: Leslie F. Halleck
Shallow Root Systems are a Must
You CAN plant on top of your drain field. In fact, it's actually good to have plants growing on the drain field to prevent erosion and to take up the water that flows into the field. Plants will pull the extra water up and out of their tissues through evapotranspiration. Lawn grasses are of course the most common planting solution - as long as you use more shallowly rooted species. But here's the catch - you shouldn't put any extra water on your drain field, so there's no watering high-maintenance lawn grasses in the summer just to keep them looking nice. Conversely, you also need plants that can tolerate wet-feet as there will be additional moisture coming through the area.
All of this can make it tricky to pick the right plants to put over your drain field. Unfortunately, there is a lot of conflicting and incorrect advice out there as to what you should or shouldn't plant. For example AI spit back a list of completely inappropriate species with tough taproots it recommended planting in a septic drain field. So don't trust those regurgitated responses.
Ultimately, keeping plant root systems shallow on top of the drain field is an important consideration. You don't want root systems that get deep and woody, or you can disrupt the function of your drain tiles and clog them up. So that means no plants with big tap roots, very deep roots, woody roots...so no trees or shrubs on top of or too close to the field.
You also need plants that can tolerate moisture fluctuations without any supplemental watering. So this is you won't plant native prairie bluegrass over your drain field. It's a grass and it's drought tolerant, but that's because it has a large deep root system that will definitely get into your buried drain tiles.
Hopefully, your septic drain field tile lines are buried at least 18" deep or maybe even 24" deep. As long as you plant smaller herbaceous plants with shallower fibrous root systems that won't invade the drain lines, then you're OK.
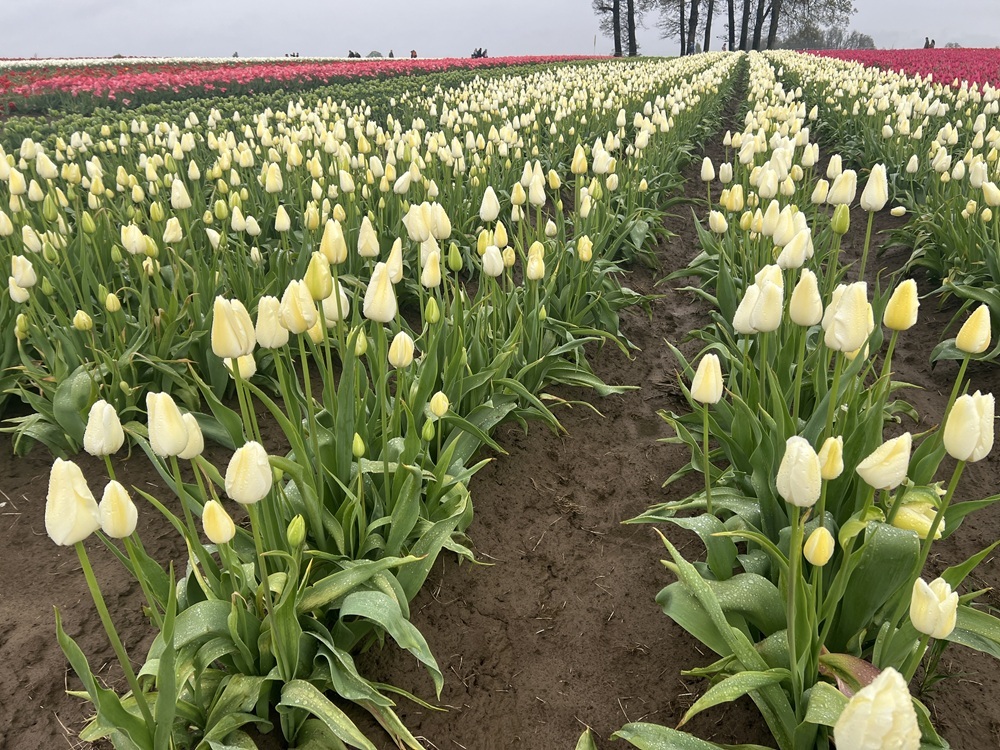
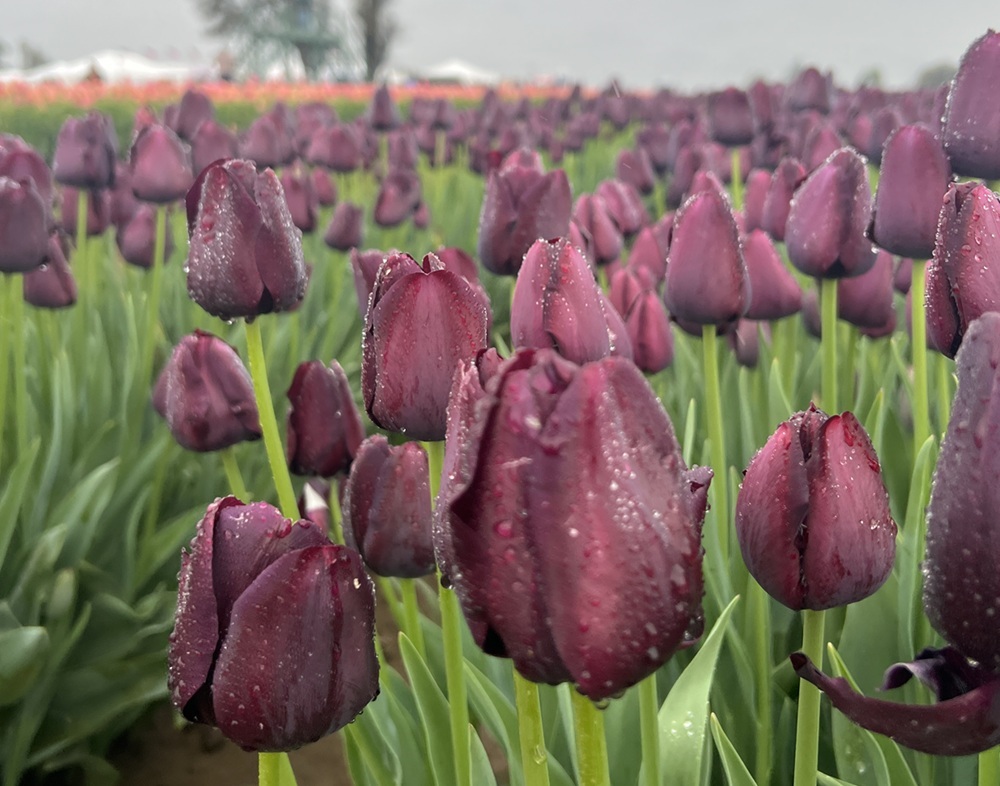
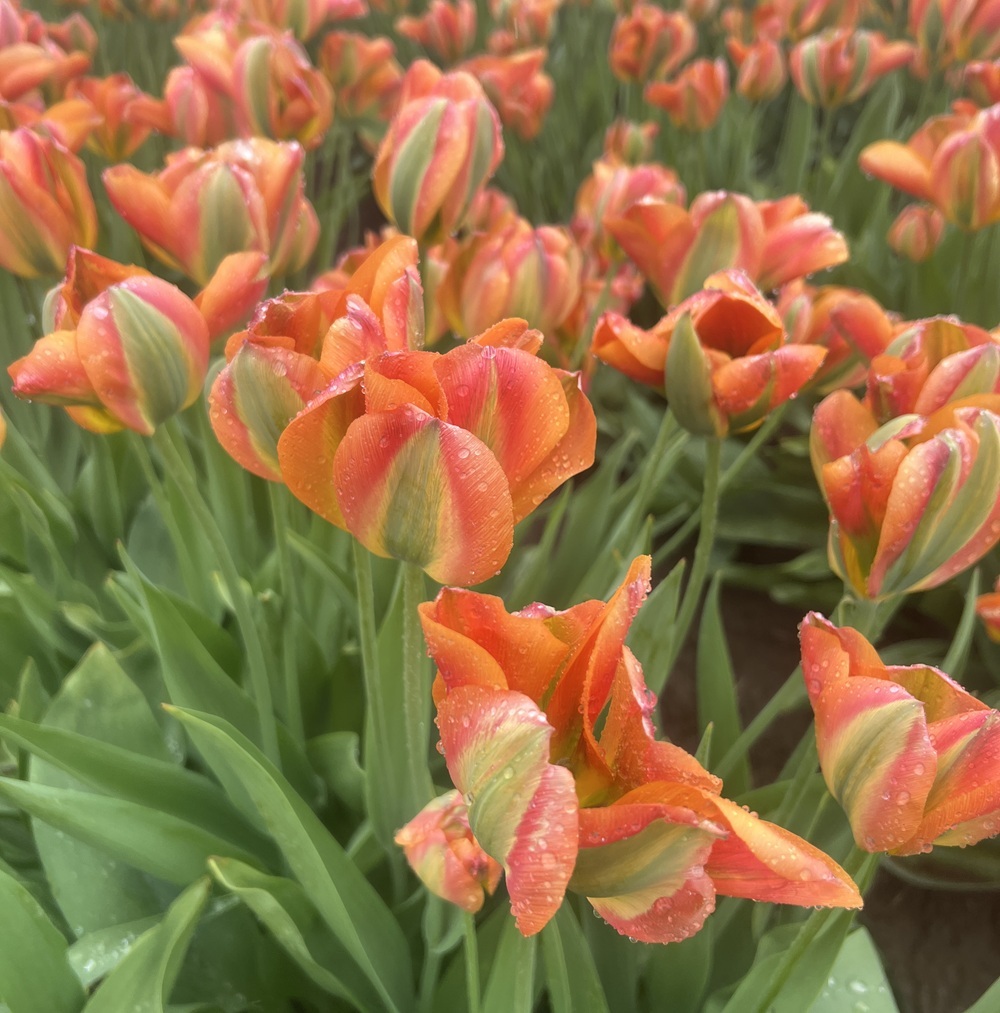
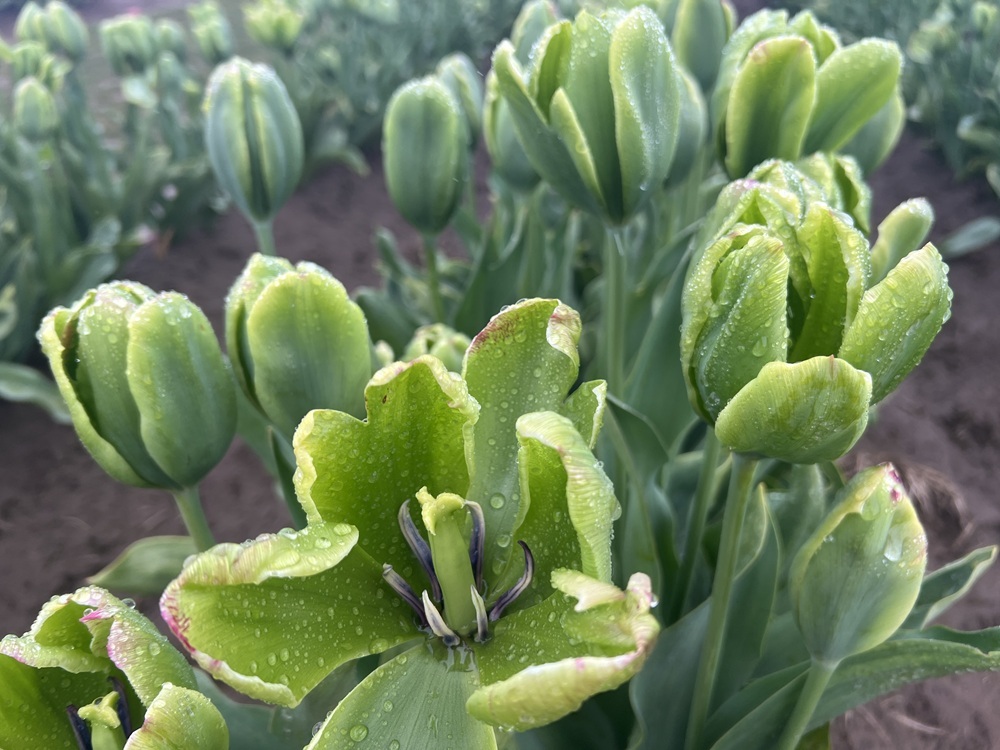
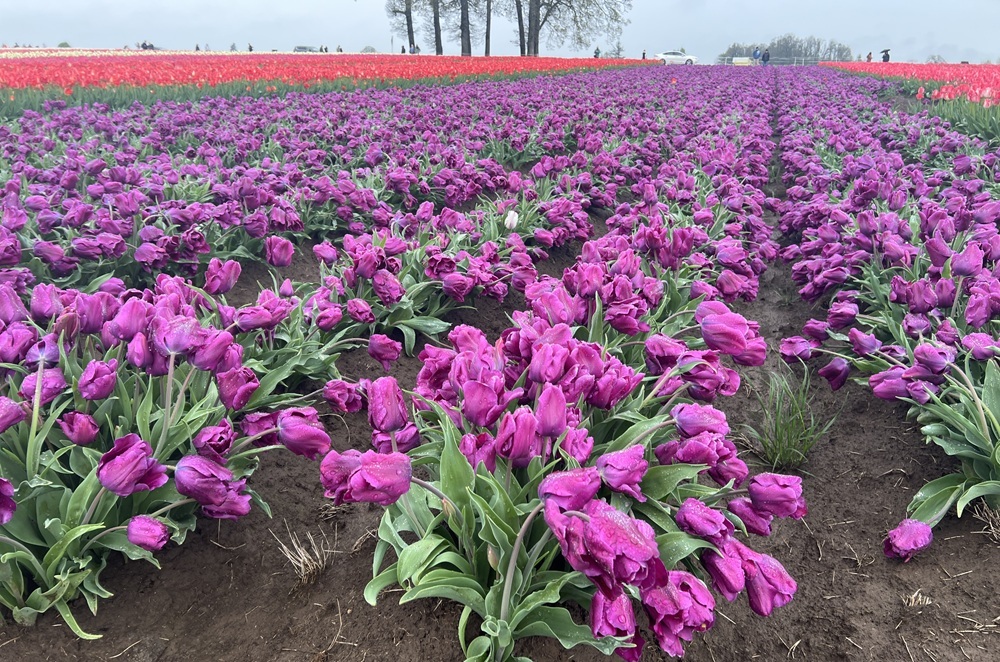
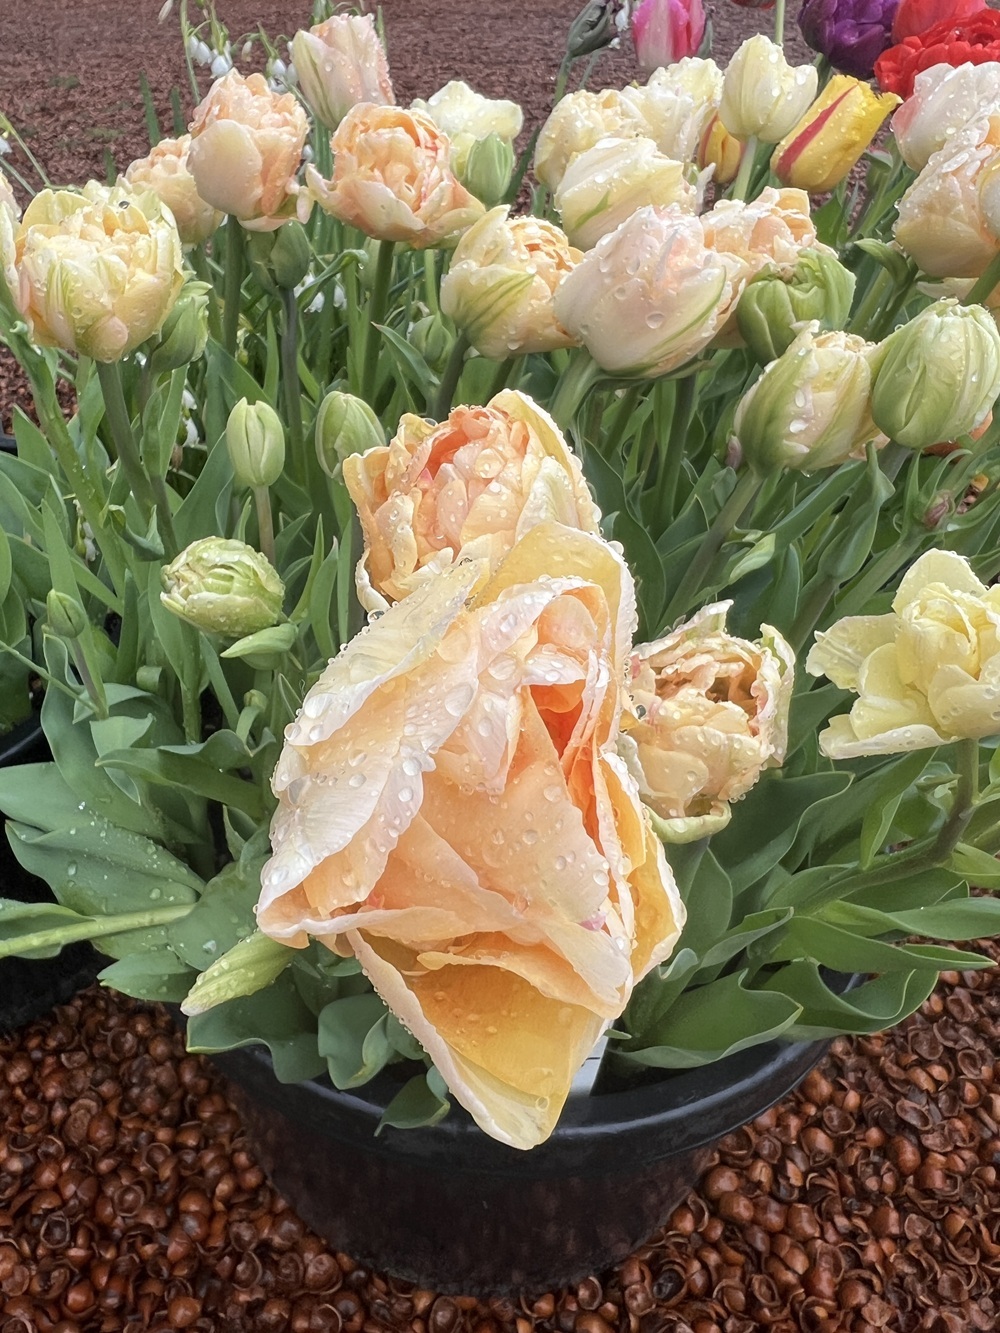
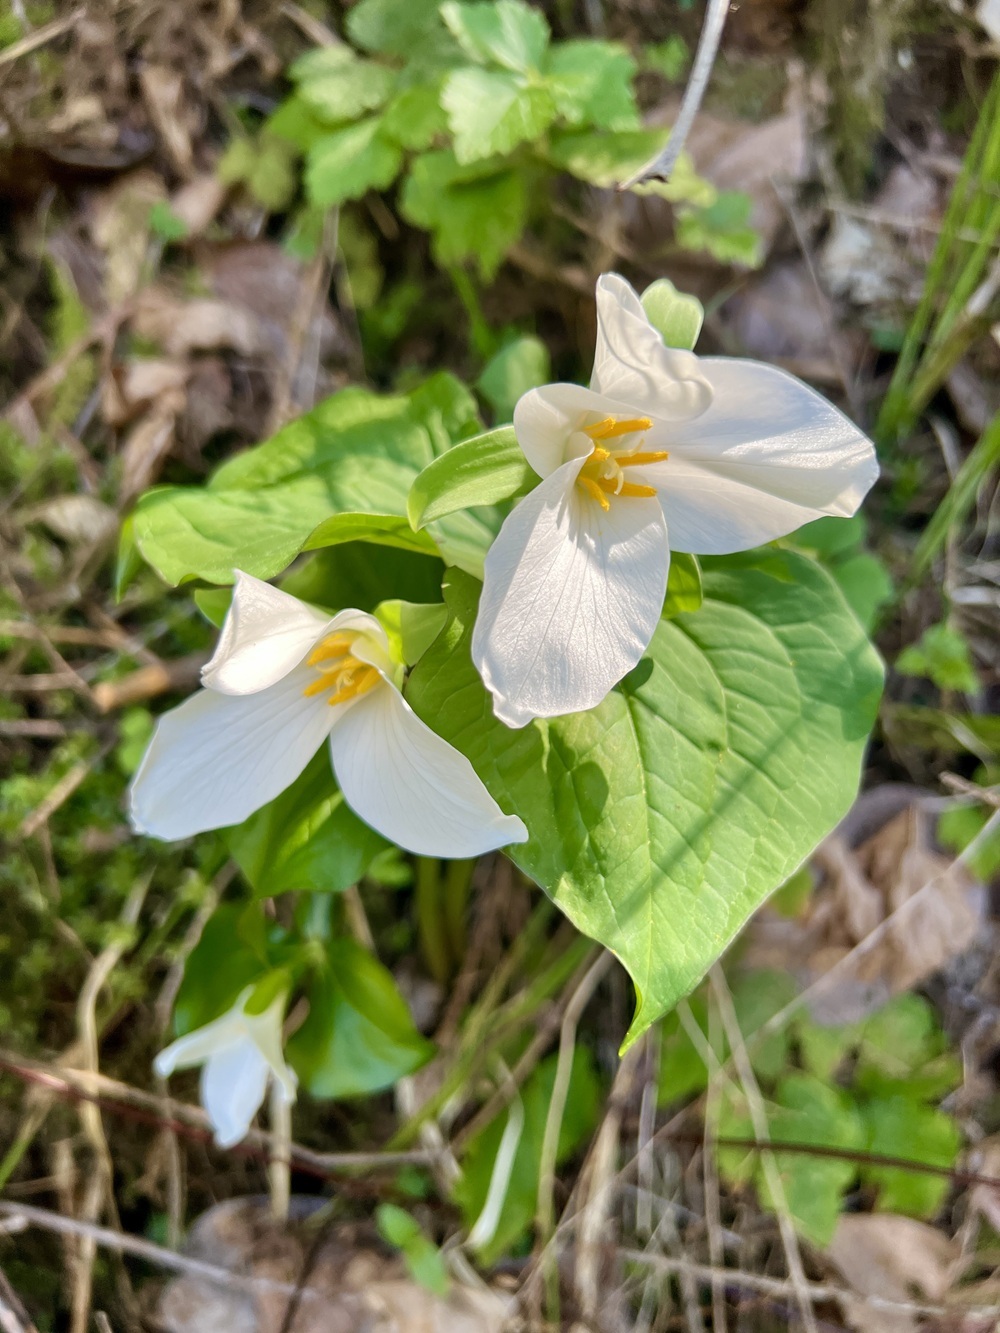
What Flowers Can You Plant on a Septic Drain Field?
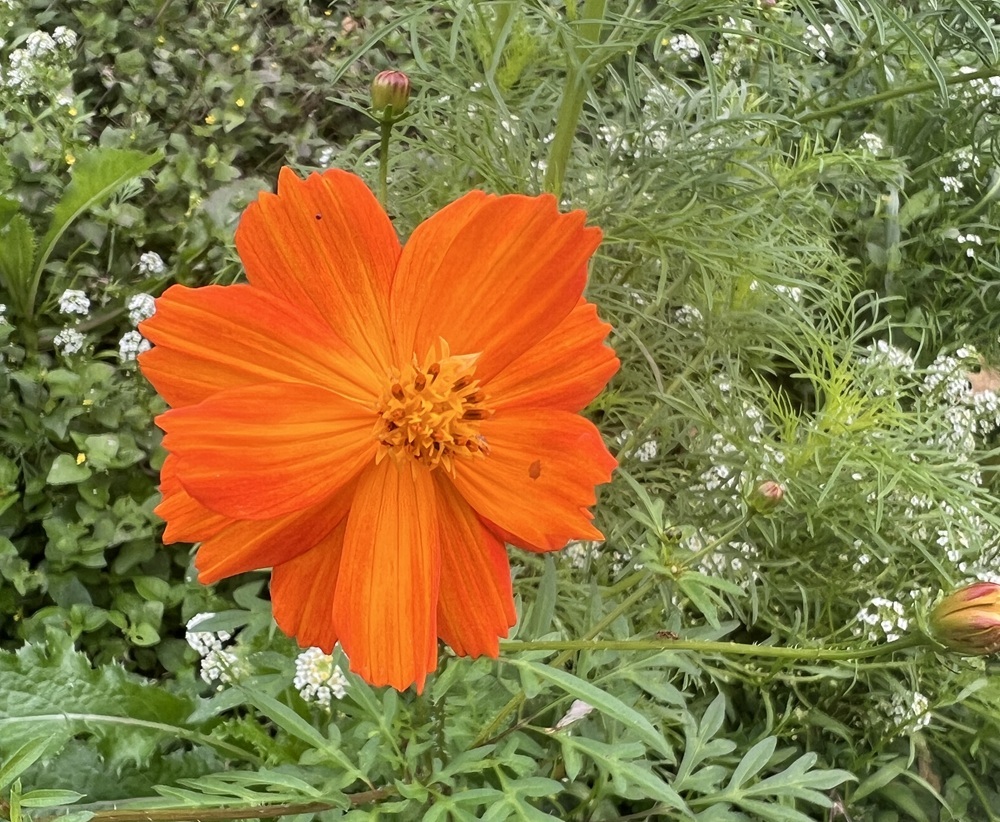
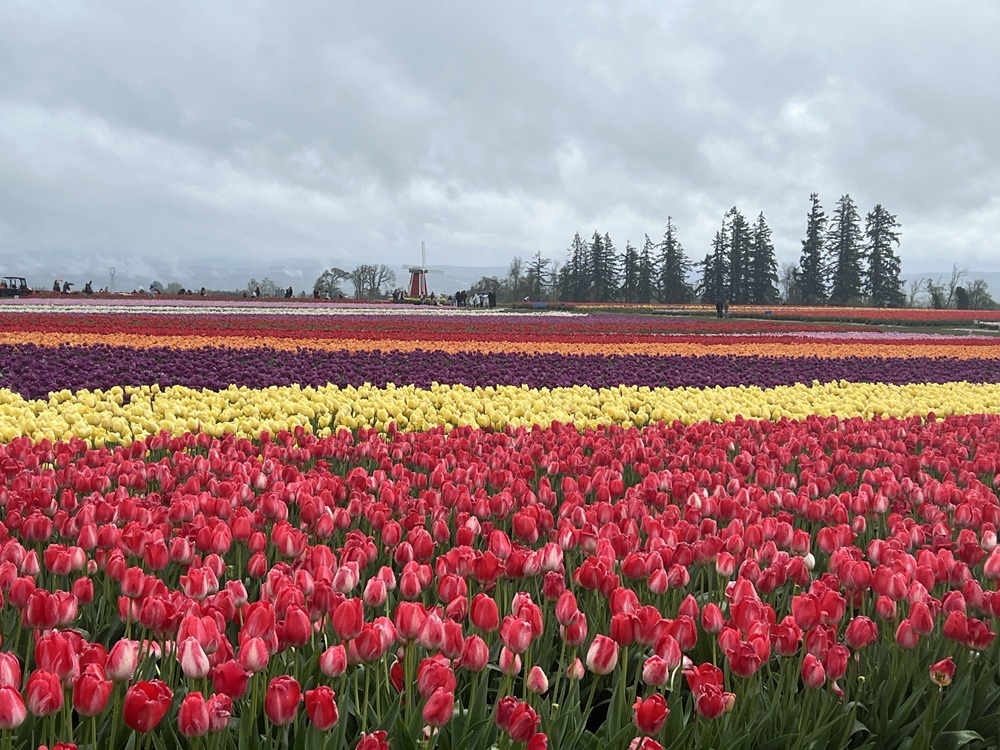
Certain wildflowers, such as annual Rudbeckia, Coreopsis, Campanula, baby blue eyes (Nemophila menziesii), Zinnia, Cosmos, Sweet alyssum, pansies and viola, Anemone and Ranunculus corms, and species tulips may also be good options. If your drain tiles are buried deep enough you can try Echinacea purpurea (but not other species with taproots). You can also try bearded iris, just remember that your drain field might stay too wet for them.
Most of these plants grow well across the country, so weather you're in Texas or Oregon, the recommendations are often similar. Just be sure to avoid species with deep taproots or very deep fibrous root systems that are common in many drought tolerant plants.
What can you Plant NEAR a Septic Drain Field?
Because you really can't plant shrubs or trees on your drain field, how far away should you plant them? Generally speaking you want 20-30 feet of clearance. But that depends on the mature size of what you want to plant.
For example you're planting an evergreen privacy hedge near your drain field, such as Thuja 'Green Giant' or other tree that reaches 50+ feet tall, you can assume the root system will likely extend that same distance. So if you only have about 30 feet of clearance from your drain field to where you want to plant your privacy hedge, make sure to choose a species that typically stays under 30-feet tall at maturity, and has a shallower or finer root system. So maybe you go with with a Holly 'Nellie R. Stephens' or a Thuja 'Emerald Green' instead.
No Heavy Equipment on Your Drain Field
Another important consideration for septic drain field gardening is to keep foot traffic and heavy equipment to a minimum. Heavy tractors, tillers, loading equipment and the like can compress soils and potentially damage your drain tiles. Same goes for building anything on top of the field such as raised beds, decks, or above ground pools.
Hand mowers for maintenance are best to avoid compaction, and you should plan on alternating your mowing patterns. If you need to use a riding or tractor mower, using it a few times in the summer on your field is fine. But if you live somewhere with wet winters, keep the larger equipment off the field during the rainy season.
Oh, and you're not really supposed to leave all the clippings on the field either, especially if you're cutting down tall grass or wildflowers. All that decaying plant matter can inhibit the soils capacity for filtering your septic output.
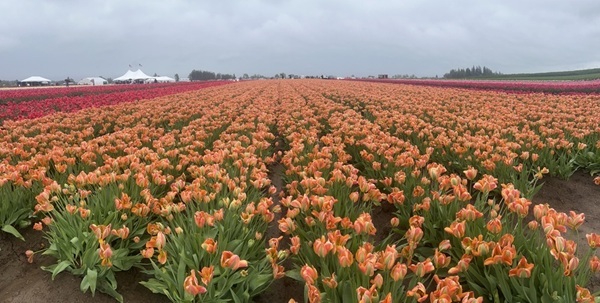
Maximinze Your Space
I get it -when a big section of your property is a septic drain field, it can be frustrating as a gardener to feel that big sunny space is going to waste! I'm in the same boat. So I'll be following my own advice here and seeding shallow-rooted wildflowers and cut flowers this fall and spring...and treading lightly thereafter!