Harvest Your Seeds! Now's the Time for Seed Saving & Storage
June 12, 2025
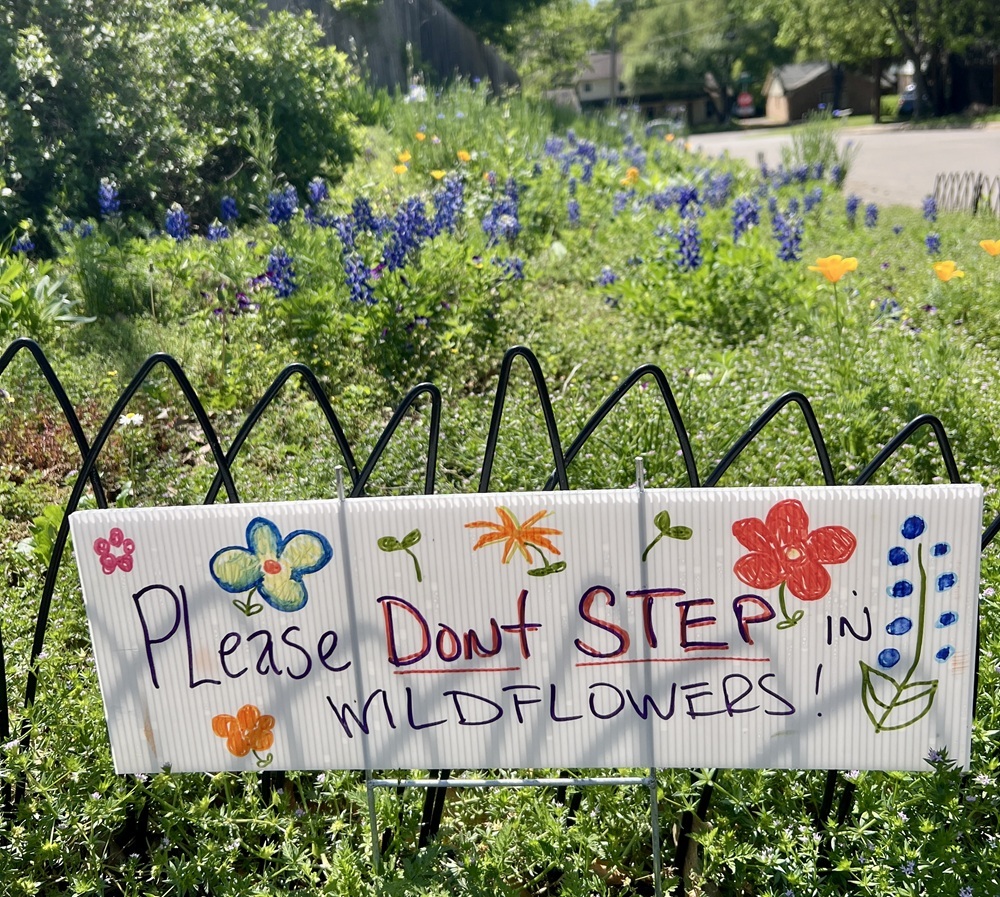
Wildflowers and Edible Crops are Going to Seed
Saving My Seeds
Got wildflowers and cool season vegetables in the garden? Depending on where you live, you may be hitting an important seed harvesting time. Personally, I'm being covered up with many of my wildflowers going to seed en masse, as well as many leftover cool season crops loaded with mature seed.
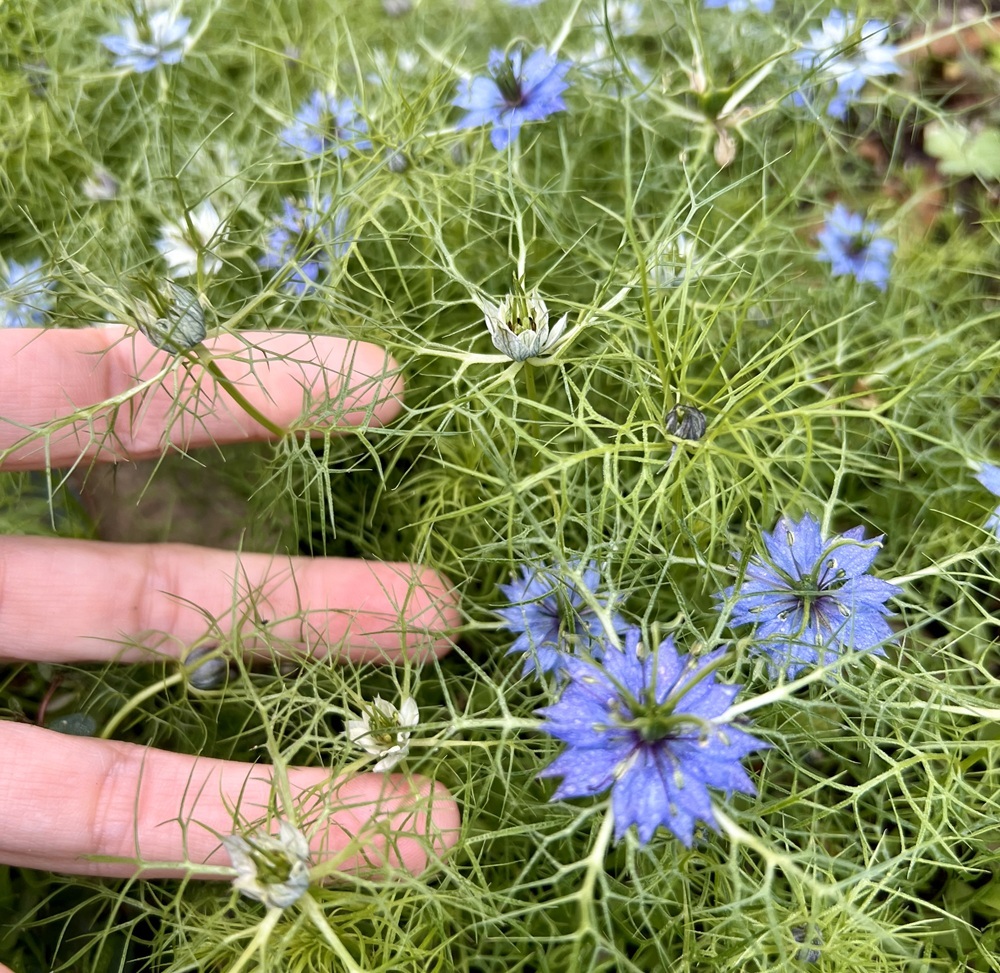
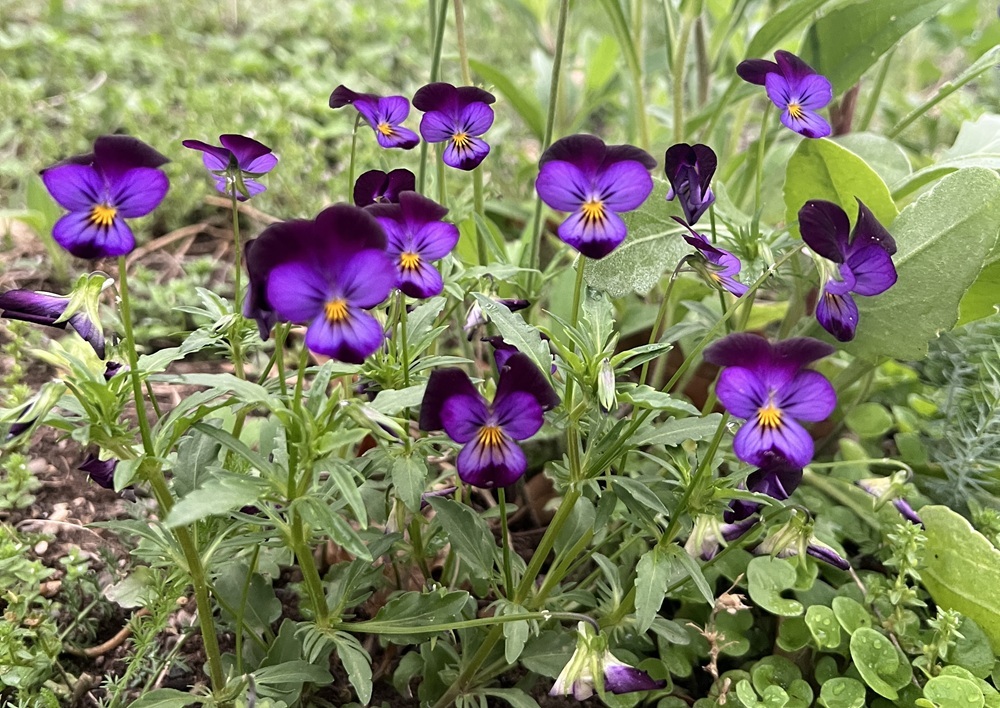
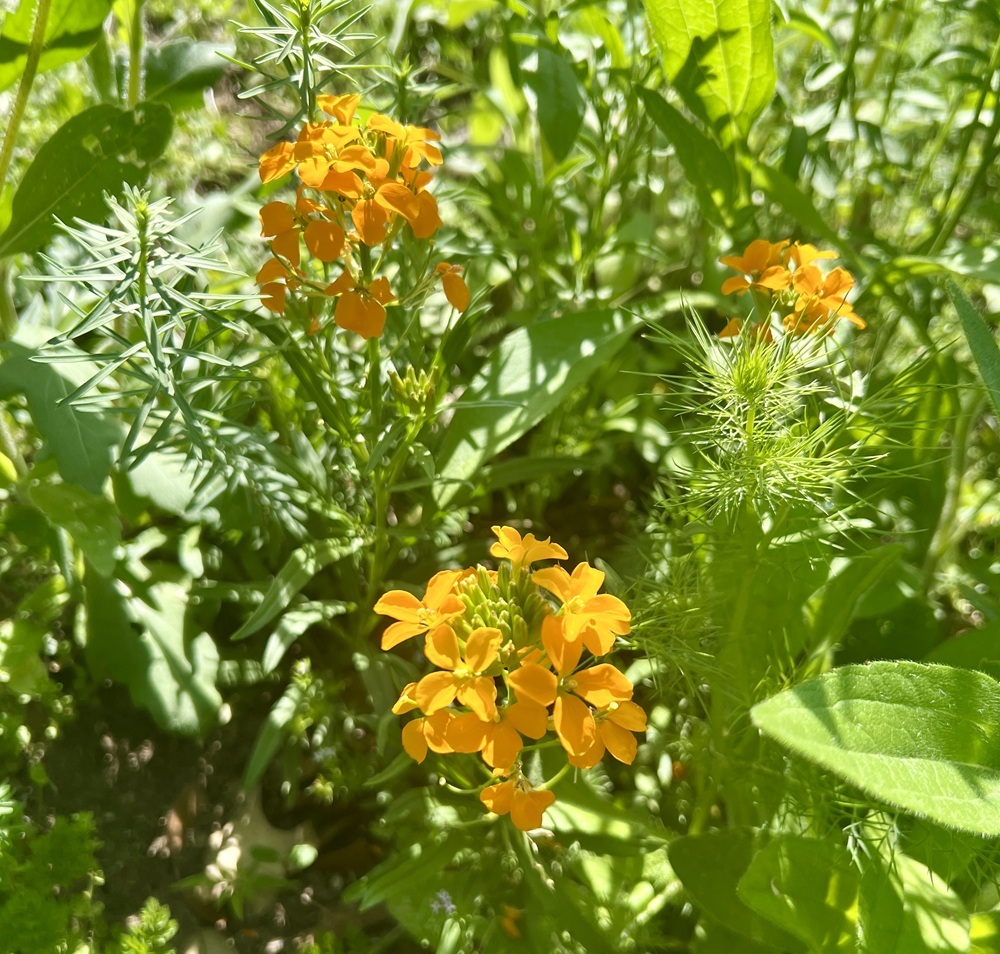
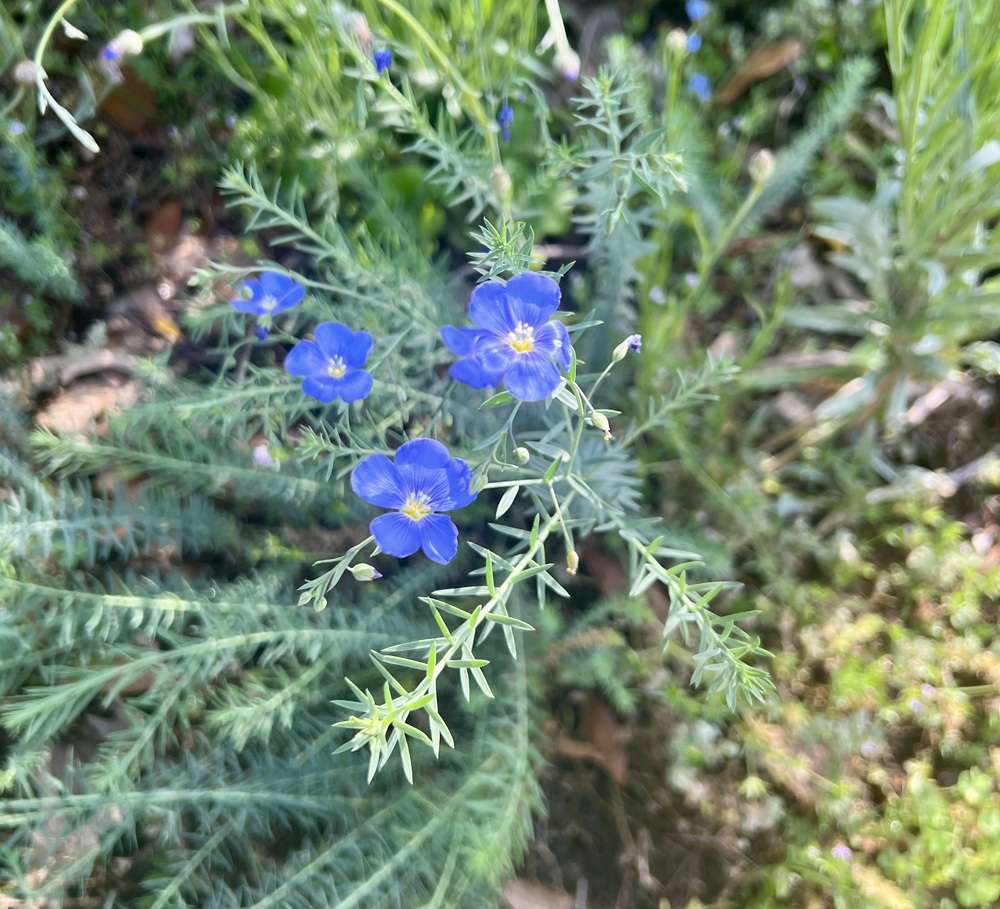
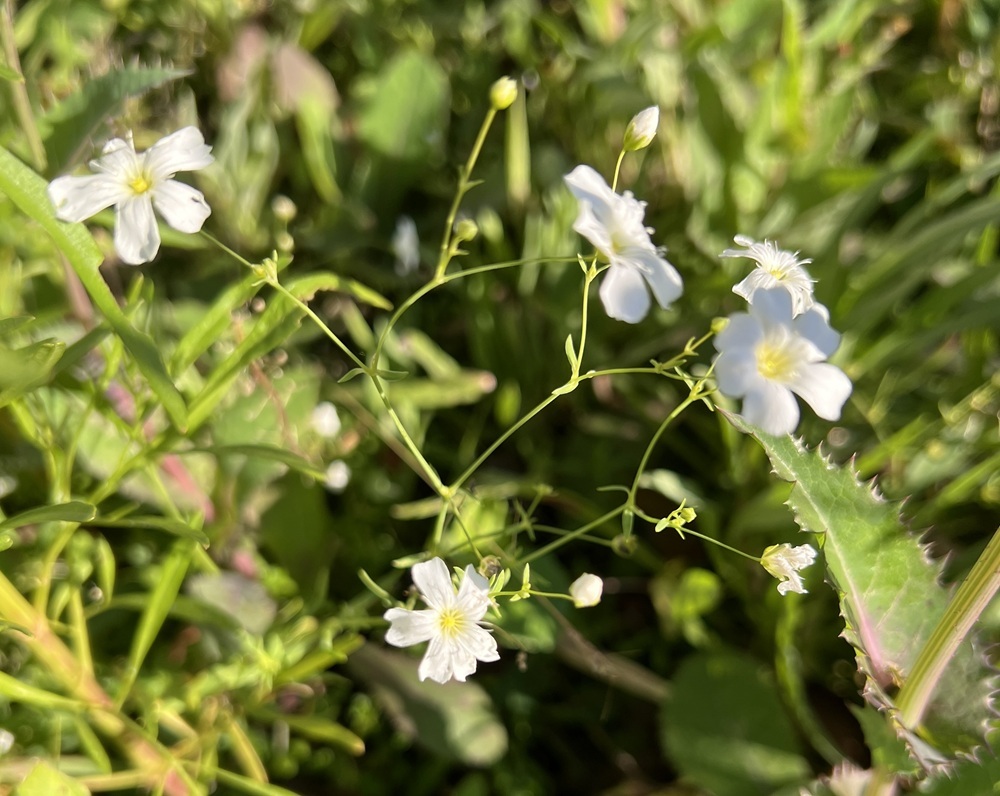
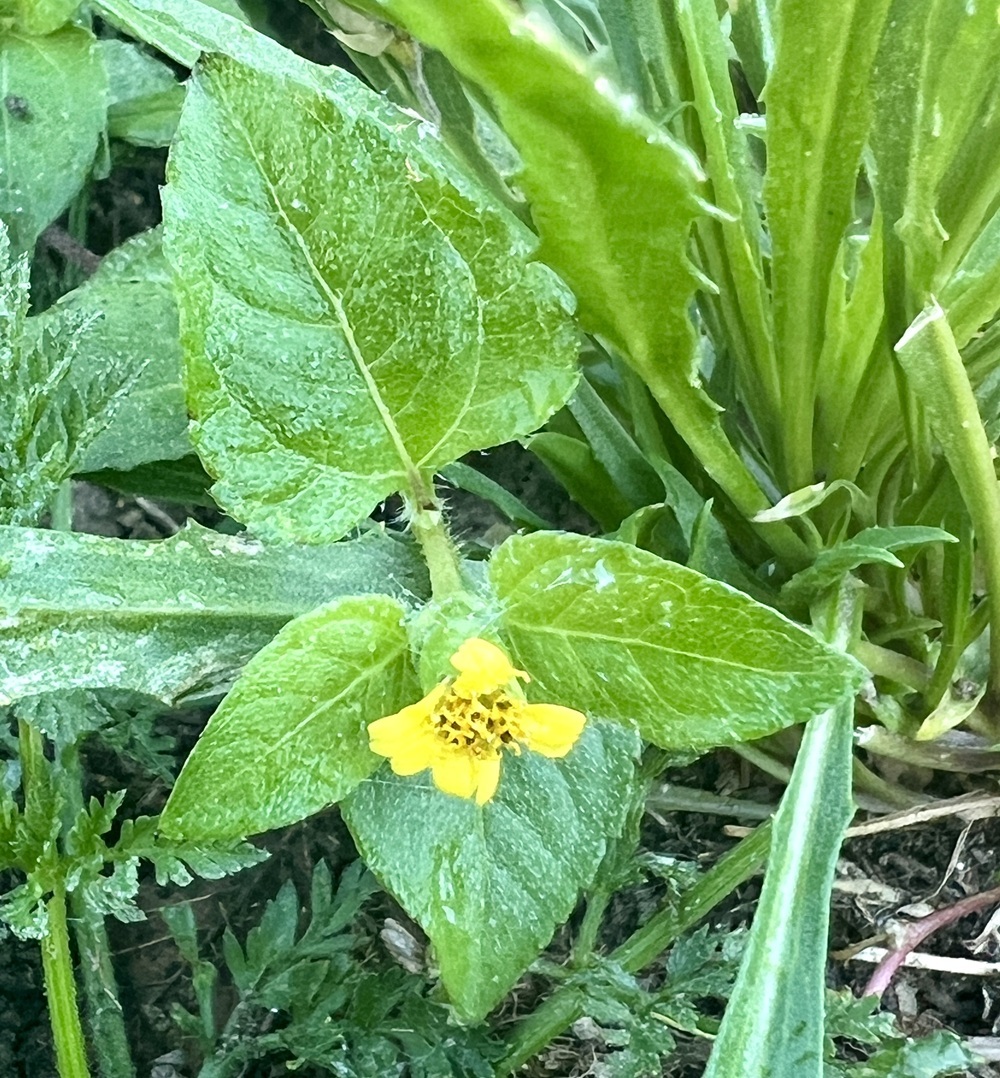
Love-in-a-mist self seeds all over my garden and is a prolific seed producer
Nigella damascena
PC: Leslie F. Halleck
When it comes to wildflowers and natives, and the type of planting and space you have, you may want to leave a lot of seed to naturally fall in place so new plants will fill up that same space next year. Wildflower seeds that fall in spring and early summer typically germinate in late-summer and fall, growing vegetatively over the winter, then blooming again the following spring. Or, seeds will overwinter (some need the cold stratification) and then germinate in spring in colder climates.
With open pollinated vegetable plants, on the other hand, you're usually hoping to harvest, store, and save seeds until the following season when it's time to re-seed into your vegetable garden.
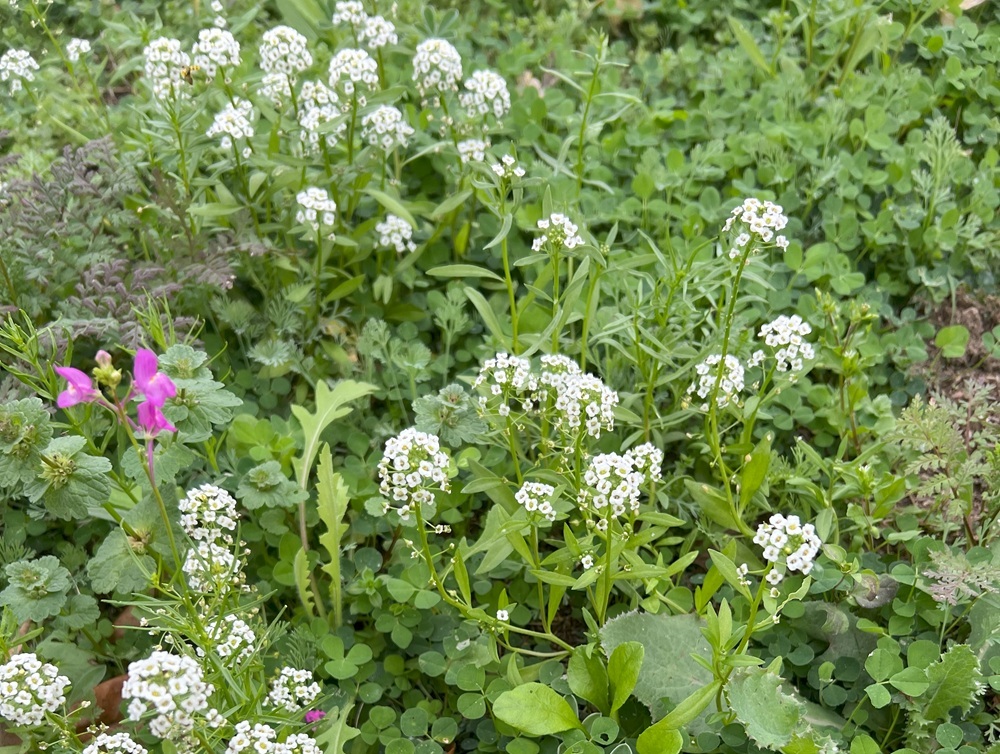
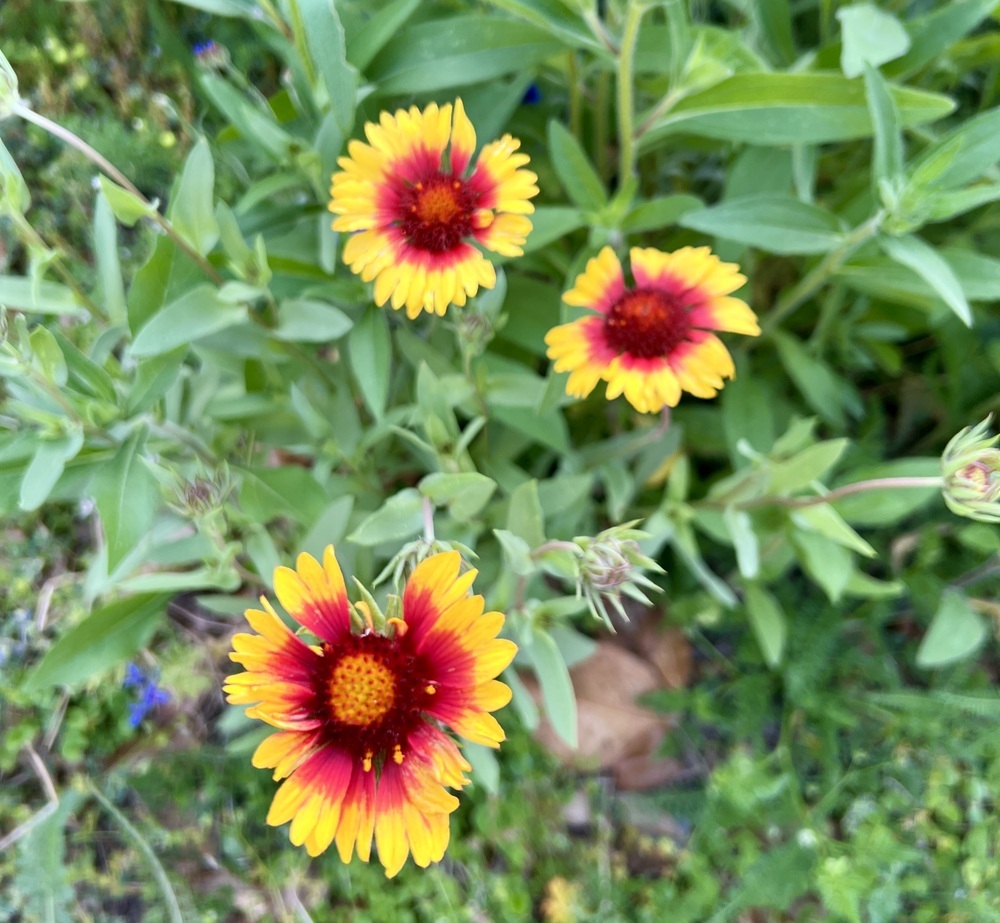
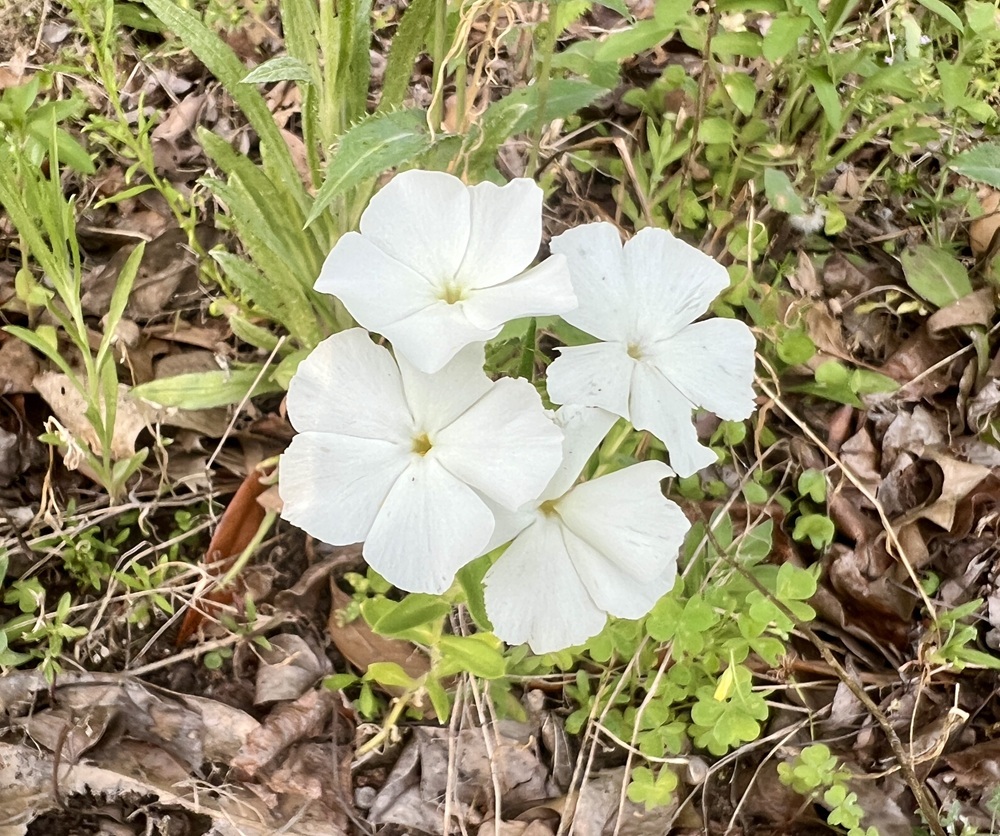
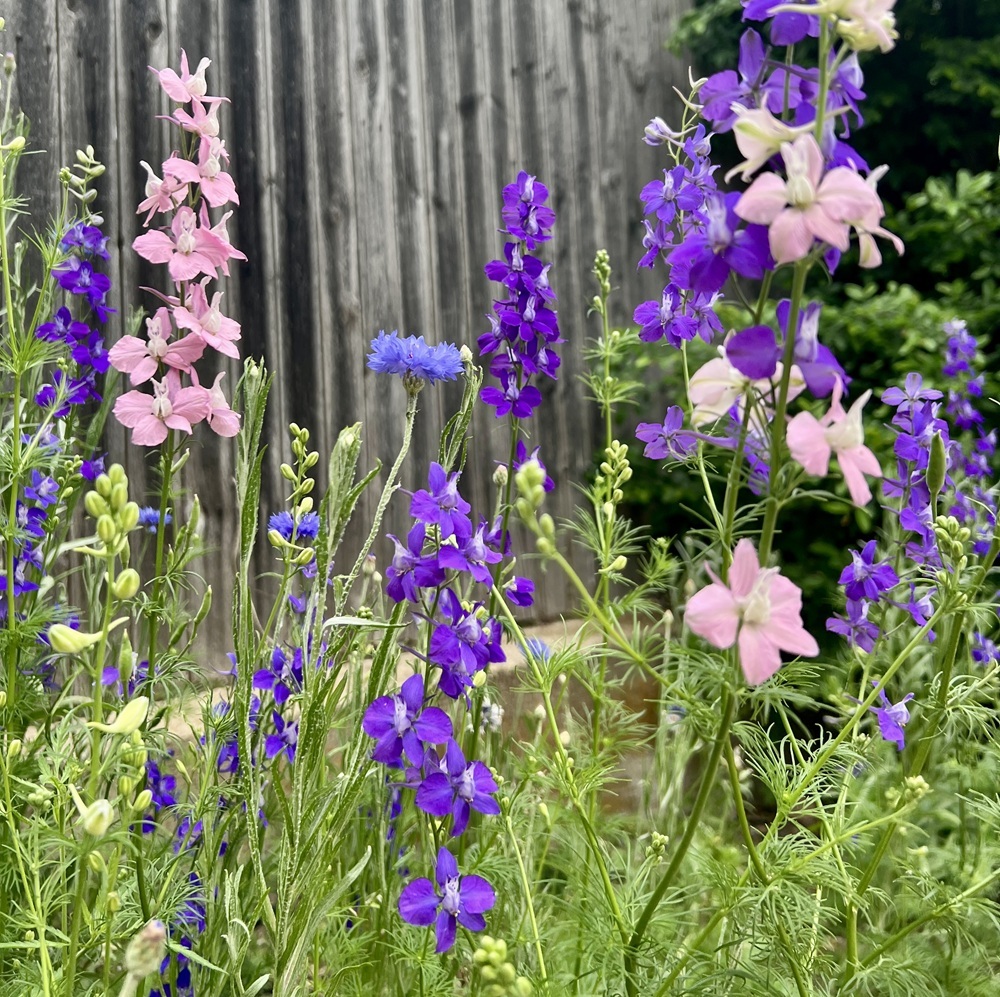
I'm loaded up with both right now, and just trying to keep up with all the seed harvesting and storage I need to do! Many of my wildflowers that are prolific seed producers, such as love-in-a-mist, larkspur, bachelor's buttons, Indian and painted blanket, pink silene, forget-me-nots, and others are so loaded up with seed it's been hard for me to keep up. Now, of course a lot of this seed has dispersed in place and will grow new plants that germinate this fall. But I also have other areas I'd like to spread some of this seed so I need to collect some of it; and I enjoy packaging and giving away seeds to friends and followers. Some super fast seed heat-loving producers, such as cosmos, that were just direct seeded into the garden in spring have already been blooming long enough that they are already producing mature seed! I'm adding some of those back to the garden and saving some.
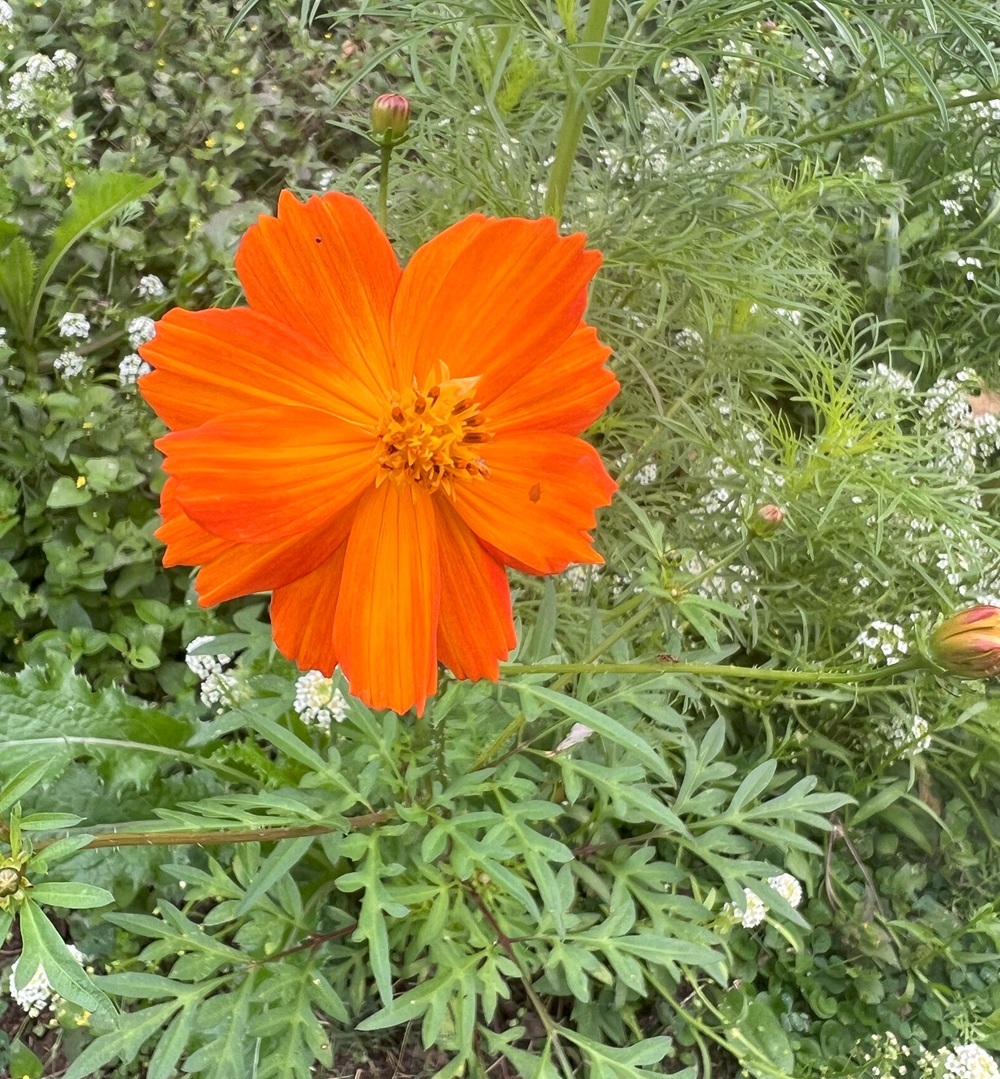
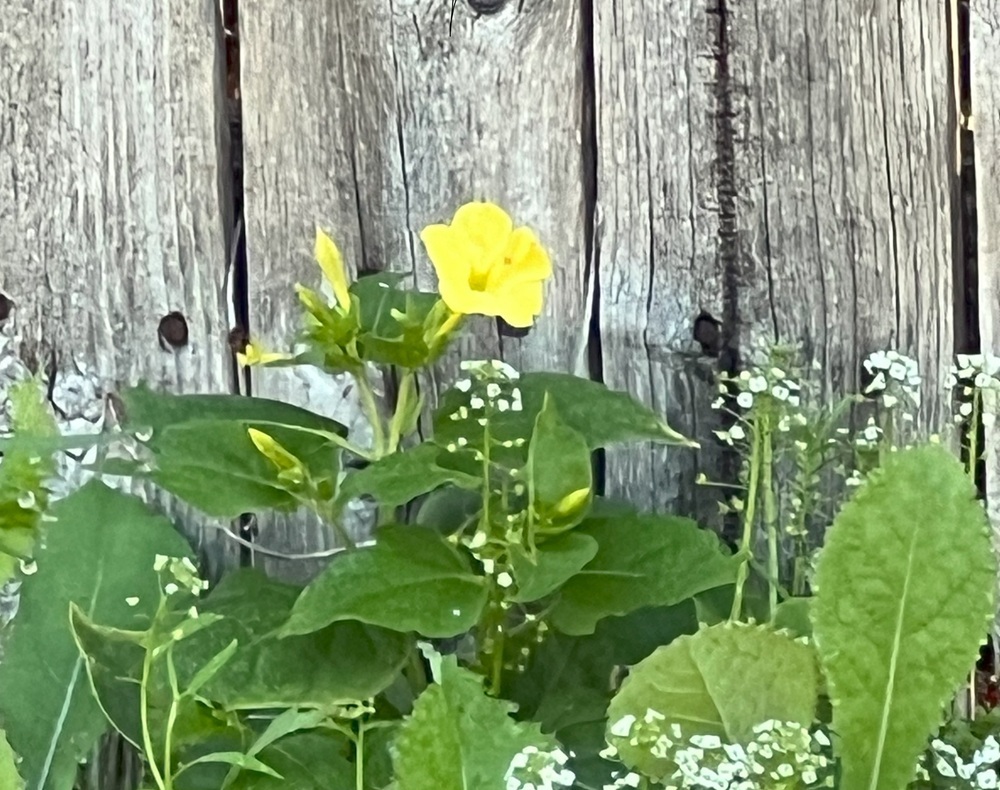
Sulphur, or orange, cosmos is an excellent annual flower to direct seed. In my Texas garden, I can typically keep a succession of cosmos plants blooming from spring and into December if we don't have a hard freeze before then.
Cosmos sulphureus
PC: Leslie F. Halleck
Some of the more heat-tolerant cold season veggies, such as arugula, mustard, and some late-seeded lettuce, have been setting seed for the last month (in fact a lot of new arugula seed has already germinated in situ - but it's one of the very few cool season crops that will tolerate early-summer in Texas). So I'm collecting that seed to plant in the fall.
Just make sure you're harvesting seed from straight species or open-pollinated varieties (not hybrid cultivars) so the resulting seedlings are true to type.

This is what mature dried lettuce seed looks like on the plant! Just pull the "fuzzy" stuff out and the small dried seeds are attached.
PC: Leslie F. Halleck
Collecting Dry or Wet Seeds
When collecting seed from your plants, you'll need to keep in mind there are two main types of seeds: wet and dry. Dry seeds develop inside a husk or a fruit pod that dries completely so seeds are visible. Good examples are most wildflowers, beans, okra, peppers, onions, and herbs such as dill produce dry seeds.
You'll need to wait until dry seed types have completely matured and dried on the plant before you harvest them. The dry pods are usually easy to open or will burst open on their own, and the seeds inside will be hard and dry. Dry seeds are easy to collect and store. Once you have harvested the seeds, leave them on a towel in a cool, dry place for a few days to ensure they are completely dry before you store them.
Wet seeds are produced from fleshy fruits such as tomatoes, eggplant, and squash. They typically remain inside a large amount of flesh and are not visible unless you break open the fruit. To harvest wet seeds, break open a mature fruit that has begun to shrivel, then separate the seeds from the fleshy part of the fruit. After the seeds are completely clean, spread them out on a dry surface for several days before storing.
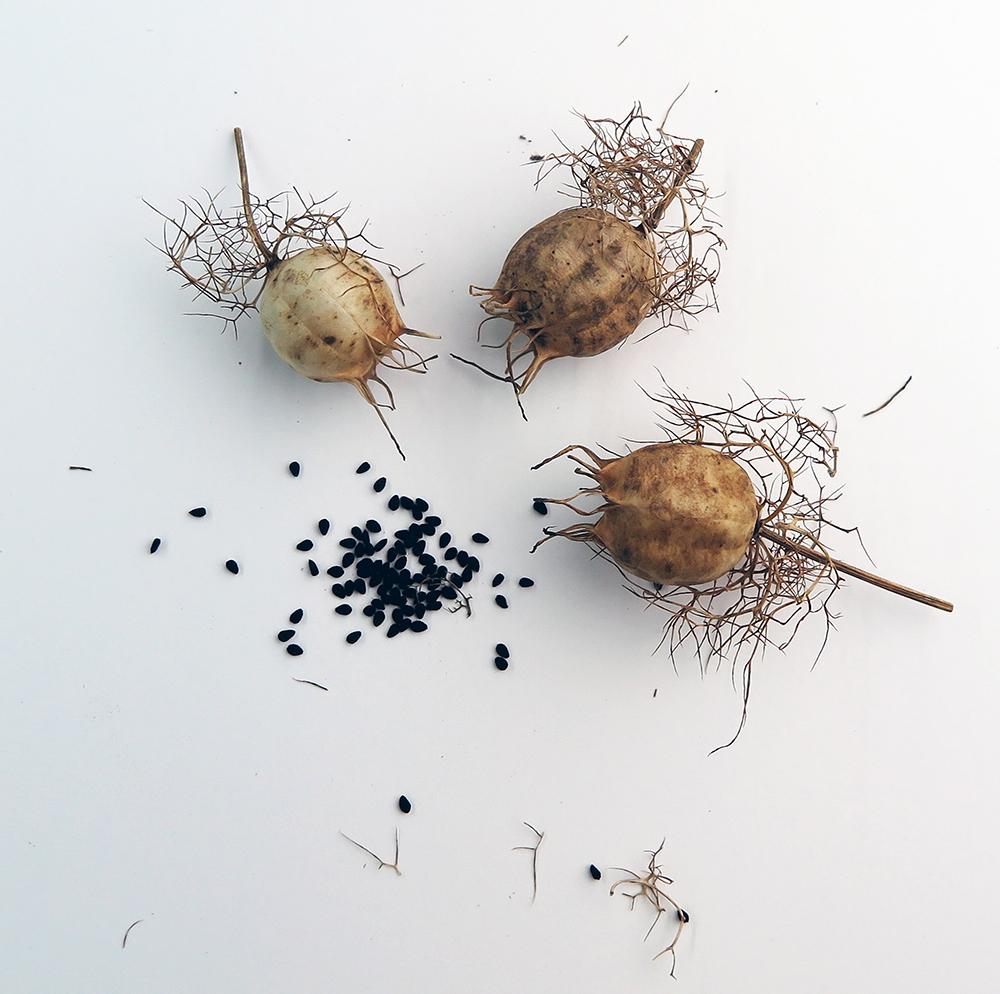
Love-in-a-mist produces masses of papery ballon shaped seed heads full of dry edible pitch-black seeds.
PC: Leslie F. Halleck
Fermenting Wet Seeds
Some wet seeds, such as tomato seeds, perform best if you ferment them before storing. Fermenting mimics the process the seeds go through on the vine as they mature and enables you to eliminate fungal activity that could damage the seeds or prevent germination in the future. Fermentation also breaks down germination inhibitors that may remain in the seed coat.
To ferment seeds, place them in a bowl of water with some of the fruit flesh remaining around them. Use about twice the volume of water as the amount of seed. Place the container in a warm area, where temperatures are between 75°F and 80°F (24–27°C), for two to five days. (Alternatively, look for bubbling or mold to appear on the surface of the water, which could occur sooner.) Once the fermentation is complete, the viable seeds will sink to the bottom of the container and the bad seeds and any remaining debris will float to the top. Do not let the seeds ferment too long or they can start to germinate. Spread out the good seeds on a dry surface for several days, then store them as you would dry seeds.
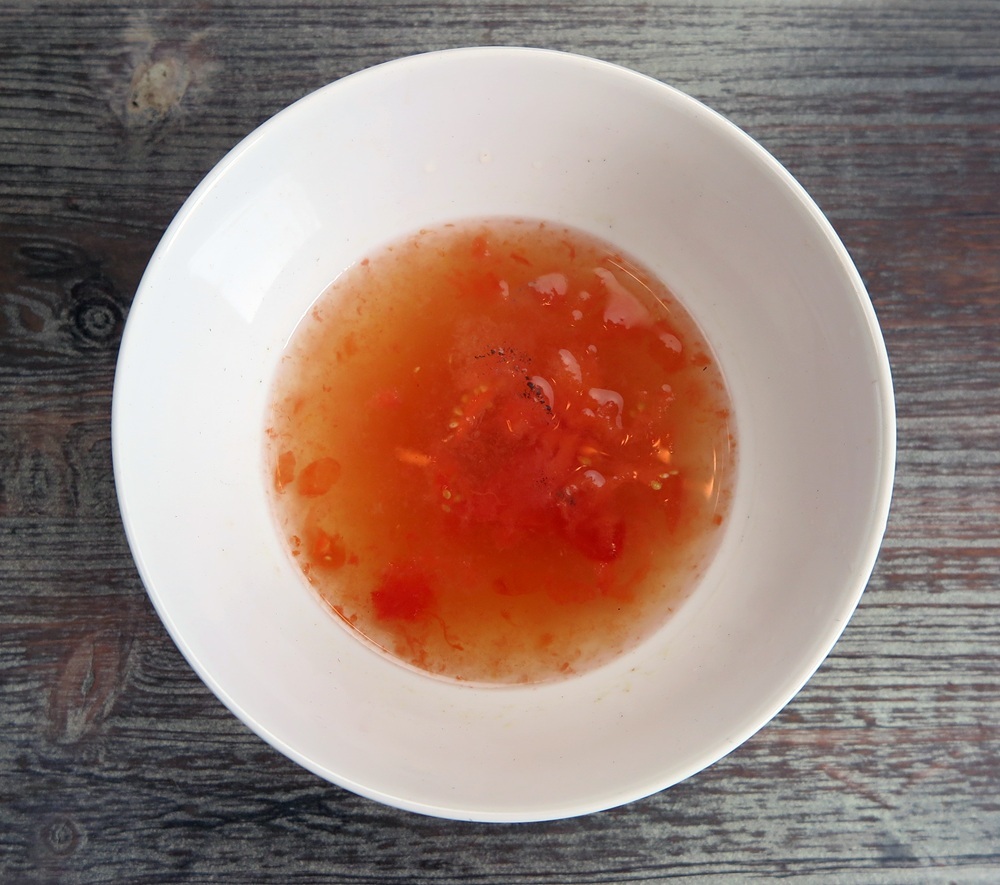
Fermenting tomato seeds before drying and storing
PC: Leslie F. Halleck
Place your dried seed in sealed containers—such as an envelope, a paper seed packet, or a jar—and store in a cool, dry, dark place. If you store seeds in an area where they will be exposed to very hot, or very cold, temperatures they can degrade.
I personally use paper seed packets with my own labels, so I remember what I’ve stored and when it was harvested. Gifting seeds you collected, or trading them with your friends and family, is fun and rewarding.
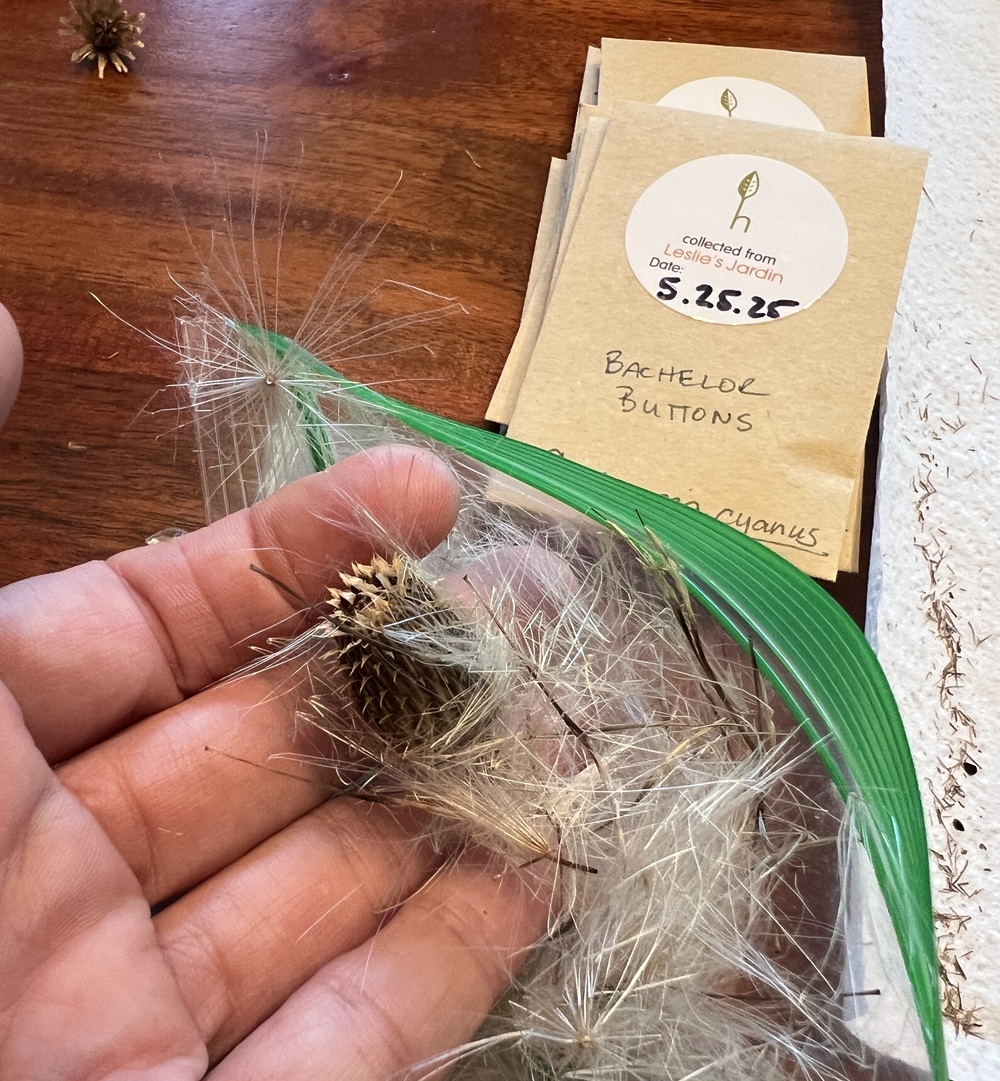
Seeds and a seed head of Texas thistle (Cirsium texanum) I collected in the wild on a hike, bachelor button seeds from my garden packed up in the background.
PC: Leslie F. Halleck
Learn More About Saving, Storing, AND Growing Your Seeds
For many of you, it will soon be time to start cool season transplants indoors for fall harvest. For those of us in hot climates we'll wait until the end of summer and fall to germinate those seeds, so we need to store them for a while. Same with wildflower seeds, which are best distributed in late-summer or early fall.
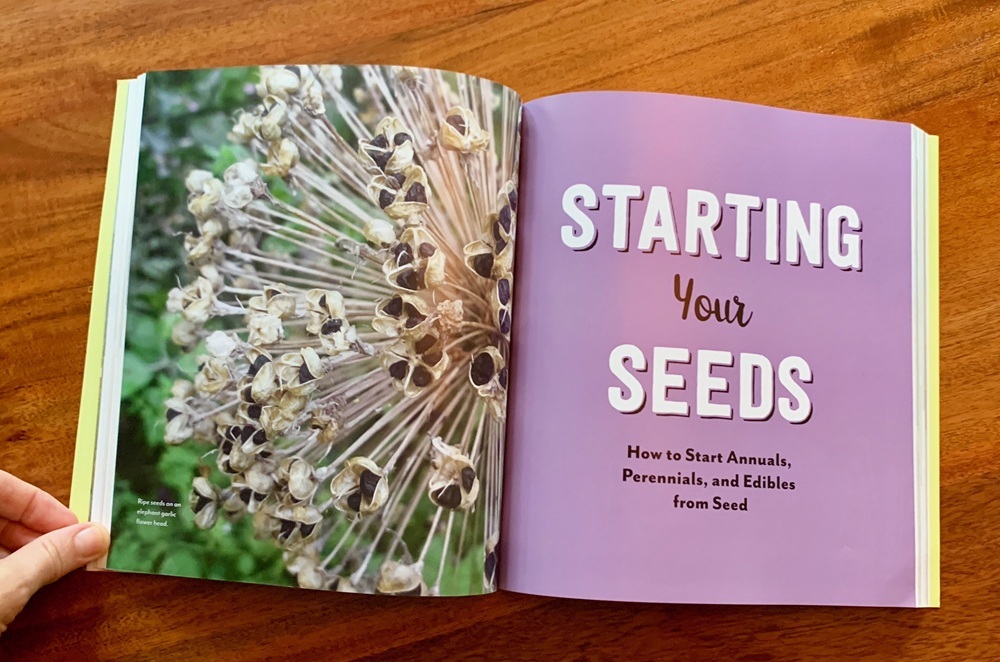
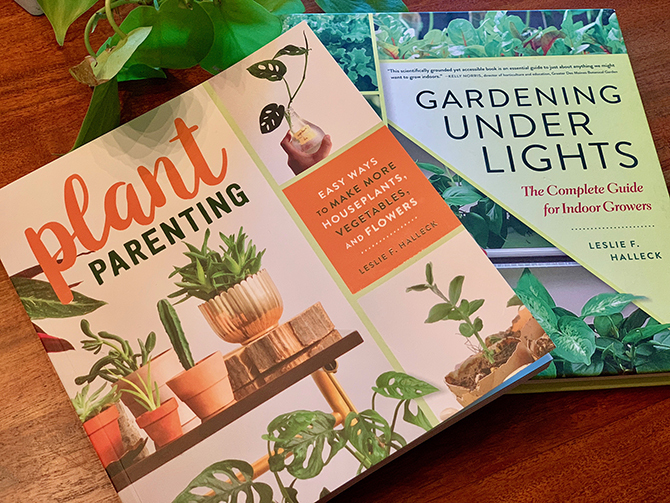
If you want to dig deeper on learning about seeds, how to germinate them properly - including special seed preparation techniques - grow healthy seedlings on indoors and transfer them to the garden, be sure to check out my book "Plant Parenting: Easy Ways to Make More Houseplants, Vegetables, and Flowers". It's a comprehensive step-by-step primer on all things propagation!