My new little flock of chickens has been quite the adventure...they are a hoot. For the first few days, while they were getting used to their new surroundings, they were quite docile and easy to catch. The Polish hens would ride around on my shoulder no problem. However, they seem to have gotten a bit more skittish since. I think they are still getting used to having a "free range" environment and perhaps feel a bit vulnerable. They have, however, discovered gourmet greens....LOL..when I pull bolting lettuce out of the garden for them, they actually come running to me for it and will eat it out of my hands. They seem to prefer the lighter colored more tender greens (noooo, they're not picky...). Unfortunately, the little gray Ameraucana...named Scooter...has developed a case of lice. Yuck...so I'm trying to get her treated. Hopefully I can get her bouncing back soon. I've yet to name the two largest hens..but here are some updated photos.
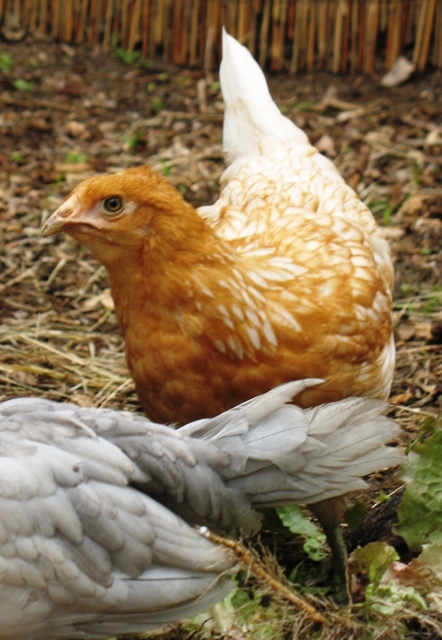
Phyllis the Chicken
PC: Leslie F. Halleck
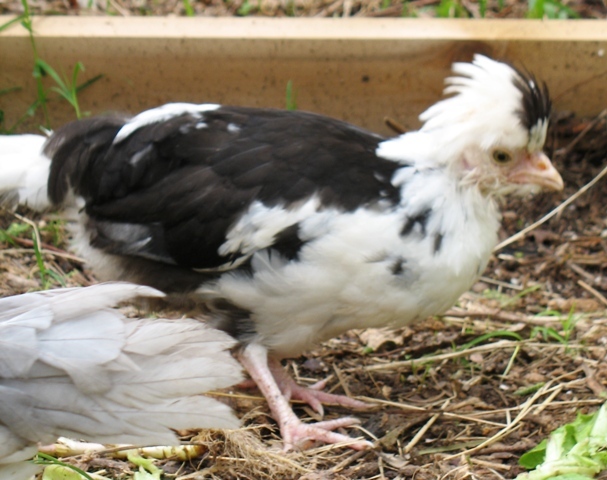
Baby Einstein the Houdan
PC: Leslie F. Halleck
"Phyllis" and "Einstein" - with all the rain we've had the last few weeks, these gals have had a time of it keeping their hair did...you should see them all soggy and floppy haired...pathetic!
PC: Leslie F. Halleck
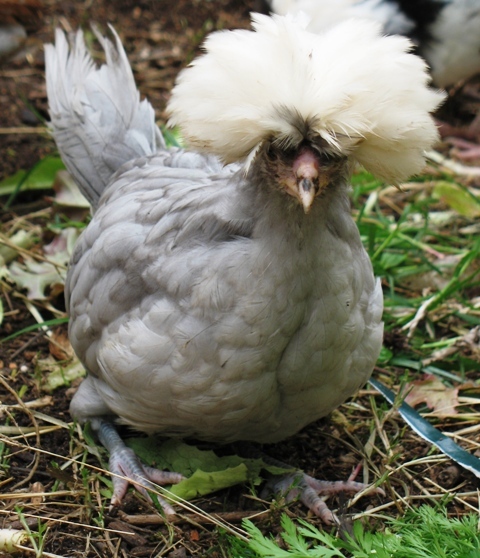
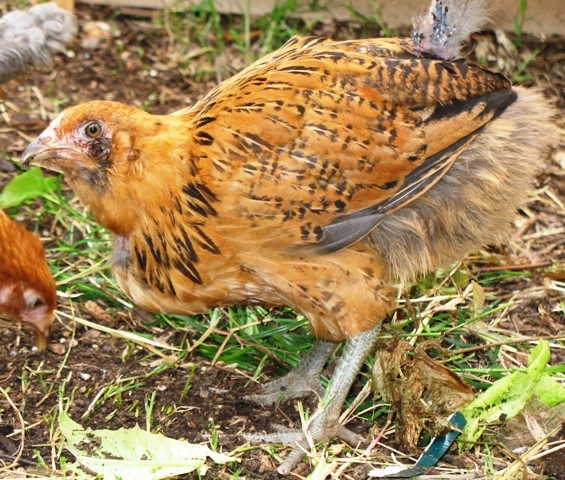
Unnamed 1 and Unnamed 2 - The gal on the left is the biggest and oldest of the bunch. Definitely queen of the roost. She's awfully pretty and the least timid about coming to me when I have food she wants. The rest seem to follow her lead. The gal on the right came to me with some pecked out spots on her neck and tail...obviously getting picked on by some of her previous neighbors. Kind of surprising considering she's got some size on her. But since coming home with me she's started to grow some new feathers on her behind. Should be pretty once they're in.
Little Scooter
PC: Leslie F. Halleck
And...poor little Scooter...she's just not happy...I've treated her and all the others with DE...scrubbing out the roost...etc. I'll probably have to smear her up with Vaseline this week. Lice are gross....now, wish me luck that I don't "catch" them! UPDATE: Scooter is much improved. After a couple of treatments of DE she is all of a sudden her perky self again. Appetite is back full force and she's scooting all over the place. They all still have a few mites on them so we followed up with what we felt was a necessary treatment of permethrin to nip the population in the bud. Scooter seems to be the most docile of the bunch and just may end up being my little sweet heart...