Streetside Garden Blooms

March 27, 2011

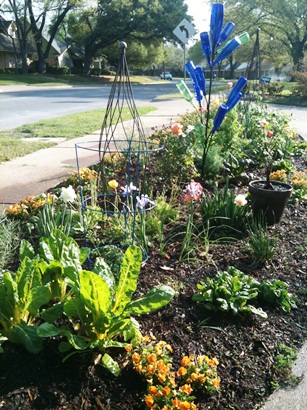
Just a highlight of a few blooms popping out in the new front bed. It's a work in progress...It's the only pre-existing bed at the new house- a crecent shaped bed that sits in front of a concrete circular drive. It's really the main feature of the front landscape. It was full of Bermuda grass, some dead zinnias, groundcover junipers in poor shape and a large row of 30-40 year-old yaupons with trunks the size of large trees! In January, I ripped out everything in the bed, amended with compost, expanded shale and some humus...and started planting. Here's what's pretty so far...

Frontgardenbed

Right now the bed is planted with chard, spinach, cilantro, dill, strawberries, rosemary, rain lilies, roses, tomatoes, echinacea, daffodils, violas and more...even have baby tomatoes on the 'Sapho' plants already.

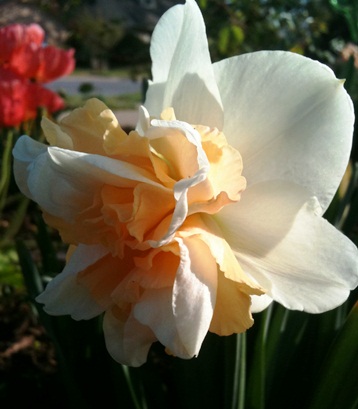
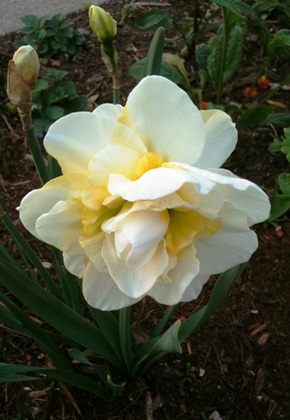
Daffodil_delnashaugh
Daffodil 'Delnashaugh'

Daffodil_splitcorona
Another split corona daffodil...blanking on the cultivar at the moment

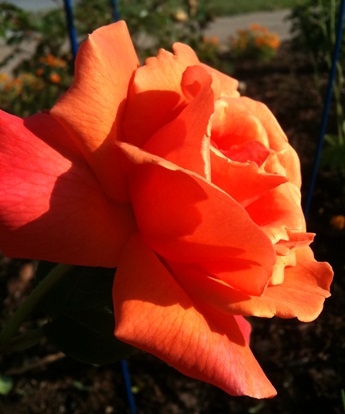
Rose_easydoesit
Rose 'Easy Does It'

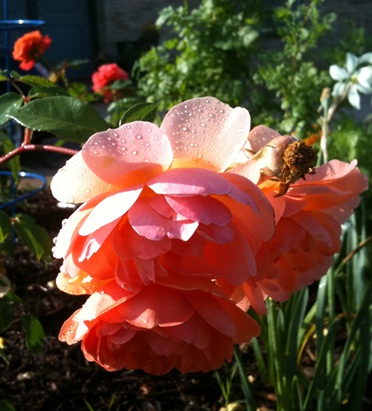
Rose_pat austin
Rose 'Pat Austin'

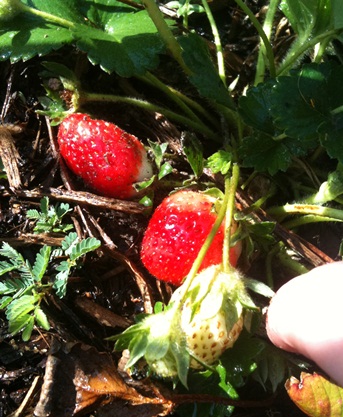
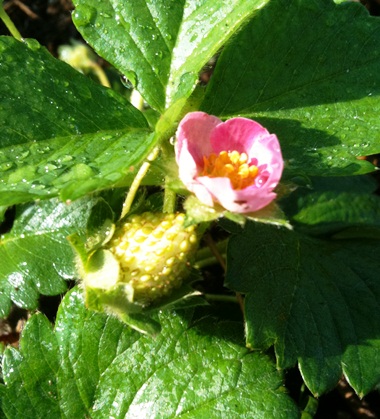
Strawberries
Even after the harsh freezes and ice in January, the strawberries are blooming and fruiting their heads off...


Planting New Fruit Trees

March 15, 2011

Welcome to Fruitopia!

Sunday was project day in the home garden...With help from some of my guys, I managed to get the side yard, officially re-named "Fruitopia", cleared. We also planted a number of fruit trees and blackberry plants. Fruitopia is where my two beehives will reside as of next month and it should be the perfect spot for them.

Sideyard
The before shot above: There was a very old Ligustrum hedge planted along the foundation. These plants had probably been established for a good 40 years. While they'd been cut number of times, the trunks were huge. It took about half the day to get them out. The owners that remodeled the house and sold it to us planted a ridiculous assortment of random shrubs and many Leyland Cypress around the house, without amending any foundation beds. We pulled all of them out. They are sitting in pots and up for grabs right now, lol.

Sideyard2

We amended the foundation bed with compost and expanded shale, although I didn't use too much because I'm establishing blackberries down the entire bed. They usually don't require as much prep as ornamental plantings. There are about 14 blackberries between the varieties 'Navaho', 'Quachita', 'Brazos' and one other....can't remember off the top of my head. Blackberry heaven! I also planted a Pomegranate 'Wonderful' down at the end of the bed on the South side, although you can' really see it in the photo. That South corner is where the beehives will go. Eventually, I'll also build some pathways and plant a few more ornamental bloomers in there just to pretty it up. But it is a production space.

The fruit trees we planted are:

'Santa Rosa' Plum
'Ayers' Pear on dwarf root stock
'Holland' Apple
'Dwarf Redskin' Peach
'Dwarf Ranger' Peach
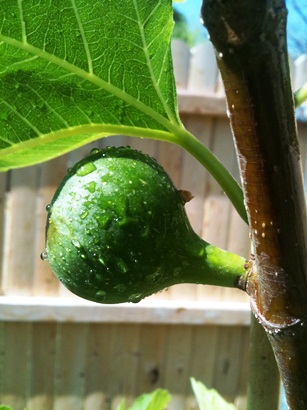
'Brown Turkey' Fig

I also have a dwarf fruiting Cherry called 'Dwarf North Star', but I'm going to put that one in a large container on the South side of the back yard. It will only get 8'-10' feet so I don't want it shaded out by the other fruit trees. I plan to prune all of the trees to keep them more compact, but still planted the larger varieties to the North side, staggered down the the shortest variety (the 10' fig) on the South side to avoid shading.

We also ripped up all the randomly planted shrubs around the front of the house. There was no rhyme or reason to what was planted and none of the soil was amended. There were volunteer junipers growing right in front of the windows...even a "pruned" red oak growing right under the roof line. It was basically a hot mess! So now it just looks a little sad and empty, but better than the mess that was there before. There was an original grape vine in the front...I left that to see what it does. Might trellis it over the window.

Fronthouse
Eventually, I will build burm foundation beds all around the front of the house, property and the back yard...but the next project is to rework a ton of the irrigation first. We did some of that on Sunday, but things have to be moved, repaired and rezoned. Can't build new beds till that work is completed. So..sad and empty it is, lol. I did do some extra planting in the front sidewalk bed. The herbs, chard, spinach and Iceland poppies are looking pretty right now. There are baby strawberries coming as well. I added some 'Pat Austin' and 'Easy Does It' roses, some new Echinacea varieties and a few tomato plants. Pulled weeds...and mulched.

Frontbed2
Lot's of work...little by little...


Containers with Black Petunias

March 12, 2011

After I got back in town from beekeeping class today, I managed to quickly pot up a few patiently waiting empty containers on the front porch.

I love the new 'Black Velvet' petunias so I combined them with dusty miller for nice contrast, then 'Poetry White' Nemesia, 'Techno Heat Blue' Lobelia, Ageratum, and golden moneywort. I haven't yet been through a spring or summer yet in this house, but I have a feeling this front porch is going to stay too shady to support this combo for long. I may have to move them to the South facing patio in the backyard. We'll see as the sun angle changes.

Petuniacombo


Petunia 'Black Velvet' is a Petunia grandiflora hybrid, so it's best suited to cooler temps here in N. Texas. Plants will thrive February though early June. They won't appreciate July/August heat, but who does?? They can be coaxed through summer with some afternoon shade, or replanted in September. Fall planted petunias will often make it through mild winters. Lovely.

I also placed a number of fruit trees and berry plants today...tomorrow I'll be ripping out numerous poorly planted foundation shrubs and planting the orchard in the side-yard...henceforth known as the bee-yard. I'll also be planting a number of roses, tomatoes and some new Echinacea hybrids. More to come!


Beehive Building Project

March 6, 2011

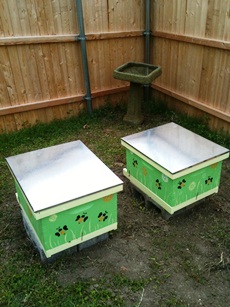
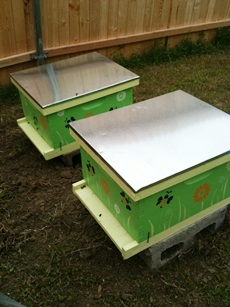
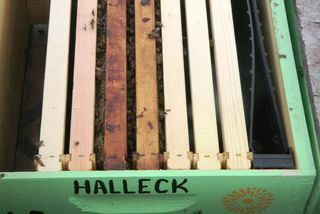
Made some progress on the beehives today. Finished getting the base coats of paint on the brood boxes, which I've painted bright green. I plan to paint the honey supers alternating colors of lighter greens and orange...with some additional decorative painting of flowers and bees. Each hive will look different so that the bees know which hive is theirs...I don't think any other beekeeper will mistake these for their hives either! lol

Broodboxes

Finished building all of the honey supers and got them coated with linseed oil. They'll have to dry for 3 or 4 days before I can paint them.

Honeysupers

We also got 40 brood frames assembled (only 56 more honey frames to go...lol) We still have to pop in the brood frame bases.

Broodframes

In order to get the frames put together more quickly, we built a jig...It takes forever putting these babies together one by one...so I definitely recommend the jig.

Framejig

Next weekend we'll be dropping off our brood boxes so that they can each be seeded with a Nuc (a frame that containes a queen, workers and drones). Can't wait!


Bring on the Bees!

February 17, 2011

Alright, so I've started my backyard bee project. I will be setting up two hives in my own backyard and two hives up at North Haven Gardens in the large organic vegetable garden. My hives will be located in a fenced-in side yard where I'll be planting all my fruit trees and berry plants. Should be the perfect little Fruitopia for them!

So I have 4 full hives to build...

Bee_buildinghive
It's quite the project...especially since I don't own a nail gun..(WISHING I had a nail gun, lol). There are 4 large brood boxes for the base and two honey supers for each hive. So that's 12 boxes to be built. Here is one of the brood boxes...The brood box sits at the base of the hive and it's where the queen and her subjects hang out and raise babies...

Bee_broodbox

Each brood box contains 8 frames each. Each honey super also contains 8 frames each...so for 4 hives I have 96 frames to build...

Bee_broodframe

Each hive also contains a base, an inner lid and outer lid that must be built. To help preserve the wood in the most non-toxic manner, All wood surfaces are then rubbed down with boiled linseed oil. Inside and outside of all the boxes and lids. The only thing left completely untreated are the brood and honey frames. The wood on these frames is left completely natural.

Bee_innerlid

By the time I got 4 brood boxes built and a few lids and frames, I required an adult beverage...Just be careful not to drop any linseed oil in your whiskey...lol. After you linseed all the boxes and lids, they have to dry for 3 to 4 days. Be careful with linseed oil, it can spontaneously combust. Make sure the cans are not left out in full sun. Make sure to lay flat any rags or clothing that comes in contact with the oil to completely dry out for 24 hours. It can then be washed.

After you linseed, you put two coats of exterior paint on all outside surfaces of wood, and the upper and lower edges. You DO NOT paint the interior surfaces of the boxes. I'll be painting the brood boxes this weekend to get them ready to introduce the NUCs in a couple of weeks. Then, I'll have to get to work on building all the rest of the honey supers and frames...

Then my bees will come home in April! Super excited...I'll have about 180,000 new babies...


Aren’t you getting excited about spring?!

January 26, 2011

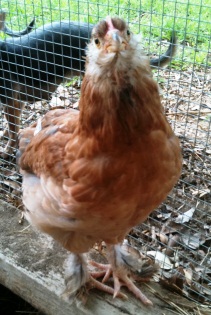
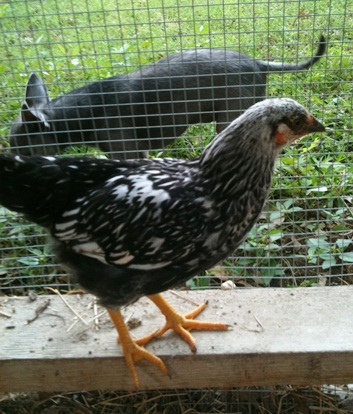
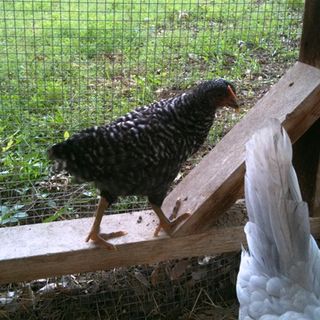
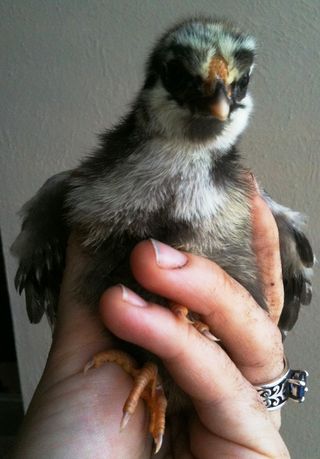
I'm on staycation this week and am enjoying just the kind of morning I love. Stayed in bed until 8:30...LUXURY!!. It's cold outside (for Texas), but it's bright and sunny, which puts me in a cheery mood. I just checked on my seedlings...the lettuce is sprouting eagerly while the tomato seeds sit in stubborn refusal. I have yet to dig out my seed heating mat from the many still unpacked boxes in the garage. Those tomato seeds will sit there stubborn until I warm them up. For all you newbies out there, you really do need a heat mat for your tomato seedlings! I just picked up my new issue of Urban Farm magazine, made some strong chicory coffee and am browsing through articles about beekeeping and all sorts of other fun stuff. I'll be headed out to check on the girls (my chickens) here in a bit to make sure their water isn't frozen and they get their daily salad green buffet. It's mornings like these that really get me excited about spring. JOY.

PC: Leslie F. Halleck

Because I'm in a new home, with yet again an empty landscape to start with, I'm full of itch to garden. While I have cultivated one large bed that was pre-existing, it will take quite a while to get everything built back up to my prior level of urban farm food production. I do always love a challenge though. I have many raised beds moved from my old house still waiting to be situated and filled...and many ornamental beds to be built and planted, which will take a back seat to the veggie beds. My first big project will be planting what I named "Fruitopia". I have one fenced in side yard, which is street side that will become home to my small fruit orchard and beehives. I'm choosing a well thought out list of small and dwarf variety fruit trees as well as some berry plants. I imagine I'll start planting Fruitopia in early February, once all my varieties have arrived. I'll post the list of selections once it's finalized.

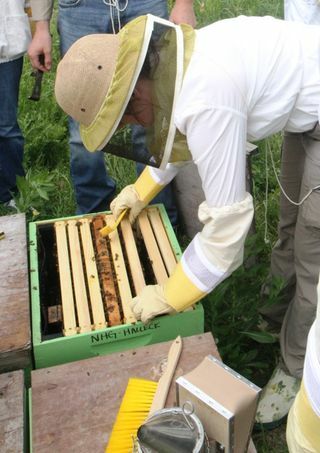
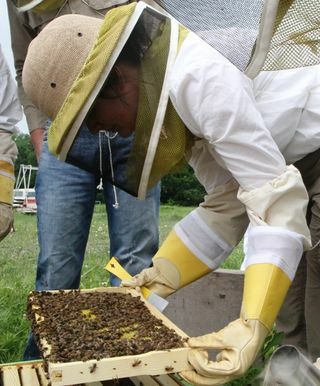
I start my 5-month beekeeping course this coming Saturday and couldn't be more excited! Not only will my bees be much needed pollinators for my own orchard and vegetable garden (and those of my neighbors), but I hope that my tiny effort will help boost what are devastating crashes in honey bee populations over the last 6 years. Colony collapse, brought on by a combination of invertebrate iridescent virus and a fungal organism called Nosema ceranae, are decimating bee populations everywhere and seriously threatening our entire food supply system. If you want to help out the population of pollinators, but keeping hives of honeybees is just to much for you to handle, you can encourage the presence of Mason bees in your garden. Mason bees are excellent pollinators and all you need to do is provide a simple nesting box. Check your local garden center for supplies!

Hope you're getting your veggie beds prepped, your seeds started and are excited about spring!


Yard eggs versus grocery store eggs…

January 23, 2011

I'm often asked if there is any difference between my fresh backyard eggs and eggs purchased at the grocery store (from mass production facilities). My answer is always "YES!!" Fresh eggs from hens that are raised with with access to the outdoors, organic feed, fresh greens, insects, sunlight and low population pressure are healthier for you. They have higher levels of omega-3 fatty acids, beta carotene and have a denser texture than mass production eggs. Here is a photo of an egg from one of my Ameraucanas and an organic cage-free egg from the grocery store. I think you can tell which one is the yard egg!

Eggyolks


Winter egg hiatus is over!

January 17, 2011

What with the heavy molt they went through last fall, plus the move to the new house, plus the short winter days, my girls quit laying eggs for me for the last 3 months. I knew that with the lengthening days that I'd probably be seeing an egg or two any day now. Sure enough, Pecker started squawking up a storm yesterday morning (which they tend to do right before they lay an egg...) Sure enough, I was rewarded with these two big beauties this morning!

Eggs

For those of you new to the blog, Pecker is one of my Ameraucanas so she lays beautiful blue eggs.


Back to top

Tips in your inbox

E-Newsletter

Sign up for my monthly E-Newsletter for botanical business news, horticulture courses, and tidbits for plant and gardening lovers!