Plant Parenting: Crops Vary in Days-to-Harvest

June 3, 2020

Are you wondering when to start seeding your spring & summer vegetables? For all crops, you have to take the days-to-harvest into consideration.

Days-to-harvest varies, depending on whether you direct seed or transplant your edible crops.
PC: Leslie F. Halleck

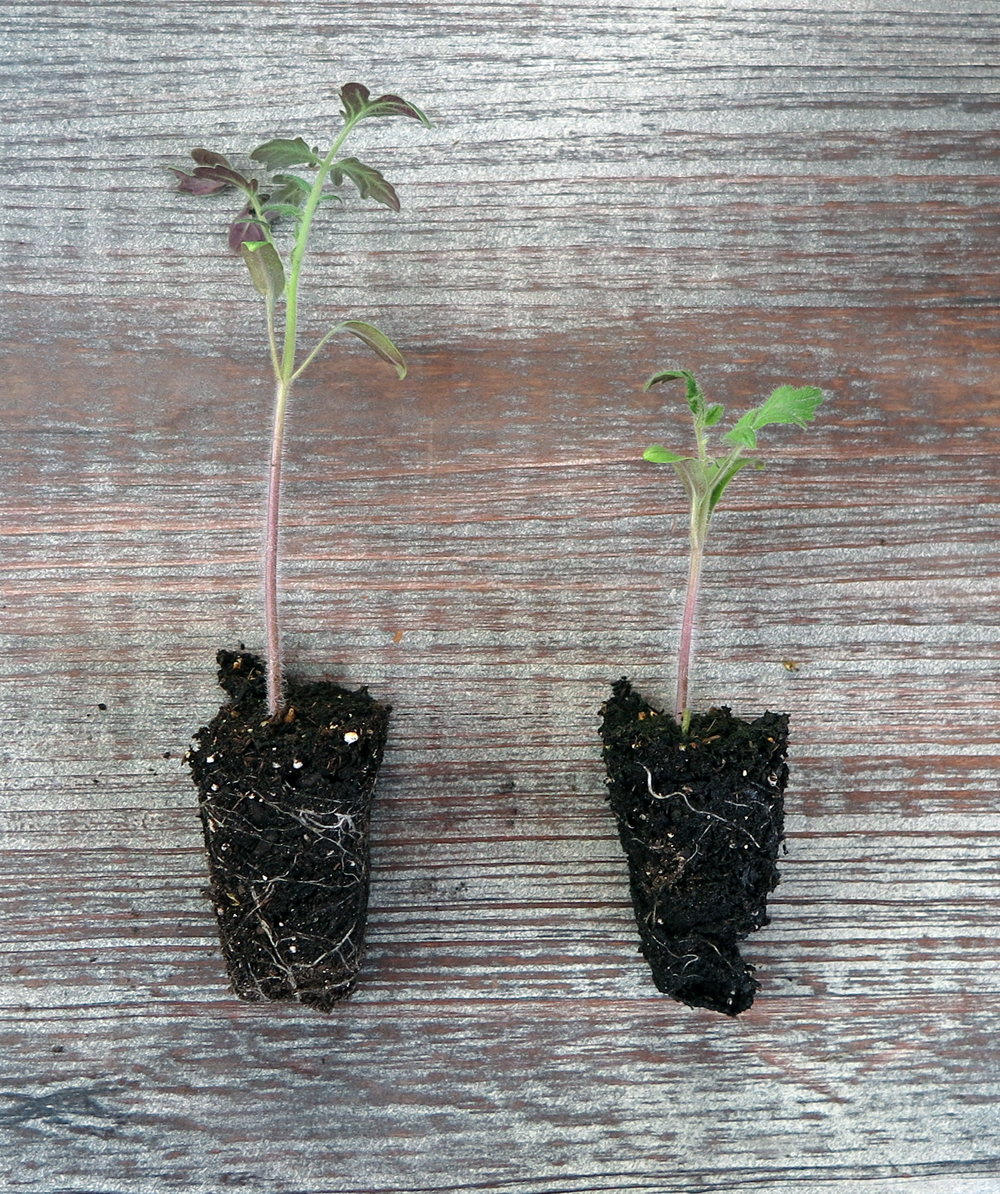
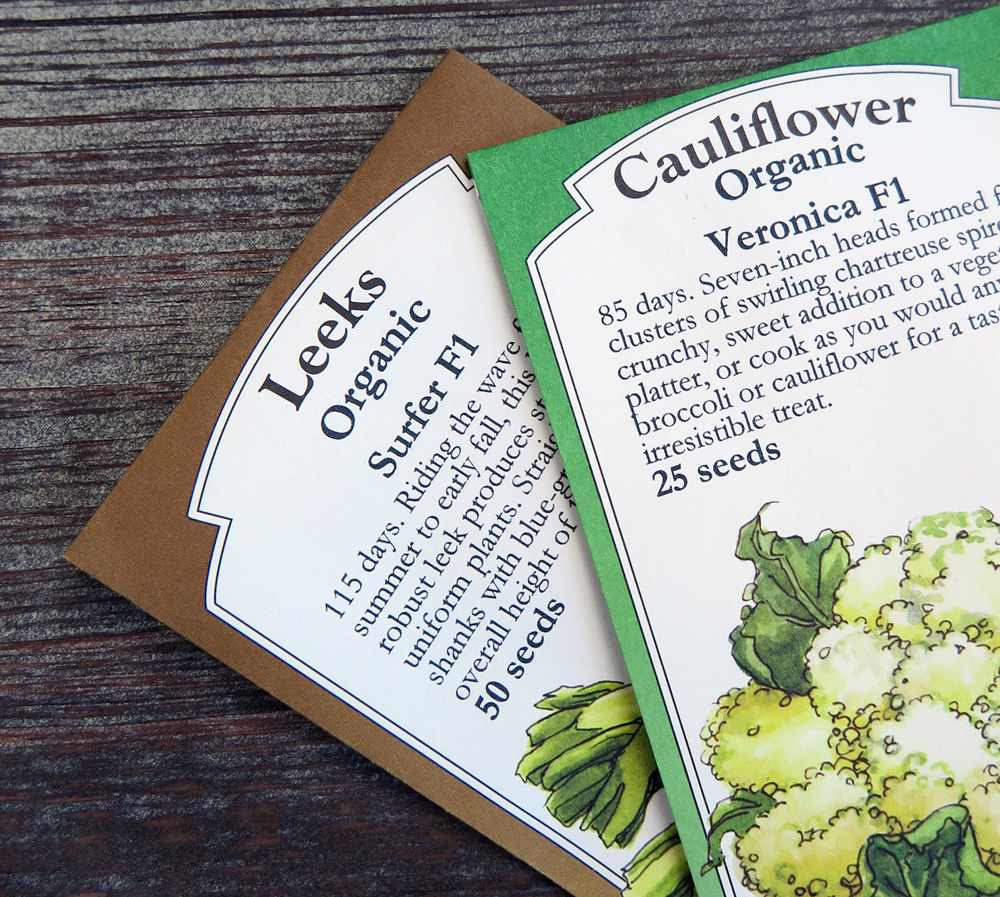
The number of days-to-harvest can vary significantly, depending on whether you direct seed a crop into the garden or first grow a transplant. If you direct seed your crop into the garden or the container in which it will grow indoors, the days-to-harvest number on the seed packet is calculated from the date of germination.

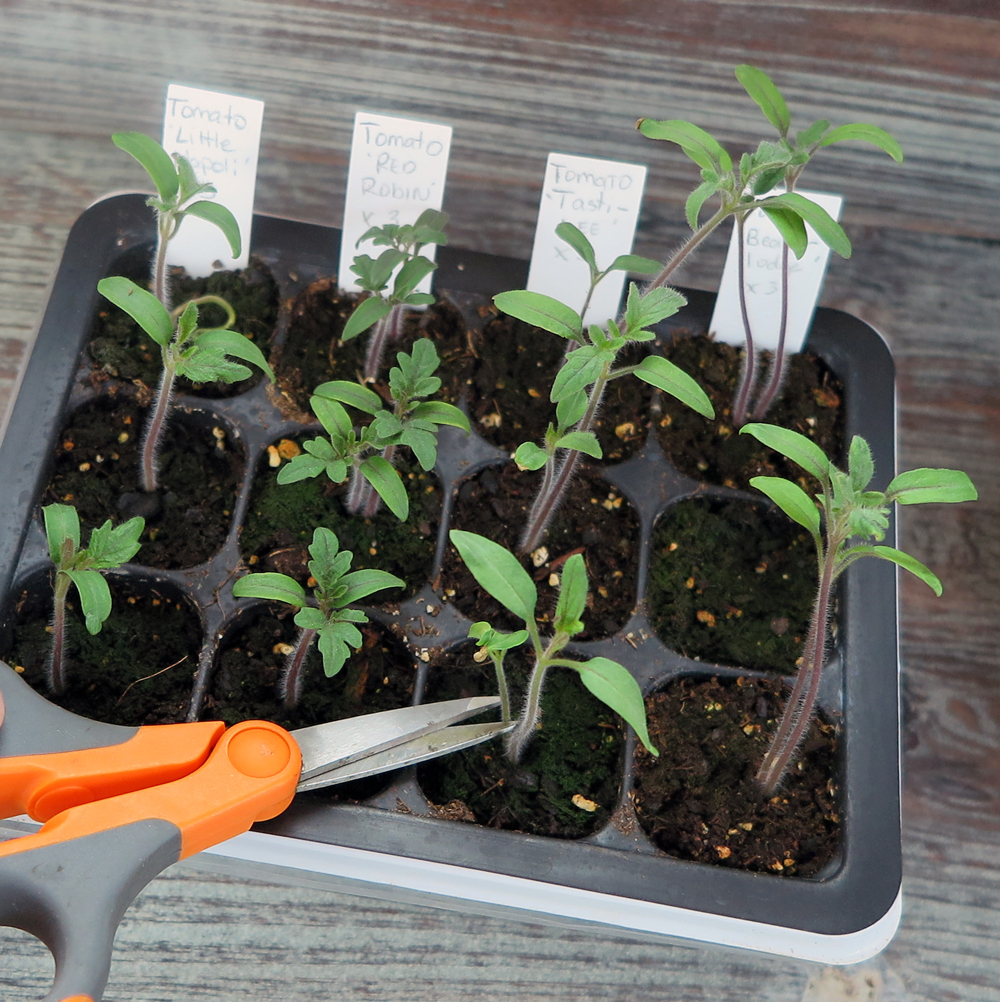
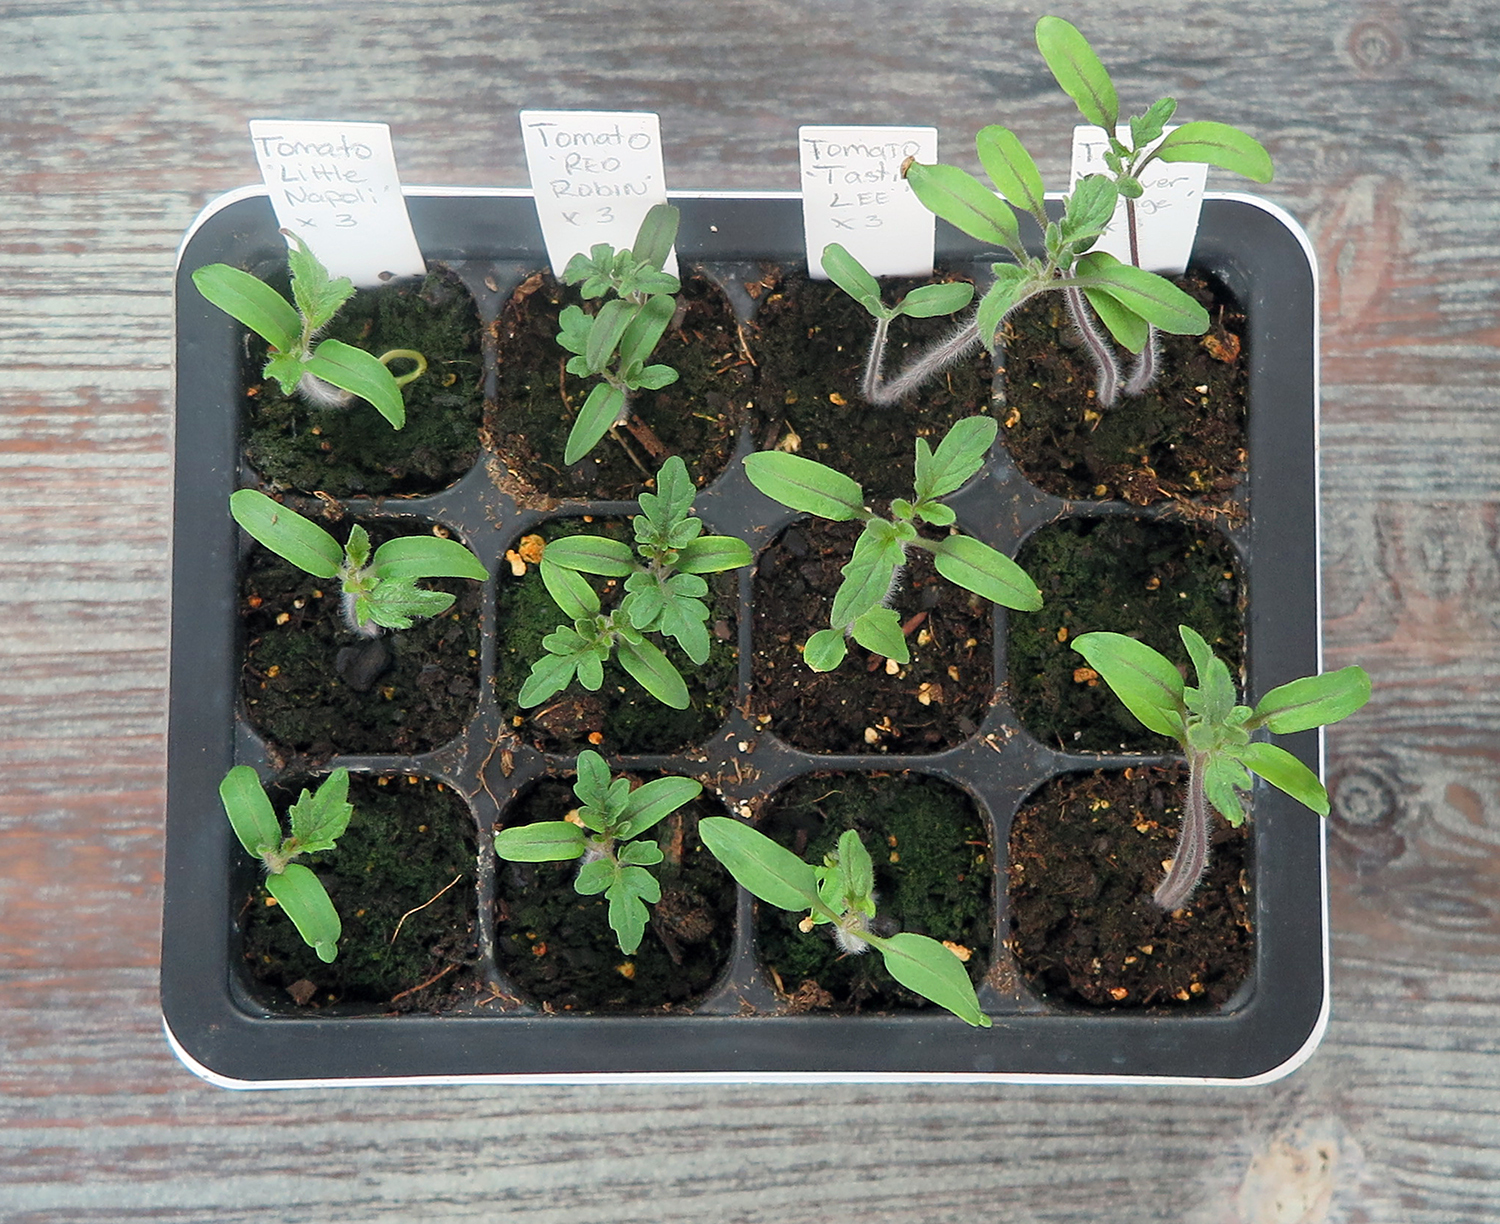
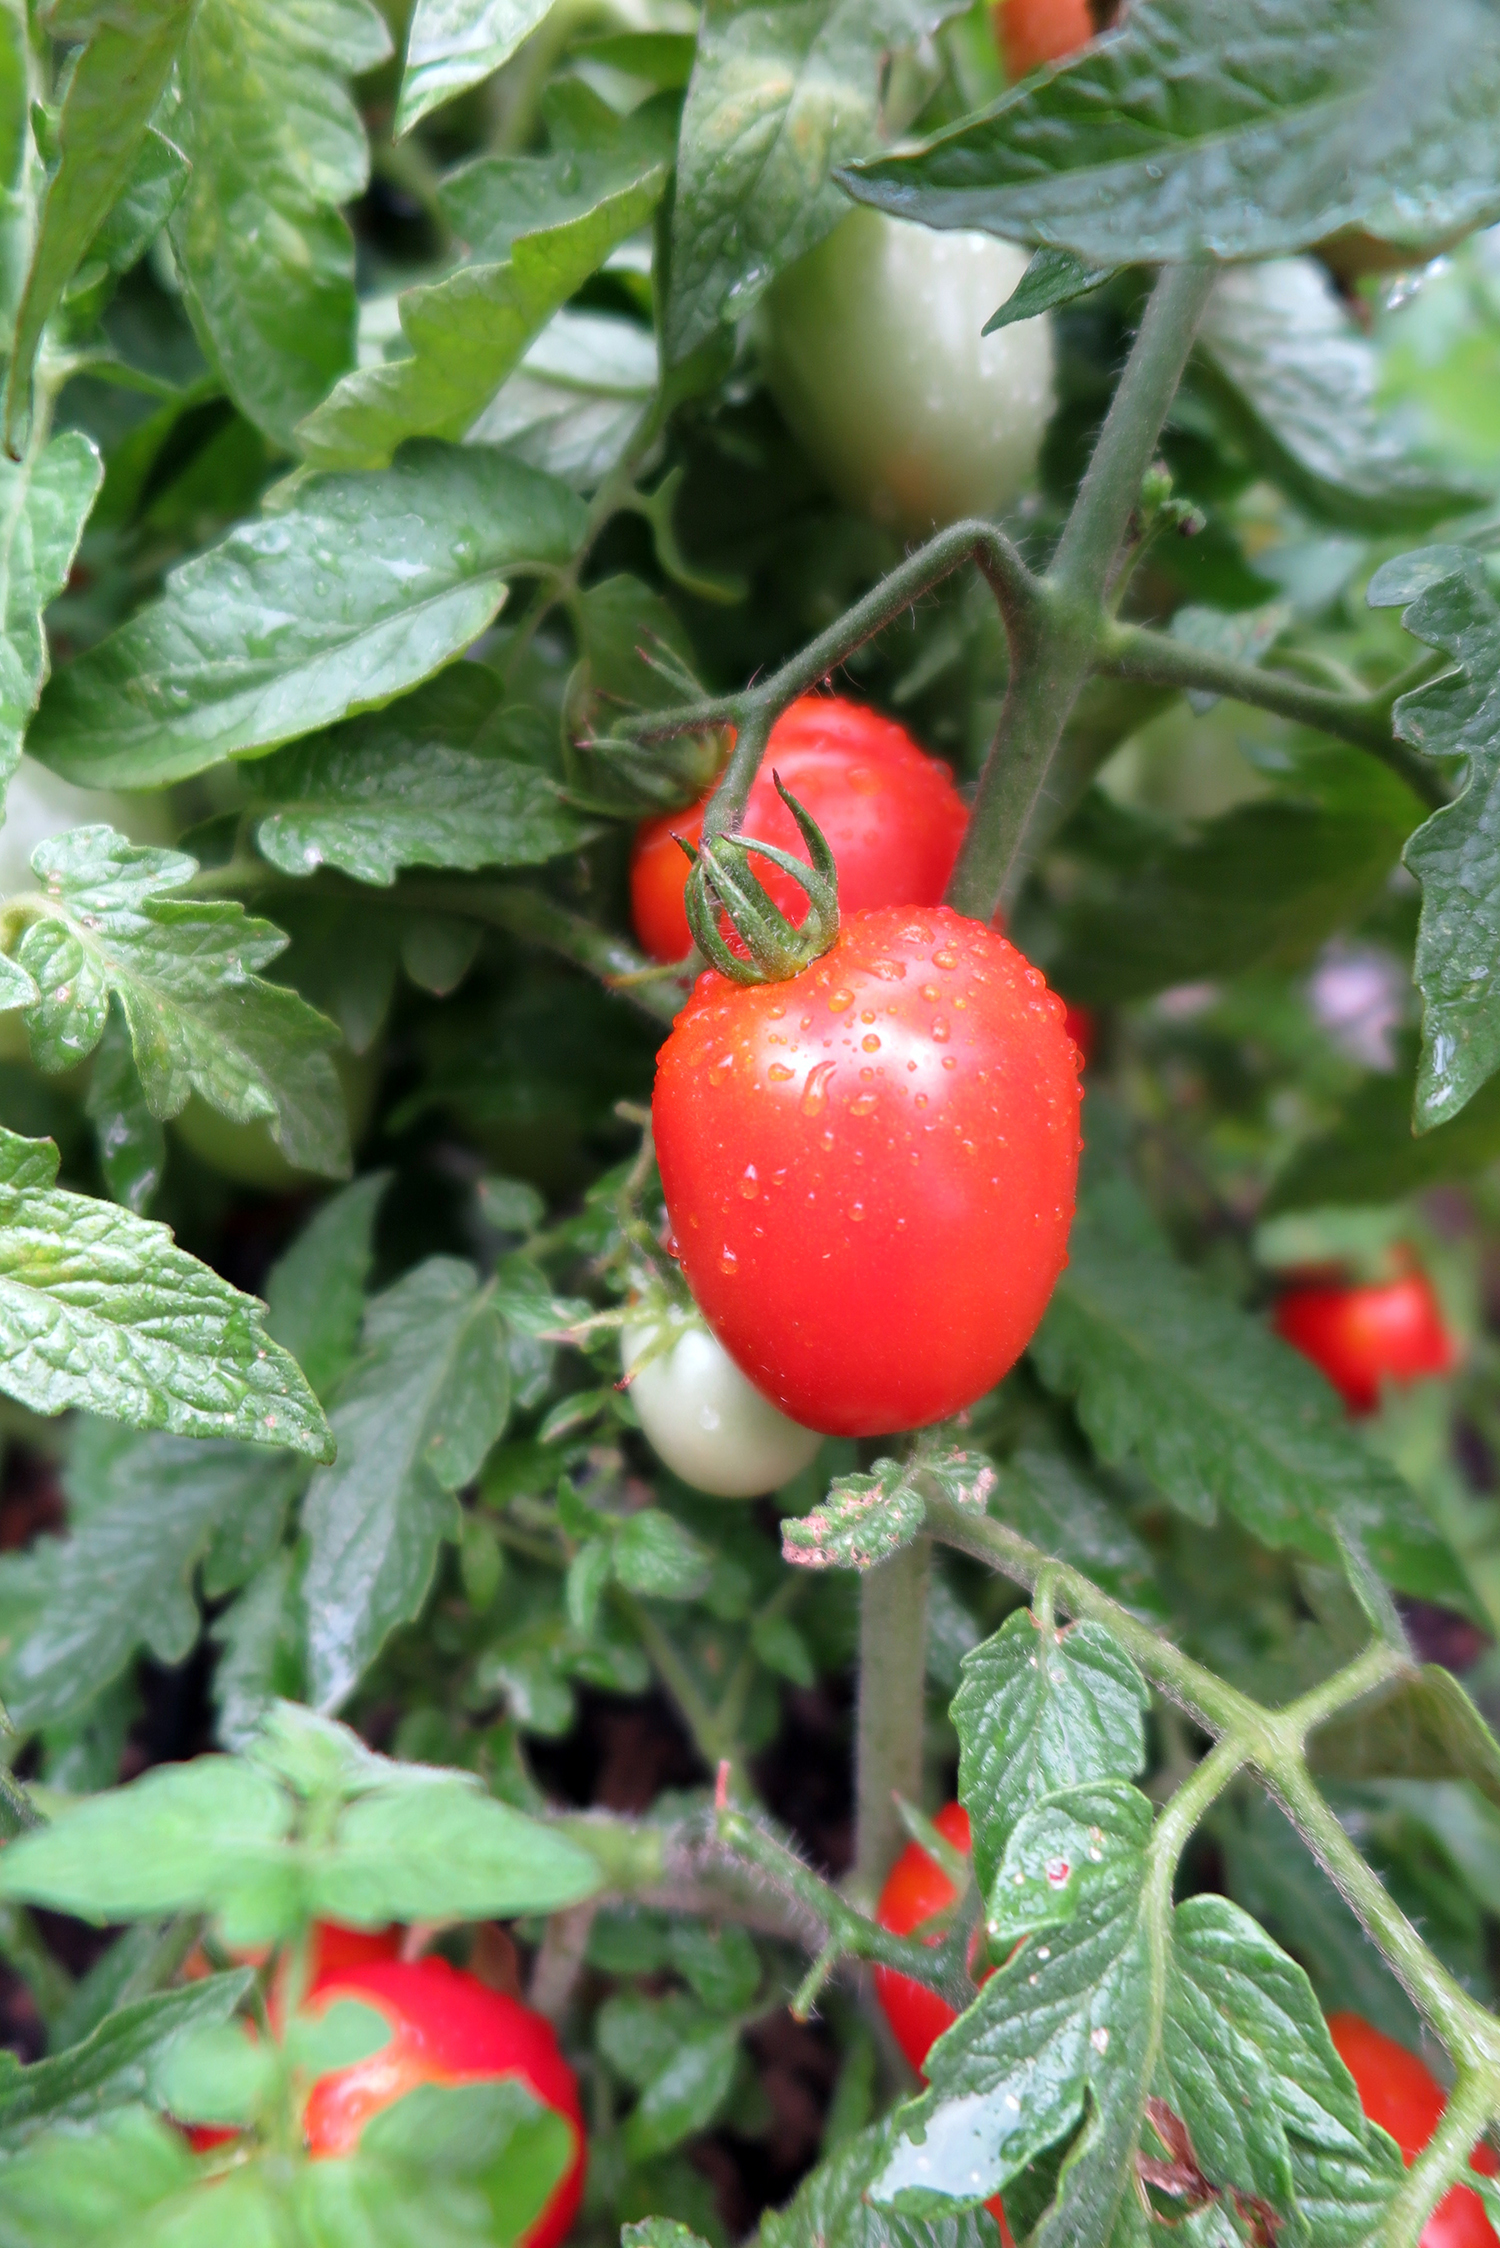
For tomatoes, days-to-harvest start once they are planted into the garden.
PC: Leslie F. Halleck

Tropical crops, such as eggplant, peppers, and tomatoes, are typically started early indoors as transplants, allowing for bigger plants in the outdoor garden once temperatures are appropriate. For these crops, the days-to-harvest is counted from the date they are transplanted into their final container or outdoor garden location.

This is why you see southern gardeners starting their tomato seeds seeds indoors in January.


SUCCULENTS: Little Prince of Oregon Plant Unboxing!

March 31, 2020

Unboxing: Succulents for Your Indoor Garden

If you know me, you know I'm a big fan of tiny plants and unusual succulents, and am always on the hunt for new plants to collect. With many of you sheltering in place right now and spending a lot of extra time with your gardens and houseplants, I thought now would be a great time to share one of my favorite online retailers of unique plants.

I recently received a box of amazing Petite Prince succulents (some in their Plant Poppers line) from Little Prince of Oregon Nursery and wanted to share some of the amazing tiny plants they sent me. I'm often asked which type of succulents can be grown indoors with lower light levels, so I in the video I thought I'd share some of the plants I received that are perfect for beginners or indoor gardeners without a lot of space, specifically species and varieties of Haworthia.

l3TAnY87Jpk

At the end of my video I list all of the species Little Prince included in my box, and below I've added photos and descriptions of the species they currently have available at their retail shop. There were a few species I received that they don't quite yet have available, so I'll include those on a future post once they are ready!


Available Plants Included in my Unboxing

Click on the images of each plant if you want to visit the Little Prince retail shop!

Haworthia chloracantha var. denticulifera

So, I believe the current accepted botanical name for this plant is Haworthia chloracantha var. denticulifera - however it may be sold under the synonym Haworthia angustifolia or Haworthia angustifolia var. denticulifera (but I understand these to be older now synonyms - if you ave updated info on this please let me know!)

is an easy-to-grow haworthia featuring adorable, narrow, lanceolate leaves in a dense clump. I love this species because it looks fairly different from many other Haworthia. Tiny and compact for tiny pots! Low to Medium light.

Alligator Plant, Haworthia tessellata

Haworthia tessellata is an interesting, star-like rosette of thick, rough, green succulent leaves with distinct veining that looks oddly like alligator skin. In full sun the tough leaves will turn brownish-red in color. I absolutely love the striking leaf pattern on this species and it can be kept in truly tiny pots. Low to Medium Light.

Thimble Cactus, Mammillaria gracilis fragilis

This adorable, compact-growing cactus, nicknamed Thimble Cactus, features bright green cylindrical offsets each with a network of white spines. The offsets have a tendency to roll off, so handle with care. In fact, you won't always find this species shipped from online sources because it's so delicate (hence the subspecies fragilis). You need bright light for this cactus so place it under grow lights.

Echeveria globulosa

Echeveria globulosa is an adorable succulent with tiny, chunky, pointed leaves growing in a dense rosette. SO PHAT. New growth will emerge lime green and upright, but mature to blue-green and more outward-facing. Medium to bright light.

Echeveria chihuahensis

Echeveria chihuahensis features chunky, scalloped, bluish-gray succulent leaves with pink margins and tips in a rosette. The pink color intensifies when the plant is joyfully stressed. A really beautiful and colorful tiny specimen for medium to bright light.

Haworthia ‘Universe’

This form of Haworthia features thin, upward turned lanceolate leaves with white spots and ribs. Provide a well-drained soil away from reflected heat. Once established, water infrequently during the hot season. Fabulous foliage contrast and texture. Low to Medium Light.

Fairy Washboard, Haworthia limifolia

Nicknamed Fairy Washboard for its characteristic white, raised ridges, Haworthia limifolia is sure to impress! Features dramatically whorled, outward growing leaves. Haworthia is a small, slow-growing, low maintenance plant. Low to Medium light.

Leatherpetal, Echeveria rusbyi

Echeveria rusbyi, also called Leatherpetal, features adorable rosettes with dusty pinkish brown to blue-green leaves. Will grow in a tight cluster of rosettes. Displays white to yellow, star-shaped flowers with red banding. Medium to Bright light.

Zebra Plant, Haworthia ‘Superfasciata’

Haworthia ‘Superfasciata' is a s temless, clustering succulent with green pointed leaves wearing white spots. A small, slow-growing, low maintenance plant. It will bloom in summer with small white flowers. Provide a well-drained soil away from reflected heat.Low to Medium light.

Haworthia herbacea

Haworthia herbacea is a slow growing succulent featuring yellowish-green foliage with firm, hairy spines and glassy white edges. Pointed leaves curve upwards in a dense rosette that is low to the ground. It will bloom in summer with creamy-white flowers with pink tips. Low to Medium Light.

Sedeveria ‘Blue Elf’

Sedeveria ‘Blue Elf (Sedum x Echeveria) is a wonderful hybrid succulent known for its pastel colors and repeating blooms. The rosettes feature pointed, blue-green succulent leaves flushed with pink. Displays an explosion of bright, yellow, star-shaped flowers on a thin stalks. Medium to Bright light.

Haworthia ‘Super Big Band’

Stemless, clustering succulent with green pointed leaves wearing white spots. A small, slow-growing, low maintenance plant. It will bloom in summer with small white flowers. Provide a well-drained soil away. Low to Medium light.

Calico Hearts Plant, Adromischus rupicola

Look at these chubby, speckled leaves! Adorbs! (Kinda reminds us of a frog.) Adromischus rupicola, aka Calico Hearts Plant is a dwarf, succulent shrublet that grows up to 3 inches tall. If you are lucky enough to get a bloom, the flowers are pale yellow and sit upon a tall fluorescence. Medium to Bright light.

Echeveria graptopetalum filiferum

SO PRETTY...Echeveria graptopetalum filiferum is a gorgeous rosette with a delicate, fine red filament that tips each leaf. A small, slow-growing, low maintenance plant. Provide a well-drained soil away. Low to Medium light.

Little Prince or Oregon did not pay to sponsor this post or my video. I do have affiliate links with them for their retail shop. I just happen to love them and they are super nice people - and they have fab plants!


Plant Parenting: Seed Sowing Tips

March 29, 2020

Seed Starting Success

When you are first starting out, sowing seeds can be tricky & scary. Here's a few tips to help get you started successfully:

  • Check the seed packet for optimal germination seasons and temperatures to decide whether to start them early indoors, or direct seed them in the garden.
  • Check the seed pack to see if pre-soaking, scarification, or stratification is recommended or required (I explain all techniques in my book Plant Parenting).
  • Before planting seeds, be sure to thoroughly moisten the growing media, pellets, or plugs.
  • Plant your seeds at the depth recommended on the packet. Typically, you can plant larger seeds deeper and smaller ones more shallowly. You should sow some seeds, such as lettuce, on top of the soil and lightly press them down.

When sowing these pepper seeds, I placed two seeds per cell, approximately 1/2 inch beneath the soil surface.
PC: Leslie F. Halleck

  • Always make sure that containers (especially large ones) have drainage holes.
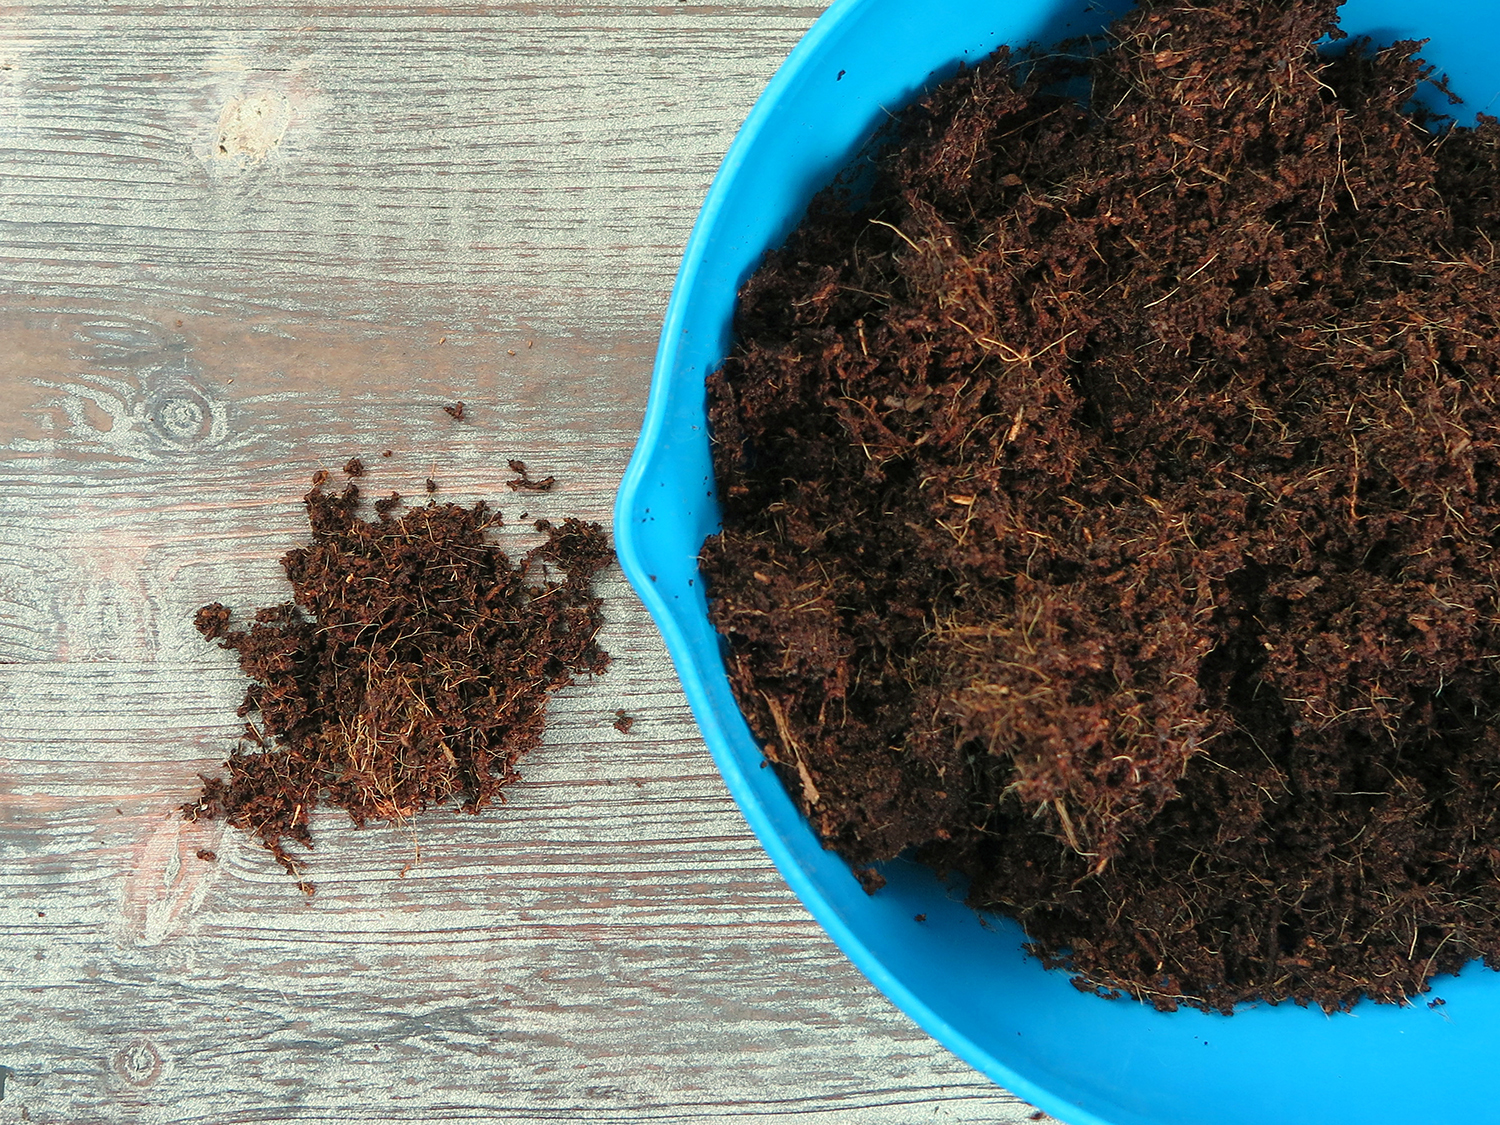
  • Maintain proper moisture for germinating seed by using a mister bottle. The addition of a thin layer of coir or vermiculite can also aid in keeping even moisture.

I added coir to the top of these seeds to help conserve moisture.
PC: Leslie F. Halleck

Keep in mind: you won’t always achieve 100 percent germination from a group of seeds, whether you buy new seeds or harvest and keep for the next season. You can sow two seeds per container, cell, or plug, so if one seed doesn’t germinate, you have a backup.

  • Use a humidity dome or other type of clear plastic cover to maintain high humidity around your germinating seeds, until seedlings have sprouted and started to grow their first set of true leaves.

If you want a more detailed tutorial on seed starting, be sure to check out my propagation book Plant Parenting!


Plant Parenting: Direct Seeding into the Garden

March 28, 2020

Depending on your climate, starting seedlings indoors ahead of garden planting time is advisable. However, some types of edible plants can, and should, be direct seeded either into the outside garden, or into the final container in which they will grow until harvest. Direct seeding is good for quick turn crops, such as lettuces, as well as for root and large-seeded crops that do not transplant well, such as carrots, beets, turnips, cucumbers, beans, corn and squash.

Carrots are the perfect crop for direct seeding.
PC: Leslie F. Halleck


The days-to-harvest number on the packet is calculated from the date of germination in the garden when you direct seed.


PC: Leslie F. Halleck


The days-to-harvest number on the packet is calculated from the date of germination in the garden when you direct seed.


I direct seeded this mixture of edibles and flowers above that includes calendula, kale, Swiss chard, borage, bush beans, and lettuces, into my vegetable garden. I sowed the seeds directly into the garden beds when outdoor temperatures were favorable, rather than starting transplants indoors. The days-to-harvest number on the packet is calculated from the date of germination in the garden when you direct seed.

This weekend I'll be direct seeding bush beans and bush squash out into my garden beds. What about you?!


Home Harvest: The BEST Roasted Tomato & Rosemary Recipe

March 19, 2020

A Favorite Tomato & Rosemary Recipe

Ok, for something yummy to do while you are #stayathome ... One of my all time favorite and EASY recipes from the garden (or kitchen) are roasted cherry tomatoes with fresh rosemary. It's my favorite thing to do with my garden rosemary and garden tomatoes when they are ripe (but store bought is just fine too). I picked this up from my friend @robingillculinary and I eat it on EVERYTHING! Ok, maybe not on cake but you catch my drift. It makes the best easy party food (even for your parties of one or two right now) and you can put it on just about anything from crackers to cream cheese to chicken or other roasted veggies. You're the boss.

As you can see I like to make my favorite breakfast with it. I throw some in the skillet with a yard egg fried over easy, then top a piece of sourdough toast. Takes 5 minutes and you'll feel like you're brunching at your favorite breakfast spot.

Recipe

So, here's what you do:

  • Preheat oven to 400F
  • Fill a large casserole baking dish with cherry or saladette size tomatoes
  • Cover generously and toss with olive oil, salt, pepper
  • Chop a few garlic cloves and throw them in in
  • Snip 4-5 long stems (8-10") of fresh rosemary from garden/patio
  • Strip a few rosemary leaves and toss into tomatoes
  • Lay the rosemary stems across the top of tomatoes - that's it (it will seem like a lot of rosemary...it isn't!)
  • Pop in the oven uncovered for 20 minutes(depending on your oven -smaller cherry tomatoes may be 15 minutes, larger may be 20-25 minutes)
  • When tomatoes have begun to wrinkle and pop and a have little browning you can remove and cool (or serve warm, but not right out of the oven because those 'maters will pop in your mouth and burn you!)

Serve cold or warm on EVERYTHING. With the amazing flavors and juices from this easy dish, you can make just about anything you top it with taste instantly amazing. I always have rosemary planted in my landscape beds - it's the perfect foodscape ornamental/edible, but even just a single pot of it on your patio will pay off big time. ENJOY!


Plant Parenting: Optimum Temperatures for Seed Germination

January 24, 2020

Seed Germination Temperatures

It's that time of winter where many of you may be starting seeds indoors. Both air and soil temperature affect the speed and success rate of seed germination and growth. Each type of plant has a different optimal temperature range, based on its natural environment. Be sure to check the seed packet for specific optimal temperature ranges for germination.

Different types of seed will germinate faster than others. This basil ‘Genovese’ (below) is clearly an overachiever, when compared to the slower tomato and pepper seeds sown at the same time.

PC: Leslie F. Halleck

Many seeds germinate well in the 68°F to 80°F (20–26.6°C) range for both soil and air temperature. If temperatures are too cold or too warm, some seeds take a very long time to germinate or may not germinate at all.

If you want to speed up germination, or are starting seeds in a cold room or garage, try using a seedling heat mat, that goes under your seedling tray. Seedling heat mats can warm the soil or growing media temperature about 10-15°F. You can also purchase controllable thermometers for your heat mats.


Plant Parenting: Tips for Avoiding Damping Off in Seedlings

January 17, 2020

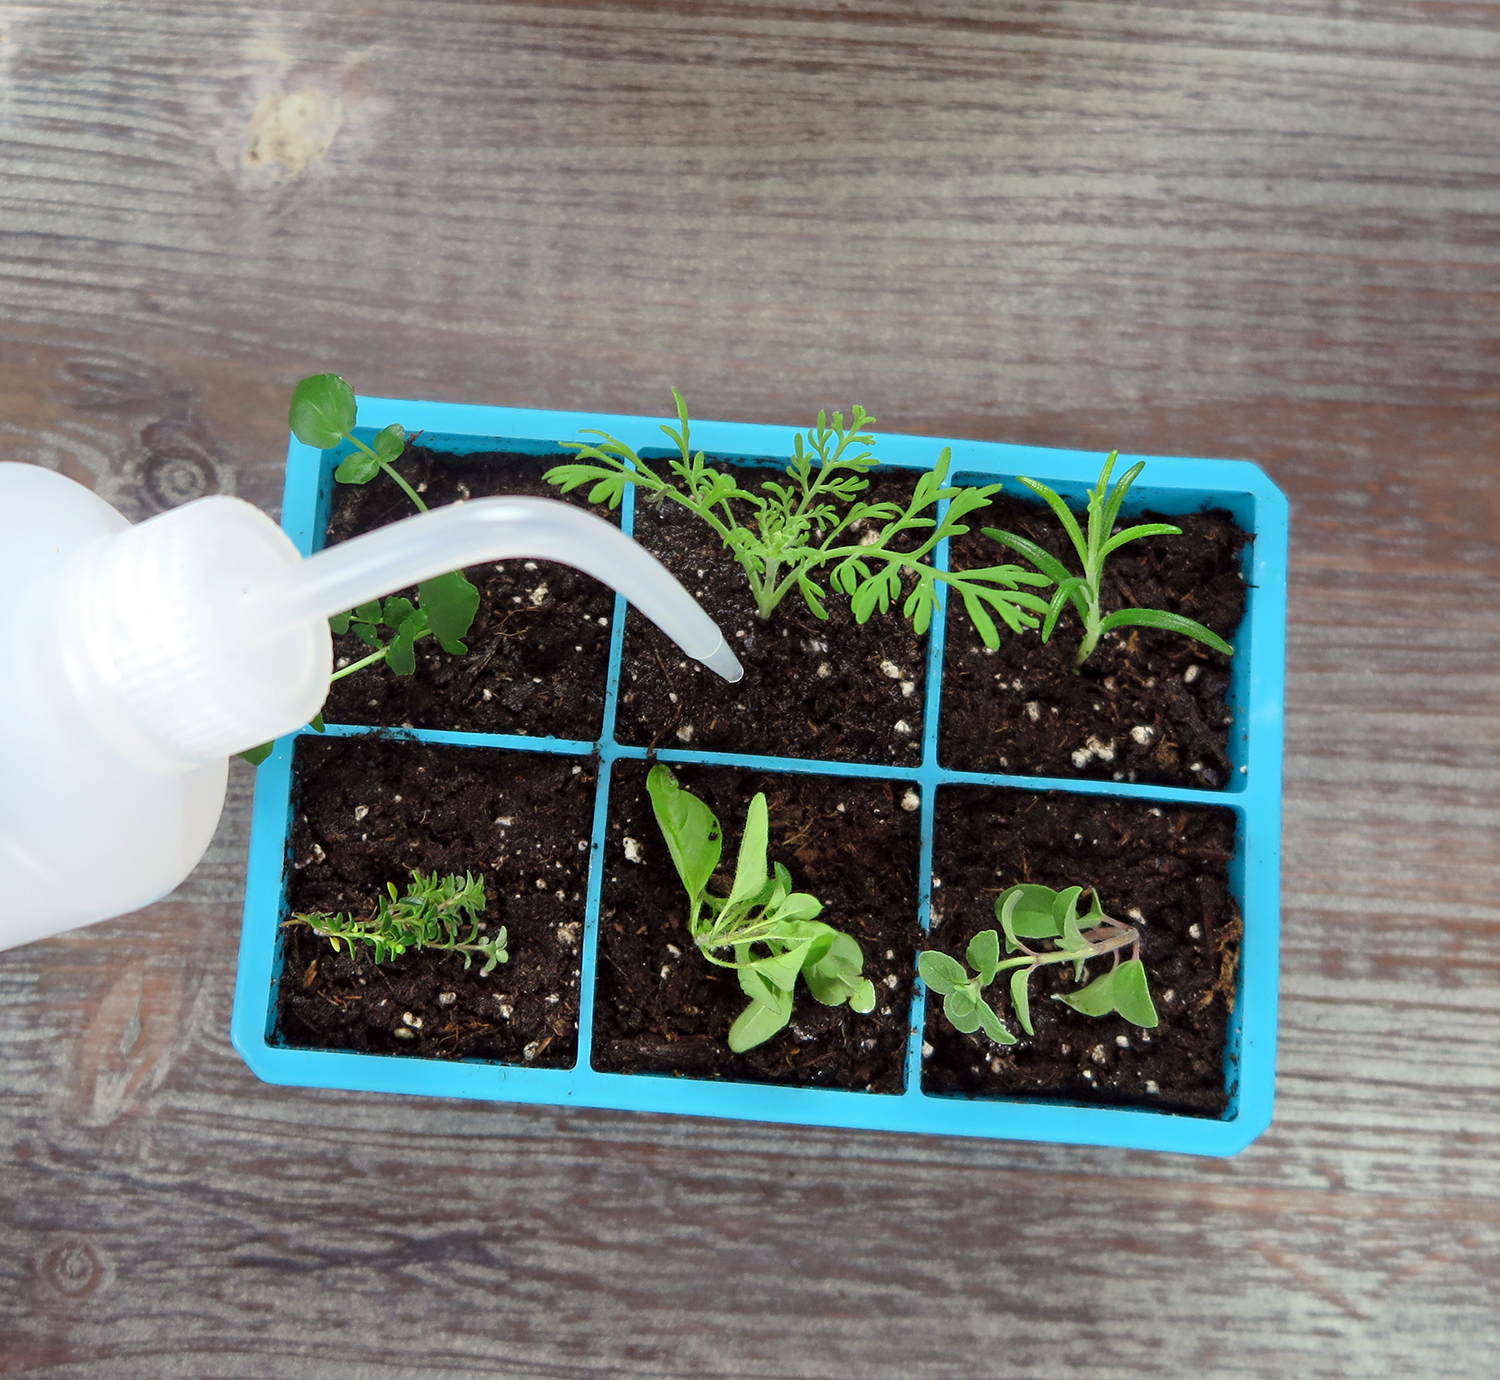
Damping Off Disease

Damping off is a disease that is extremely frustrating for seed starters. It's usually a combination of several soil borne pathogens that move in quickly to take down seedlings as they are germinating. If your young seedlings turn brown or black at the base of the stem, then topple over, your you see mold-like growth on your seedlings, damping off may have set in. Typically, properly managing and balancing moisture is the key to preventing damping off.

Dealing with Damping Off

There are a few tips you can employ to decrease your chances of the disease attacking your seedlings:

  • Avoid adding fertilizer to your seeds before or right after they germinate. Fertilizers can encourage fungus and mold growth.
  • Commercial growers will use synthetic chemicals to prevent damping off, but you probably don’t want to do this in your home or for edible crops. A handy alternative is to water your seedlings with a hydrogen peroxide solution. Hydrogen peroxide oxygenates the soil, which kills off many fungi and bacteria. Mix 1 teaspoon of hydrogen peroxide to 2 cups of water and then use the solution to water or mist your seedlings.
  • Keeping excess water off the foliage will help reduce fungal disease problems. As seedlings grow, you’re best to shift from a spray bottle—which wets the foliage—to small watering cans or squirt bottles, so you can deliver water directly to the root zone without getting water on the foliage.
  • Don't leave your germination humidity dome on too long. Once seedlings have germinated and are developing true leaves, you can usually remove the humidity dome so excess moisture doesn't build up and breed disease.

Plant Parenting: How to Recognize Damping Off in Seedlings

January 10, 2020

Damping Off Disease

Nothing is more frustrating than to have your seemingly healthy seedlings suddenly succumb to disease. Damping off is a fungal disease caused by a combination of pathogens: Rhizoctonia, Pythium, or Fusarium fungi.

While older seedlings and transplants can typically fend off the fungi, germinating seeds and young seedlings are particularly susceptible.

Conditions were too wet and dark when these microgreen seedlings were beginning to germinate, and some mold began to grow on the seeds. I removed the humidity dome for a day or two and increased the light and was able to save this crop.
PC: Leslie F. Halleck

Recognize Damping Off

Signs your seedlings are suffering from damping off:

  • Your seeds never emerge from the soil
  • The cotyledons are discolored or look waterlogged or mushy
  • The seedling stem becomes thin and water-soaked looking
  • The new leaves wilt or look discolored
  • You find no roots on your seedling or the roots are discolored and stunted
  • White mold-like growth develops on seeds or seedlings in high humidity


Back to top

Tips in your inbox

E-Newsletter

Sign up for my monthly E-Newsletter for botanical business news, horticulture courses, and tidbits for plant and gardening lovers!