Woolly Pockets planted up!
October 9, 2011
Yesterday morning I mounted and planted up two brown Woolly Pocket planters on my dining room wall. If you're in the Dallas area, you can get them at North Haven Gardens.
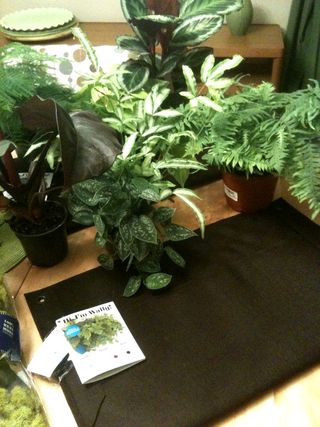
They look pretty fab already, but I imagine once the plants fill in more it will look even better. You'll want to use a mixture of plants that will provide some height, some fill with texture and foliage color, and some trailers that will eventually grow to cover much of the planter. For indoors, I suggest sticking to tropicals that can handle lower light conditions. You can even do African violets, orchids and the like as long as you have a nice bright North or South facing window. If you want to grow more blooming color, herbs or veggies then you'll want to mount your Woolly Pocket outside. In Texas, I DO NOT suggest trying to maintain wall planters like this on a West facing wall or spot that gets sun most of the day...Maintaining adequate moisture could be pretty problematic. Morning to mid-day sun with a few hours of afternoon shade would work best.
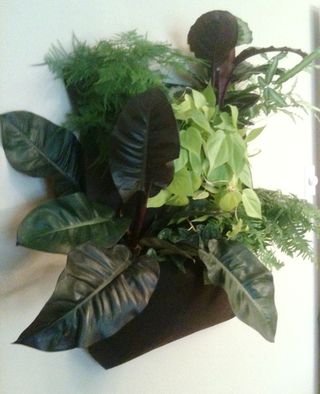
I placed the planters on a wall that faces a North facing window, so they get lots of bright ligh (but no direct sun rays) all day. I used North Haven Gardens Premium Organic Potting Soil, which is a mix I created. This is a medium to heavier weight mix with some expanded shale. Even though a peat based indoor potting mix would be lighter, I felt that due to the wicking action of the planters, too much peat could dry too quickly and be difficult to rehydrate. Make sure to put down a drop cloth of some sort...you will make a mess, lol. I planted with several trailing Philodendrons, a large purple Philo, Prayer plant, and several types of ferns. All of these species will appreciate the light exposure and do well with an air root-prunign type container such as the woolly pocket.
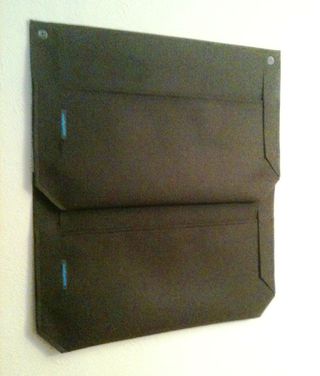
I mounted two pockets using the dry wall brackets included, in an overlapping fashion so you wouldn't see the bottom brackets or wall-space. Filled 1/2 way with soil, then went about arranging the plants. Make sure to wet the rootballs before you plant. Top-dress with potting soil but make sure you leave at least 1/2-1" clearance to the top edge of the pocket.
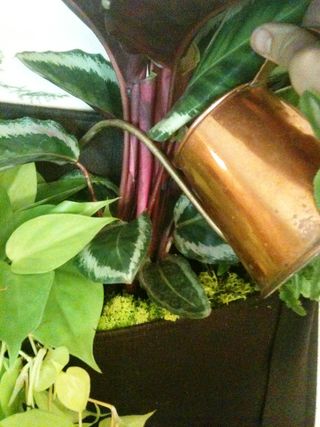
When you water, make sure to apply the water to the "tongue" of the planter, not directly to the soil. I used my small copper watering can because the spout is tiny and can deliver just enough, but not too much. water to the planter. The water will wick down and be pulled up by the plants through the "fabric". Don't ever apply more than 3 cups of water in one application.
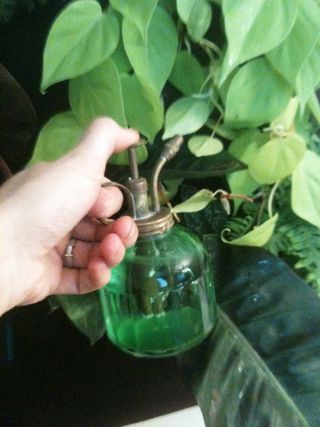
You might also consider keeping a plant mister on hand as these types of tropicals do like a bit of extra humidity. Don't apply too much water to the foliage this way or you'll end up with water drips on your wall or floor.
Just remember, while you may see photos of this planter online, planted up indoors with herbs and edibles, realize that plants like that requiring a lot of direct sun won't sustain indoors more than a few weeks...stick to tropicals indoors and edibles outdoors. If you mount a substantial grow light over the planters, then you could probably get away with salad greens and some herbs indoors.
I have a feeling that I'm going to have to put up several more of these in my house...they are my favorite new gardening product and I think they are especially perfect for those who have limited garden space, live in a condo or apartment or want an easier way to display plants indoors. I've already had a few friends request them as Xmas presents! Guess I'd better get to work...

