Tasty Recipes for Fresh Turnips

January 14, 2009

No Idea What to do With Your Homegrown Turnips?

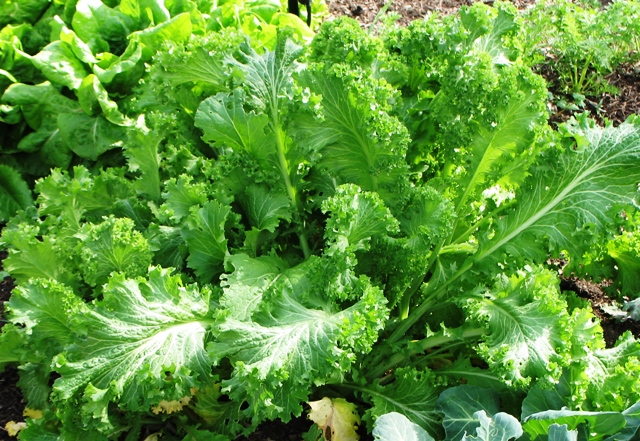
So if you veggie garden on schedule here in Texas, you should be harvesting turnips right about now. I'd say most people my age would ask the question: "What the .... do yo do with TURNIPS?" Well, they're actually quite tasty, and super easy to grow here. Just sprinkle the seeds directly into the garden in fall and late winter (now), then the seedlings and then just leave them alone until they mature. Don't let the turnips get too big before you harvest them, the flavor is better when they are medium sized.

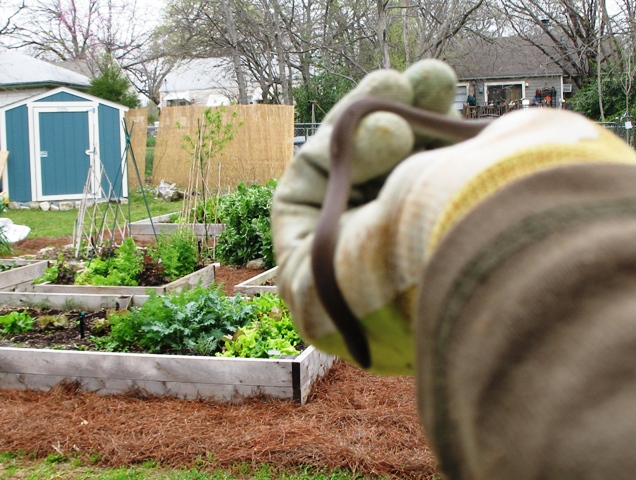
My favorite white turnips

My favorite white turnips
PC: Leslie F. Halleck

You can make a "mash", as the British would say"...I like to combine potatoes and turnips together to make a mash. Boil your potatoes and turnips (separately) to a mash appropriate softness. Drain and mash or blend with some butter, fresh parsley, salt and pepper, a bit of cream and some horseradish. MMMM. yes horseradish, that you also grew in your garden and processed...and is sitting in it's jar in you fridge.

OR, you can make these yummy Potato and Turnip cake's from her majesty Martha Stewart:

Serves 4

  • 1 pound russet potatoes (about 2 medium)
  • 1/2 pound white turnips (about 1 large)
  • 1/4 cup olive oil
  • 1 teaspoon coarse salt
  • 1/4 teaspoon ground pepper

Directions

  1. Coarsely grate (with a box grater or a food processor fitted with the grater attachment) potatoes and turnips, all scrubbed and trimmed. Squeeze to remove as much moisture as possible; transfer vegetables to a medium bowl. Toss with coarse salt and ground pepper.
  2. Heat olive oil in a large skillet over medium heat. Form potato mixture into four tightly packed patties; place in skillet, flattening gently with a spatula to a 3/4-inch thickness. Cook patties, turning once, until browned and cooked through, about 10 minutes per side (reduce heat if patties start to brown too quickly, and add more oil to skillet if necessary). Transfer to paper towels; sprinkle with salt.

OR, how about this Turnip Puff from Cooking for 2's website:

  • 3 cups cubed peeled turnips
  • 1 tablespoon butter
  • 1 egg
  • 4-1/2 teaspoons all-purpose flour
  • 1-1/2 teaspoons baking powder
  • 1-1/2 teaspoons brown sugar
  • 1/4 teaspoon salt
  • Dash pepper
  • Dash ground nutmeg
  • TOPPING:
  • 2 tablespoons dry breadcrumbs

2 teaspoons butter, melted


Place turnips in a large saucepan and cover with water. Bring to a boil. Reduce heat; cover and cook for 10-15 minutes or until tender. Drain; mash with butter. Cool slightly.

Beat in egg. Combine the flour, baking powder, brown sugar, salt, pepper and nutmeg stir into turnip mixture.

Spoon into a 3-cup baking dish coated with cooking spray. Toss bread crumbs and butter; sprinkle over casserole. Bake, uncovered, at 375° for 30-35 minutes or until heated through and a thermometer reads 160°. Yield: 3 servings

OR you can roast or broil them with some olive oil and salt. Super yummy. They are also good mixed into soups or stews like you'd use potatoes. The greens can be braised or steamed with a bit of garlic, butter and lemon juice.

I know, I know...turnips can be an acquired taste. I think it's time we acquire it.


I know it’s January…but your garden needs you!

January 13, 2009

Lots to do in the Winter Garden

Yes, it's January...the time of year in Texas when people like to pretend there's nothing they could possibly do in the garden. Not so my friend, not so!

After catching every virus known to man this past fall (jump from 2009 to 2024 and I apparently still catch every known virus from fall through winter!), I'm finally feeling my spry self again and managed to get a bunch of gardening done this past weekend. I cleaned up the mess that was my front display beds and planted all my spring-flowering bulbs, which always include a few hundred tulips, Dutch Iris, daffodils, grape hyacinth and so on and so forth. My bulb collection is getting out of hand.

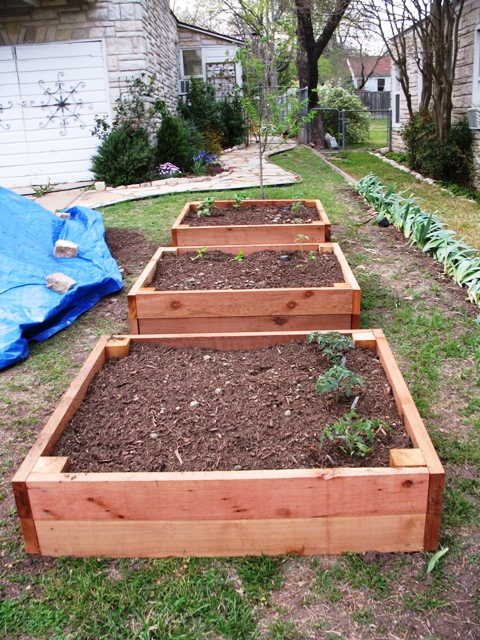
Each year as I go to plant new bulbs, I inevitably dig up some already inhabiting that spot. Then I feel so guilty and have to apologize to the poor little bulbs I just disturbed from their winter slumber. Also managed to get some composted cow manure worked into the veggie beds along with a bit of clean up.

Winter Vegetable Garden

Again, January is a great time for the cool-season veggie garden in southern climates. Right now I've got tons masses of lettuce greens going gangbusters, radishes the size of my fist (that's what happens when you leave them in the garden too long!), turnips, tons of broccoli to harvest, collard greens, baby cabbages on the way along with baby Brussels sprouts. Which btw, if you've never grown and tasted your own Brussels sprouts you DO NOT know what you're missing. They are super easy to grow here and you'll never taste anything like them from the grocery store.

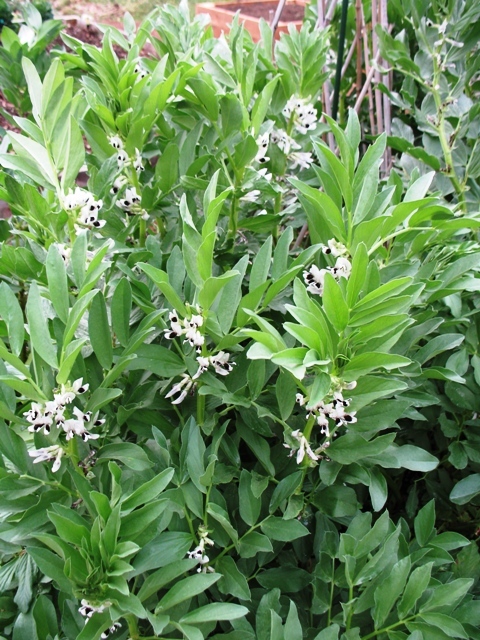
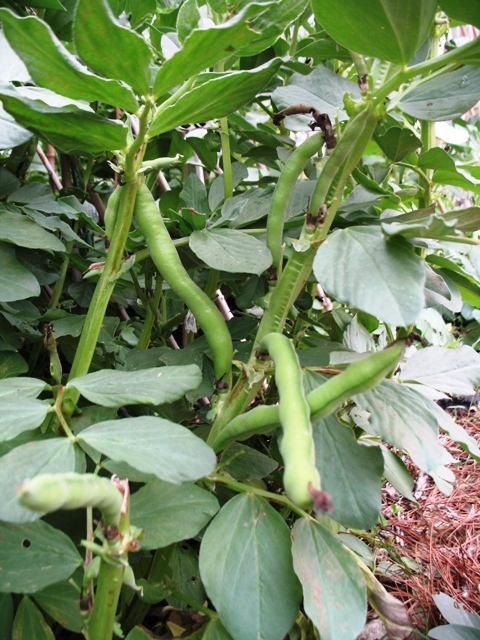
Carrots are coming along, but not quite ready to harvest. I have the prettiest stand of Fava beans you ever did see...obviously they are not producing right now, but if I can get them through the last round of freezes I'll hopefully have an 09 harvest from them. Let's see, what else, oh, Pak Choi and spinach and the cutest baby cauliflower heads. I promise I'll get photos posted soon.

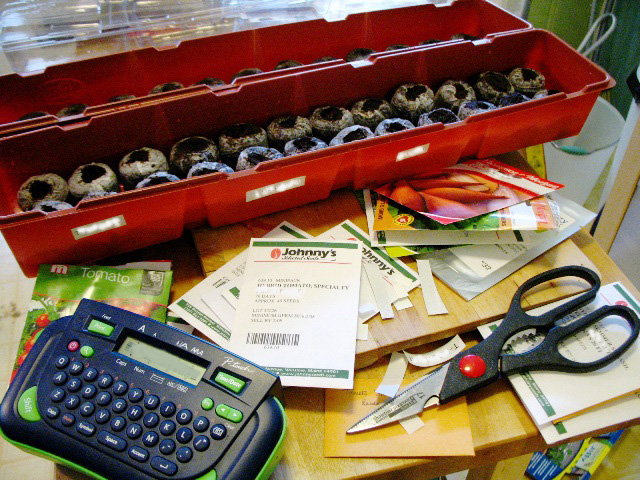
Next week I'll be starting my seeds of tomatoes and a few other warm season crops along with a second round of Cole crops (broccoli, cabbage, etc.). Spinach seeds can go outside now along with onion sets and slips. Next month I'll start direct seeding more salad greens, carrots, herbs, plant seed potatoes, rhubarb and more. I might even start an asparagus patch this year. There is just so much to do!

If you live in Texas, January is a great time to prep your beds, harvest cool season veggies if you got 'em, plant your bulbs if you didn't when you were supposed to (December), plant dormant fruit trees and any container grown hardy trees and shrubs. Pansies, violas, Iceland poppies and the like can also be planted here right now. And start your spring veggies!


Building a New Flagstone Patio

November 9, 2008

Finally, after a long wait, I'm getting my flagstone pathways in the front and side of house, as well as a patio in the back, installed this weekend. I'm so excited I can barely stand it. I'm one of those folks that will stash and save until I can afford to pay cash for what I want, so I've been waiting patiently for about 4.5 years to have all this house work done. It's amazing the difference it makes having proper pathways.

I went stone shopping last weekend at a local stone distributor and of course i happened to find two lonely half pallets of the coolest green flagstone tucked away on the property. When I asked the sales person if they had more, she told me they'd had that stone for a while and would not be getting any more. Of course, I always have to like the stuff no one can actually get their hands on. So after circling the stone yard for about 30 more minutes, talking to myself, running calculations on my cell phone calculator, I decided to gamble and go for a mix. Because I had to have that green stone. I have a thing about greens. The entire inside of my house is painted varying shades of greens, teals, etc. So I snagged the two pallets of green stone and filled out the order with three more pallets of terracotta colored Oklahoma flagstone. And crossed my fingers it would look good together.

So far so good...here is how it's looking so far. The areas are dug out about 2.5 inches, lined with weed-block fabric, bedded with decomposed granite, then the stone is laid and packed in with more decomposed granite. For those of you wondering about materials, I had about 490 sq. ft. to cover. The flagstone will cover about 80-90 sq.ft. per ton (depending on the type/size of stone - the smaller the stone, the less the coverage). So that was 6 tons of stone (about 5 pallets) and about 6 tons of decomposed granite. groovy. I'll post more photos upon completion. whoohoo!


.jpg

.jpg


.jpg
.jpg
.jpg


Grow Black Eyed Peas

October 10, 2008

Seed an Extra Fall Crop in August

Still harvesting black eyed peas in October!

Black eyed peas are super easy to grow...can even be seeded direct outdoors in the middle of August during the blazing heat. They germinate quickly and tolerate the heat well. First peas were ready about a month after seeding so it's a quick crop. They've continued producing steadily since. Fresh black eyed (or cow) peas taste great. I cook mine up with a sliced up jalapeno for some heat. Quite tasty. You can let them dry and store them for cooking later...or for seeds to replant. Next time around, I'll definitely plant more so as to get a bigger harvest.

.jpg

Leslie feeds the world…

September 15, 2008

The Ants ate my Lettuce Seeds!

So, I put out lettuce seeds last week. We've had cloudy, rainy weather, so perfect for these seeds to quickly germinate on their own without my intervention. Right? Well...some patches germinated...only on certain sides of the two beds I seeded. Hmmm, that's weird...something is not right. So I figured my seed must be old and thew out a new batch of 'Black Seeded Simpson' lettuce while working in the garden. I happen to pass by the spot about 30 minutes later and look down to see what appears to be tiny white specks traveling along in the same direction.

.jpg"Ant_thief"

As I peer closer, I realize it's my lettuce seeds! An army of tiny ants have discovered my seeds are carrying them one by one up to the corner of the cedar bed and dropping them into the crevace between the posts...where they have apparently built a nest. No wonder my lettuce wasn't germinating! So I watched these little guys systematically carry off every single lettuce seed that'd hit the ground. Sigh....if it's not the squirrels..it's the ants. Namaste my little ant friends...Namaste. Enjoy your dinner!


Yay! Hummingbird sighting!

July 31, 2008

Unfortunately I don't have a photo, but when I walked out of the door this morning to go to work, a female ruby-throated hummingbird was going to town on all the different salvias in my front garden. She took no notice of me and went about her business as I watched her. It was great! I've posted before about my lack of hummingbird sightings this year...so I was very happy to have the encounter...


OKRA: Ya love it or ya hate ii!

July 25, 2008

Okra. You either love it...or hate it. I love it. Especially stewed with tomatoes and peppers. MMMMMMM.

I have a dwarf okra variety called 'Clemson Spineless' this summer. The plants are quite tiny, but the small blooms are still beautiful.

If you're challenged on space, or can only grow your vegetable garden in containers, switching to dwarf or micro cultivars of your favorite fruits, veggies, and herbs is a great strategy. Not to mention, dwarf edibles are much easier to grow indoors. Currently, as of 2024, there are many more dwarf edible cultivars available. While you may have to shop around with multiple seed or plant vendors to find what you need, it can mean the difference between a successful, or not so, edible garden!

Okra flowers and pods

I crack myself up…

July 24, 2008

"If a man is standing alone in a garden, and he speaks, but there is no woman to hear him, is he still wrong?"

Ha!! I crack myself up.


Back to top

Tips in your inbox

E-Newsletter

Sign up for my monthly E-Newsletter for botanical business news, horticulture courses, and tidbits for plant and gardening lovers!